Classic Yukon Gold Mashed Potatoes
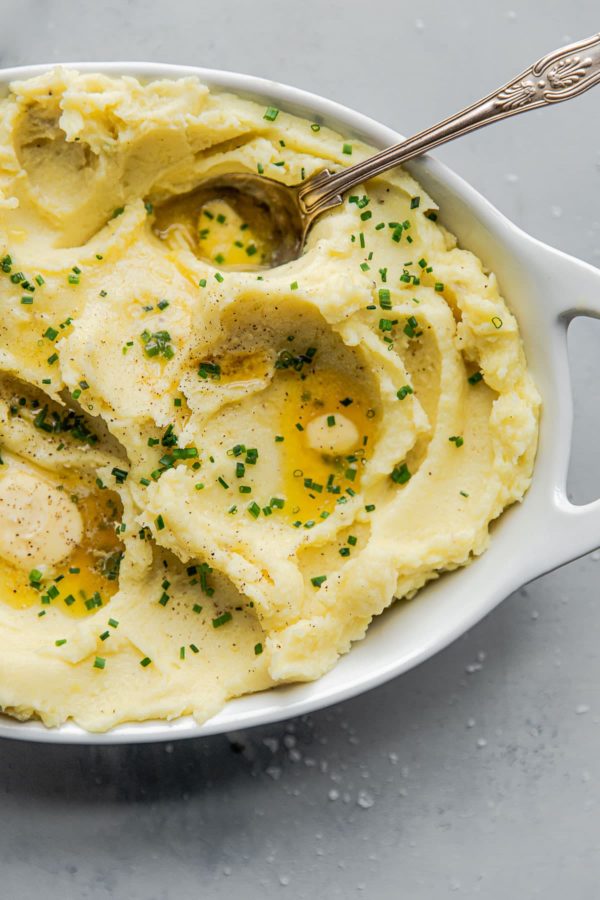
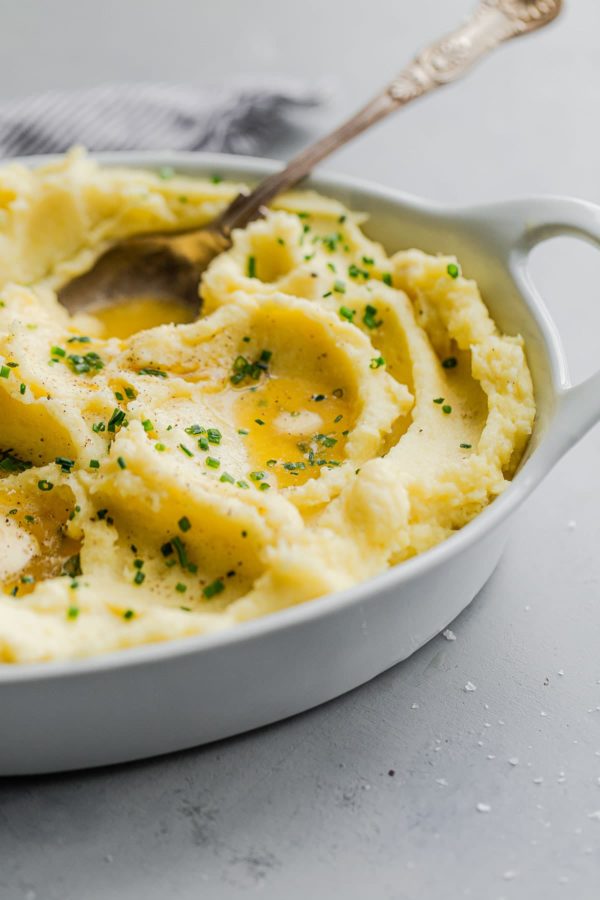
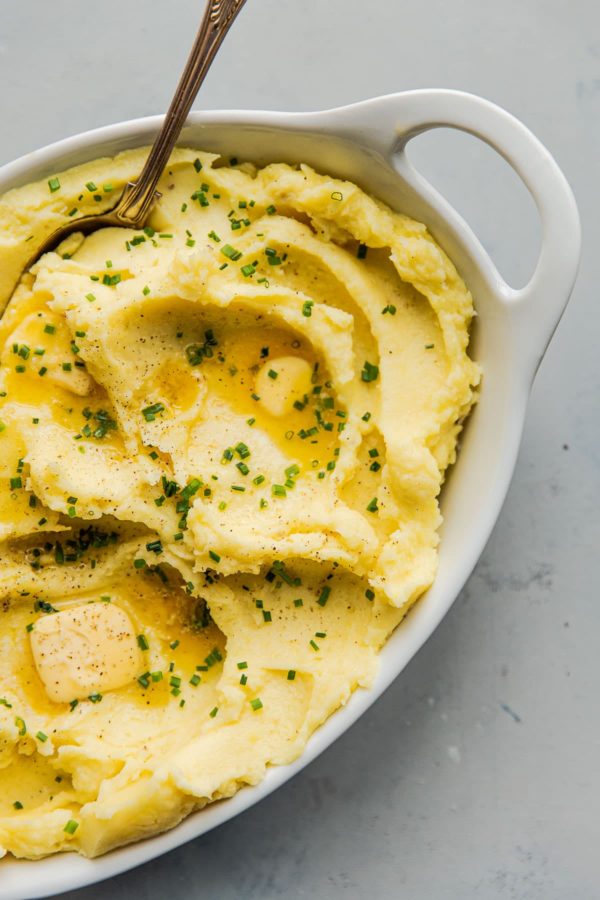
Classic Yukon Gold Mashed Potatoes prepared with heavy cream, unsalted butter, and garnished with fresh chives. For detailed reheating instructions, see the recipe notes below.
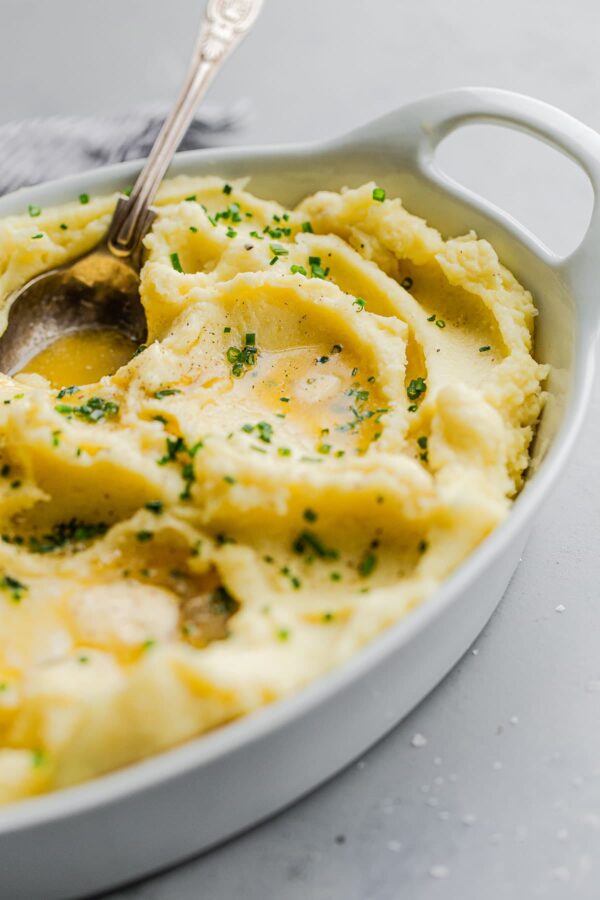
When it comes to the holidays, I’m all about the classics. These Yukon Gold Mashed Potatoes are creamy, buttery, and simple to prepare.
A version of these mashed potatoes has graced our Thanksgiving table, alongside these Roasted Brussels Sprouts and Butternut Squash, the last five years and counting. One of the reasons why I love and turn to this mashed potato recipe so often is that it pairs well with everything.
These potatoes are the perfect accompaniment to holiday roasts, braised dishes, hearty stews, and any dish with a thick sauce or gravy.
If you’re looking for a tried-and-true mashed potato recipe to add to your holiday arsenal, this recipe is for you.
I’ve included my best mashed potato tricks below, as well as detailed reheating instructions to make hosting and entertaining this holiday season as easy as possible.
This recipe yields roughly 8 servings. Depending on the size of your menu, I recommend allotting a 1/2-pound or just under a 1/2-pound of potatoes per person.
You’ll only need a few basic ingredients for this recipe:
- Yukon Gold Potatoes
- Heavy Cream
- Unsalted Butter or Cultured Butter (extra fantastic!)
- Salt and Freshly Ground Pepper
- Chives (Optional Garnish)
If you prefer tangy mashed potatoes, creme fraiche, sour cream, or buttermilk are great additions. See the recipe for more details.
Recipe Variation: If you like garlic mashed potatoes, you can add 1-2 peeled garlic cloves to the cooking water or add a spoonful of garlic confit or roasted garlic cloves. Or simply take it up a level by garnishing these potatoes with homemade garlic chips. Make them your own!
Yukon Gold Potatoes vs. Russet Potatoes
Yukon Gold (a variety of yellow potatoes) are my preference for mashed potatoes. They have a medium starch level, beautiful golden yellow hue, and are buttery and rich in flavor compared to classic Russet potatoes.
Yukon Gold potatoes are more expensive and require a slightly longer cook time, but their flavor is unparalleled. While I prefer to peel the potatoes for this preparation, Yukon Gold potatoes can be mashed with the peel for additional flavor and texture too.
If you’ve only prepared mashed potatoes with russet potatoes, I highly recommend giving these potatoes a try. I have a feeling you won’t go back!
How to Make Yukon Gold Mashed Potatoes?
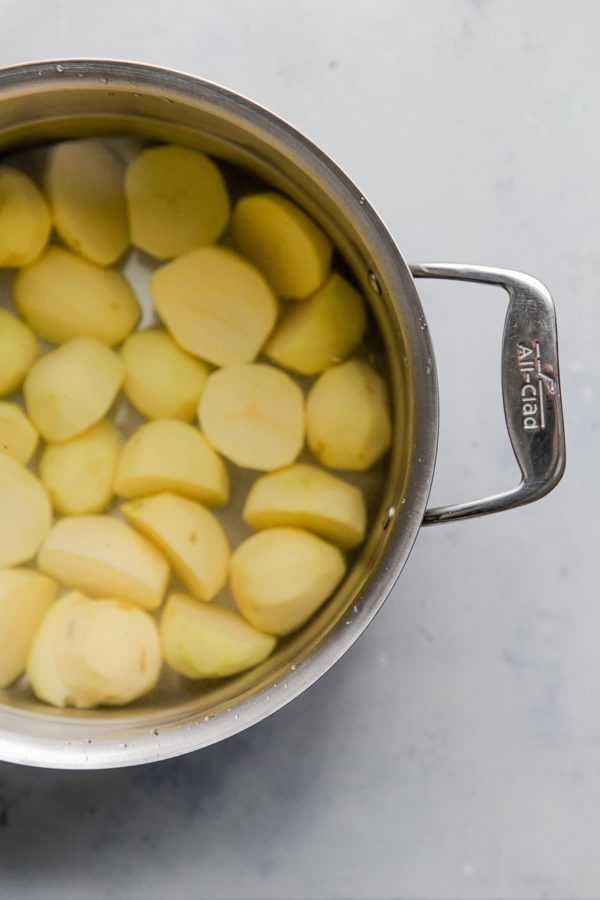
- Peel the potatoes and cut into quarters. Transfer the potatoes to a large pot and cover generously with cold, salted water. Tips for Success: If using large Yukon gold potatoes, I like to cut them into quarters for faster cooking. If the potatoes are smaller or various sizes, keep the potato pieces close in size to ensure even cooking. Some potatoes may only need to be cut in half, etc.
- Cover the pot and bring the water a boil. Reduce the heat to a steady simmer. Continue simmering the potatoes until they can be easily pierced with a knife or fork. They should slip off a knife. If you meet any resistance, continue cooking and check back in a few minutes.
- Place the cream and unsalted butter in a small saucepan. Place over low heat until the butter has melted and the mixture is warm. Heating the cream and butter helps them be absorbed more readily by the mashed potatoes and keeps the potatoes hot for serving.
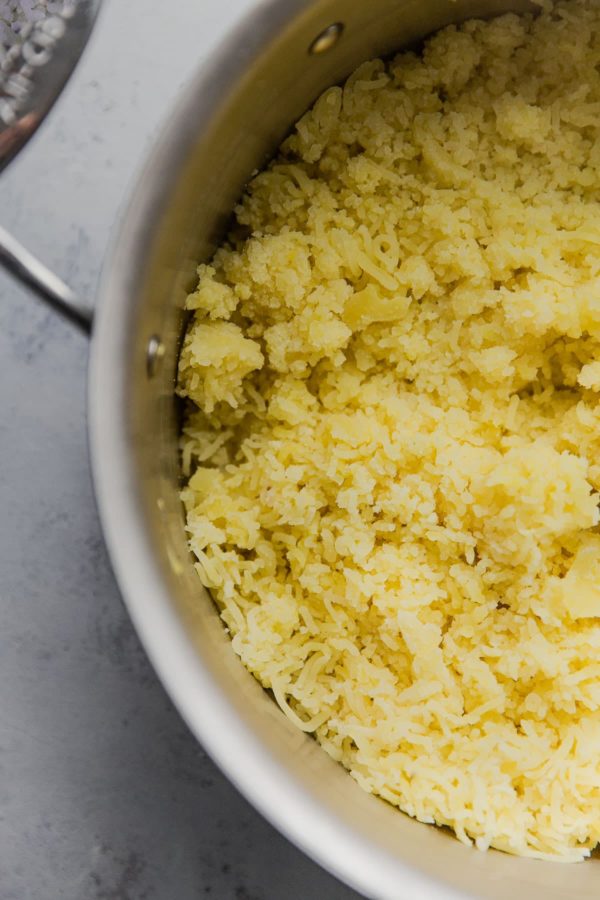
- Drain the potatoes and rice in batches into the empty warmed cooking pot. If using a traditional masher, transfer the drained potatoes to the pot, add the cream and butter, and mash.
- Pour the warm cream and butter mixture over the riced potatoes. Add the creme fraiche or sour cream (if using) and a generous pinch of kosher salt and freshly ground black pepper. Fold together gently without over mixing. Season the potatoes to taste with salt and pepper
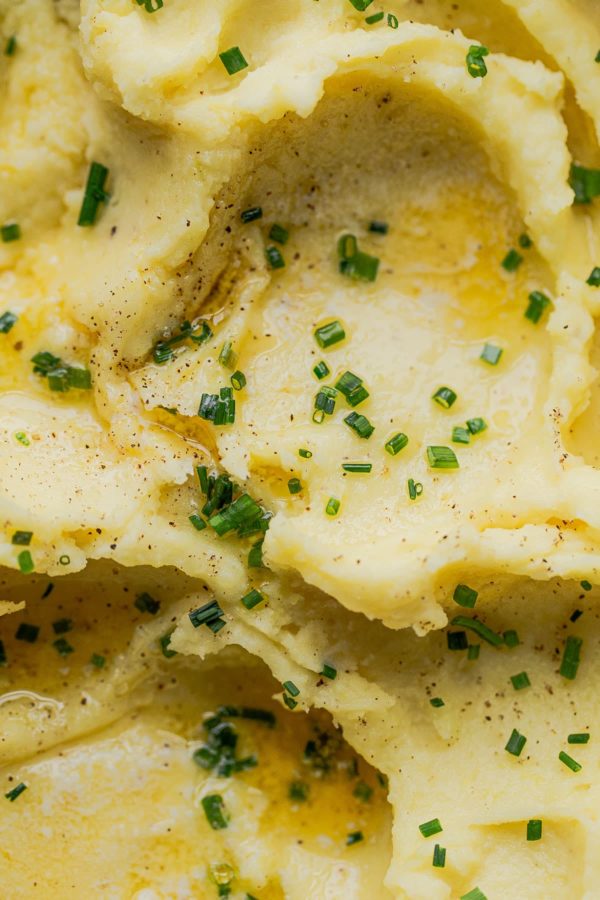
- Transfer the mashed potatoes to a warmed serving dish, smoothing and creating swoops with the back of a large spoon. Top with a few slices of unsalted butter and garnish with chopped chives. Serve immediately.
Potato Ricer: Why They Work
A potato ricer is one of my favorite tools for making mashed potatoes. It produces exceptionally fluffy, smooth mashed potatoes and helps to prevent over-activating the starch in potatoes (which can result in gluey potatoes).
Potato ricers force cooked potatoes through very small holes. This results in a very uniform, smooth mashed texture, as well as keeps the starch cells intact.
You do not need a potato ricer, but they can be helpful for other preparations, including potato gnocchi or pressing excess water from cooked greens, etc.
If you’re looking to invest in one, I personally recommend the OXO Potato Ricer or the Chef’N Potato Ricer.
If you do not own a potato ricer, you can just as easily prepare these Yukon Gold mashed potatoes with a traditional masher. Just be sure to avoid over mashing or over mixing, as it can activate the starches in the potatoes.
Mashed potatoes are one of the easiest and most forgiving side dishes to prepare in advance!
How to Make Mashed Potatoes Ahead of Time:
These potatoes can be prepared start to finish up to 3 to 4 days before serving. Transfer to an airtight container or large Ziploc bag and store in the refrigerator until ready to reheat.
How to Reheat Mashed Potatoes:
Mashed potatoes can be held warm for several hours, but can take much longer to come to temperature if reheated directly from the fridge, as they are naturally dense and thick. Keep this in mind when preparing your timeline.
- Oven: Place the mashed potatoes in an oven-safe casserole dish. Top with a several dots of unsalted butter and a layer of parchment paper. Cover tightly in foil. Place in a 350°F (175°C) degree oven and cook until heated through. If desired, fold in a small splash of cream before serving.
- Microwave: If you’re short on oven space or time, this is one of the easiest and fastest ways to reheat mashed potatoes (and truthfully, I resort to this method often because it doesn’t impact the potatoes one bit!). Transfer mashed potatoes to a microwave-safe serving dish and microwave in 1 to 1½ minute intervals, stirring gently in between each one, until heated through. If using this method, I recommend stirring in a splash of heavy cream or whole milk just before serving to make up for any lost moisture.
- Sous Vide: Place cold or just cooked mashed potatoes in a sous vide pouch. Set the circulator to 150°F degrees and cook until heated through (or hold warm for hours).
- Stove Top: Heat 1 cup of whole milk in a large saucepan and bring to a simmer. Lower the heat and add the mashed potatoes, stirring them into the milk, and cook until heated through. Add additional milk or cream if needed. Season to taste with salt and pepper.
- Slow Cooker: While I haven’t tested this particular method with this recipe, many people have success transferring just cooked warm mashed potatoes to their slow cooker or crockpot and holding them warm over the lowest heat setting.
Classic Yukon Gold Mashed Potatoes
Ingredients
Yukon Gold Mashed Potatoes:
- 3½ lbs (1.6 kg) Yukon Gold potatoes peeled
- kosher salt
- ¾ cup (180 mL) heavy cream
- 6 tablespoons (85 g) unsalted butter or cultured butter plus more for serving
- ¼ cup (2 oz; 60 g) creme fraiche or sour cream optional
- freshly ground black pepper
For Garnishing:
- fresh chives finely sliced
Instructions
- Peel the potatoes and cut into quarters. Transfer the potatoes to a large pot and cover generously with cold, salted water. Tips for Success: If using large Yukon gold potatoes, I like to cut them into quarters for faster cooking. If the potatoes are smaller or various sizes, keep the potato pieces close in size to ensure even cooking. Some potatoes may only need to be cut in half, etc.
- Cover the pot and bring the water a boil. Reduce the heat to a steady simmer. Continue simmering the potatoes until they can be easily pierced with a knife or fork. They should slip off a knife. If you meet any resistance, continue cooking and check back in a few minutes.
- Meanwhile, place the cream and unsalted butter in a small saucepan. Place over low heat until the butter has melted and the mixture is warm.
- Drain the potatoes (note: you can simultaneously warm your serving dish by placing it directly underneath your colander - allowing the cooking water to heat it thoroughly. Just remember to dry it well before using!). Rice the drained potatoes in batches into the empty warm cooking pot. If using a traditional masher: transfer the drained potatoes to the pot, add the cream and butter, and mash.
- Pour the warm cream and butter mixture over the riced potatoes. Add the creme fraiche or sour cream (if using) and a generous pinch of kosher salt and freshly ground black pepper. Fold together gently without over mixing. If you prefer a looser texture, add an additional splash of cream or whole milk. Season the potatoes to taste with salt and pepper. If preparing these mashed potatoes in advance, refer to the reheating instructions in the notes below.
- Transfer the mashed potatoes to a warmed serving dish, smoothing and creating swoops with the back of a large spoon. Top with a few slices of unsalted butter and garnish with chopped chives. Serve immediately.°
How to Prep and Reheat Mashed Potatoes:
- These potaotes can be prepared start to finish up to 3 to 4 days prior to serving and stored in an airtight container (or Ziploc bag, with the air squeezed out) in the fridge. Mashed potatoes can be held warm for several hours after cooking, but take much longer to come to temperature if reheated cold from the fridge, as they are naturally dense and thick. Keep this in mind when preparing your timeline and choosing the reheating method below.
- Oven: Place the mashed potatoes in an oven-safe casserole dish. Top with a several dots of unsalted butter and a layer of parchment paper. Cover tightly in foil. Place in a 350°F (175°C) oven and cook until heated through. If desired, fold in a small splash of cream before serving.
- Microwave: If you're short on oven space or time, this is one of the easiest and fastest ways to reheat mashed potatoes (and truthfully, I resort to this method often because it doesn't impact the potatoes one bit!). Transfer mashed potatoes to a microwave-safe serving dish and microwave in 1 to 2 minute intervals, stirring gently in between, until heated through. If using this method, I like to stir in a touch more heavy cream or whole milk just before serving to make up for any lost moisture.
- Sous Vide: Place cold or just cooked mashed potatoes in a sous vide pouch. Set the circulator to 150°F degrees and cook until heated through (or hold warm for hours).
- Stove Top: Heat 1 cup (240 mL) of whole milk in a large saucepan and bring to a simmer. Lower the heat and add the mashed potatoes, stirring them into the milk, and cook until heated through. Add additional milk or cream if needed.
- Slow Cooker: While I haven't tested this particular method with this recipe, many people have success transferring just cooked mashed potatoes to their slow cooker and holding them warm over the lowest setting for several hours.

4 Comments on “Classic Yukon Gold Mashed Potatoes”
These mashed potatoes were a total win! Loved your idea for the addition of whole garlic cloves in the boiling water. Huge thank you! Flavor was outstanding.
I’m so happy to hear this! Thank you so much for taking the time to leave a review, especially right after your holiday celebration.
Not sure how I STUMBLED onto this website let alone Laura’s AMAZING recipe, but I am FOREVER grateful!! Not only was this so very easy to make… it was a hit!! To be honest, I omitted the “creme fraiche or sour cream” ingredients, because I was afraid of it taking the taste toooo far and not being eaten. Now that I know it was a success, I will add them in the future to see which works best.
My son-in-law not only does NOT like lumpy mash potatoes he’s secretly a VERY judgmental food critic, BUT will hide it by saying he’s full (after one bite) or just not eat. SMH So my reputation was on the line. Much like a double-broiler pan, I’ve had a RICER pan SITTING in my cabinets for almost THIRTY years and this was my first attempt at riced mash potatoes. THE HEAVENS HAVE OPENED UP AND I HAVE BEEN CONVERTED!! I get it… this is A LOT of work, but TRULY worth the effort!! My utensil of choice was the flat side of my meat tenderizer tool … the weight of it actually helped pressing the potatoes through. Once ricing was completed, I literally folded in the heavy cream & butter and viola a master piece was created!
Dinner was not being served for at least another hour, so I placed it in my 9×13 pyrex & travel bag with a hot/cold pack… IT WAS AS IF I JUST FINISHED MAKING THEM. Oh, just as important, the texture & flavor continued to be spot on fresh 3-days later!! Can’t tell you if this had anything to do with using the ricing method…. cause I’ll never not rice them again!!
So thrilled to hear this! I love that you found a new use for your ricer as well, it really does make a difference, just sort of depends on what texture you’re looking for and if you care to do that extra step. Thank you so much for the great feedback and taking the time to leave a review! It helps my site and other readers.