
Quiche Crust Recipe
Inspired by Stella Parks, this quiche crust recipe relies on a single extended pre-bake, often known as a blind bake. This genius method eliminates the need to dock the dough or juggle two separate baking periods. The outcome? An exceptionally flaky, sturdy crust that holds its shape and won’t shrink or puff up. Here’s the good news – you can prepare the dough using a variety of methods. I’ve found that rolling the butter into the flour produces a supremely flaky crust and provides a bit more control. However, I've outlined alternate methods in the note section. Feel free to experiment based on preference or available equipment. While this article is tailored for homemade quiche, such as this Gruyère Leek Quiche, feel free to apply this recipe and technique to any savory pie of choice.
Equipment
- Bench Scraper
- 9-Inch Deep Ceramic or Glass Pie Pan (or Deep Quiche Tart Pan)
- Kitchen Shears
- Plastic Wrap and Aluminum Foil
- Dried Beans
Ingredients
- 150 grams (1¼ cups) unbleached all purpose flour plus more for dusting
- 3 grams (1 teaspoon) kosher salt
- 113 grams (4 oz; 1 stick) cold unsalted butter
- 1/4 cup (60 mL) ice water plus more as needed
Instructions
- Equipment Set aside the equipment listed above as you prepare and assemble the dough.Read Before Starting: Here’s the good news – you can prepare the dough using a variety of methods. I’ve found that rolling the butter into the flour produces a supremely flaky crust and provides a bit more control. However, I've outlined alternate methods in the note section. Feel free to experiment based on preference or available equipment.
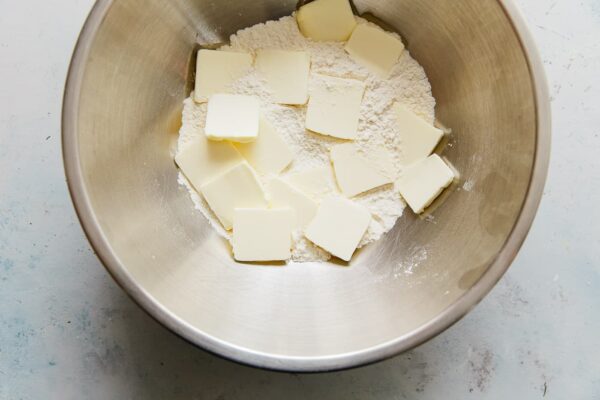
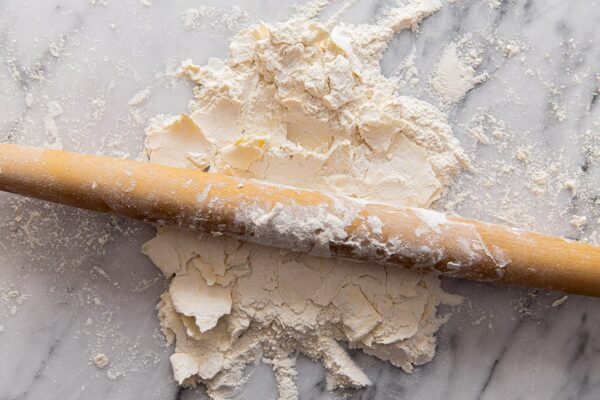
- Roll in the Butter: In a medium bowl, whisk together the flour and salt. Cut the butter into ¼-inch thick slices (slices vs. cubes speeds things up considerably) and add to the bowl. Toss until all the butter pieces are coated with flour. Transfer the mixture to a clean work surface. Using a rolling pin, roll the butter into the flour until it resembles thin sheets - using the bench scraper to move and keep the mixture in a tight pile. Transfer the mixture back into the bowl.
- Add Ice Water: Add 4 tablespoons (60 mL) of ice water to the flour mixture, tossing with both hands until it has been evenly absorbed. If it's super crumbly or any bits are particularly dry or, add more ice water to those areas as needed. Note about Water: The total amount of water will vary depending on flour brand and humidity, I usually need anywhere from 4 to 6 tablespoons. The dough should be slightly shaggy, but easily hold together when pressed together with both palms. A few dry bits are ok. Transfer the dough to a clean countertop. Using the bench knife to help, press the dough into a round flat disc, roughly 1-inch thick. Avoid over-working the dough.
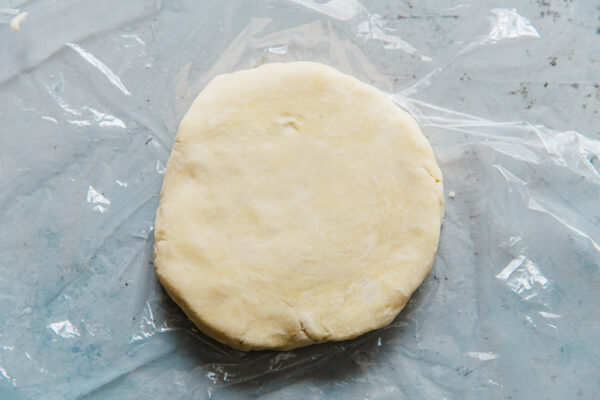
- Rest and Chill: Wrap the dough tightly in plastic wrap and refrigerate for at least 1 hour before rolling and shaping. Alternatively, the dough can be stored in the fridge for up to 3 days before rolling and shaping. If chilling for longer, be sure to set it on the countertop for 10 to 20 minutes before rolling. It should be cold, but not too firm - otherwise it will crack.
- Roll and Shape: Remove the dough from the fridge, unwrap, and place on a lightly floured countertop. Using a floured rolling pin, roll the dough - starting from the center out to the edges - rotating the dough continuously as you work and dusting with more flour if needed. Gently massage the edges of the dough with your fingertips if they start cracking. You want the dough to be roughly 2-inches wider than the diameter of your baking pan and about ⅛-inch thick.
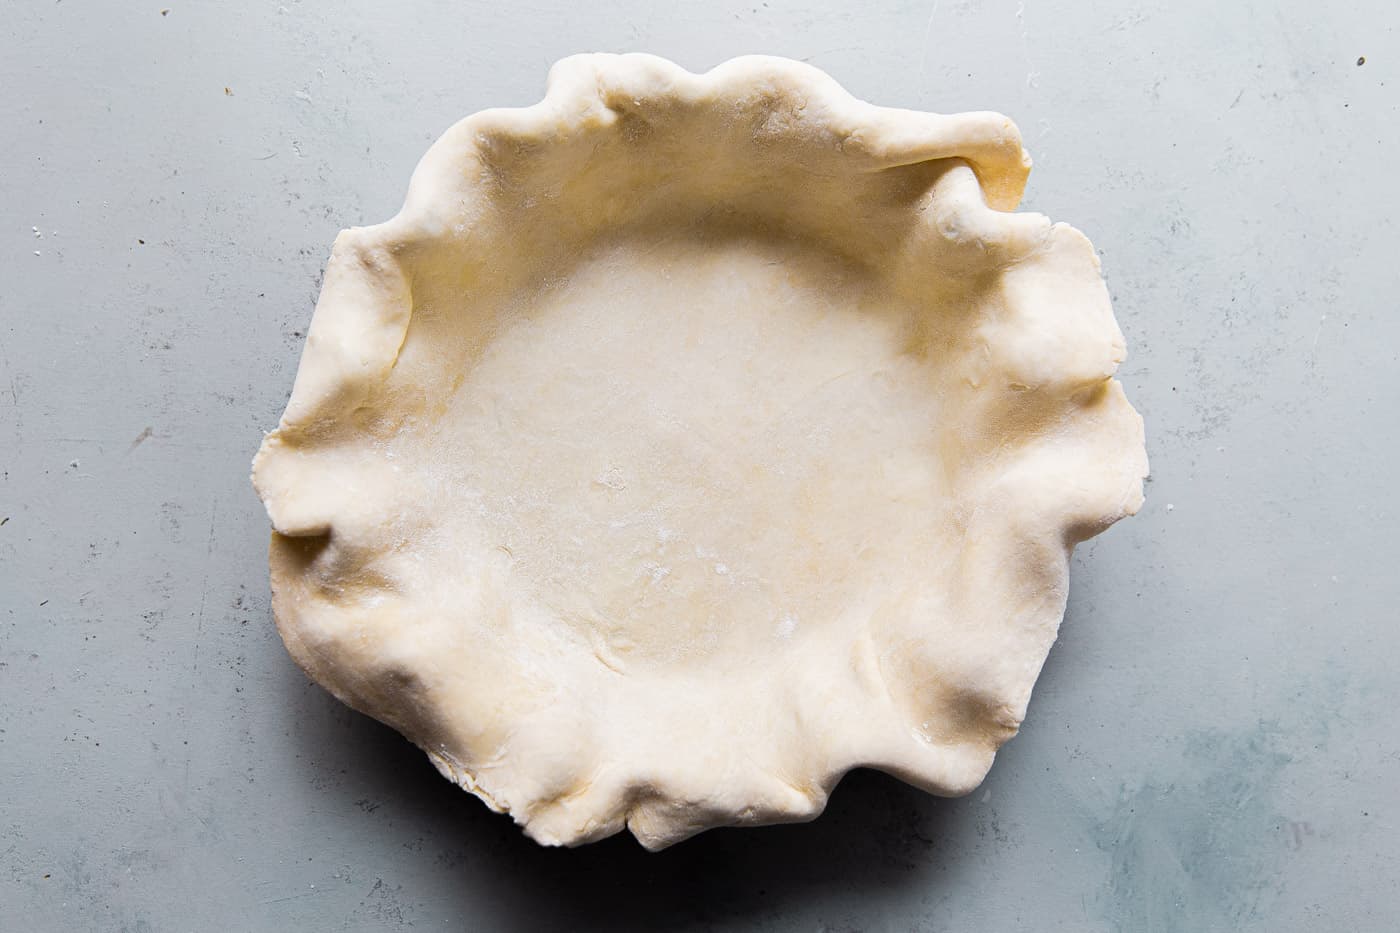
- Shape and Freeze: Carefully lift and transfer the dough to the pan. Gently lift and nudge the dough into the edges of the pan, being careful to avoid stretching or pulling the dough. Using scissors, trim the overhang so that it extends no more than ½-inch to ¾-inch past the edge of the pan. Fold the edges under and crimp as desired. If are using a deep tart pan, press the dough into the edges, then roll the rolling pin over the rim to cut off and trim the excess.Cover the shaped crust tightly with plastic wrap and freeze until solid, a minimum of 1 hour, or up to 3 months if desired. Freezing the shaped crust ensures the butter stays very cold throughout baking; it also allows maximum flexibility when it comes to prepping ahead.

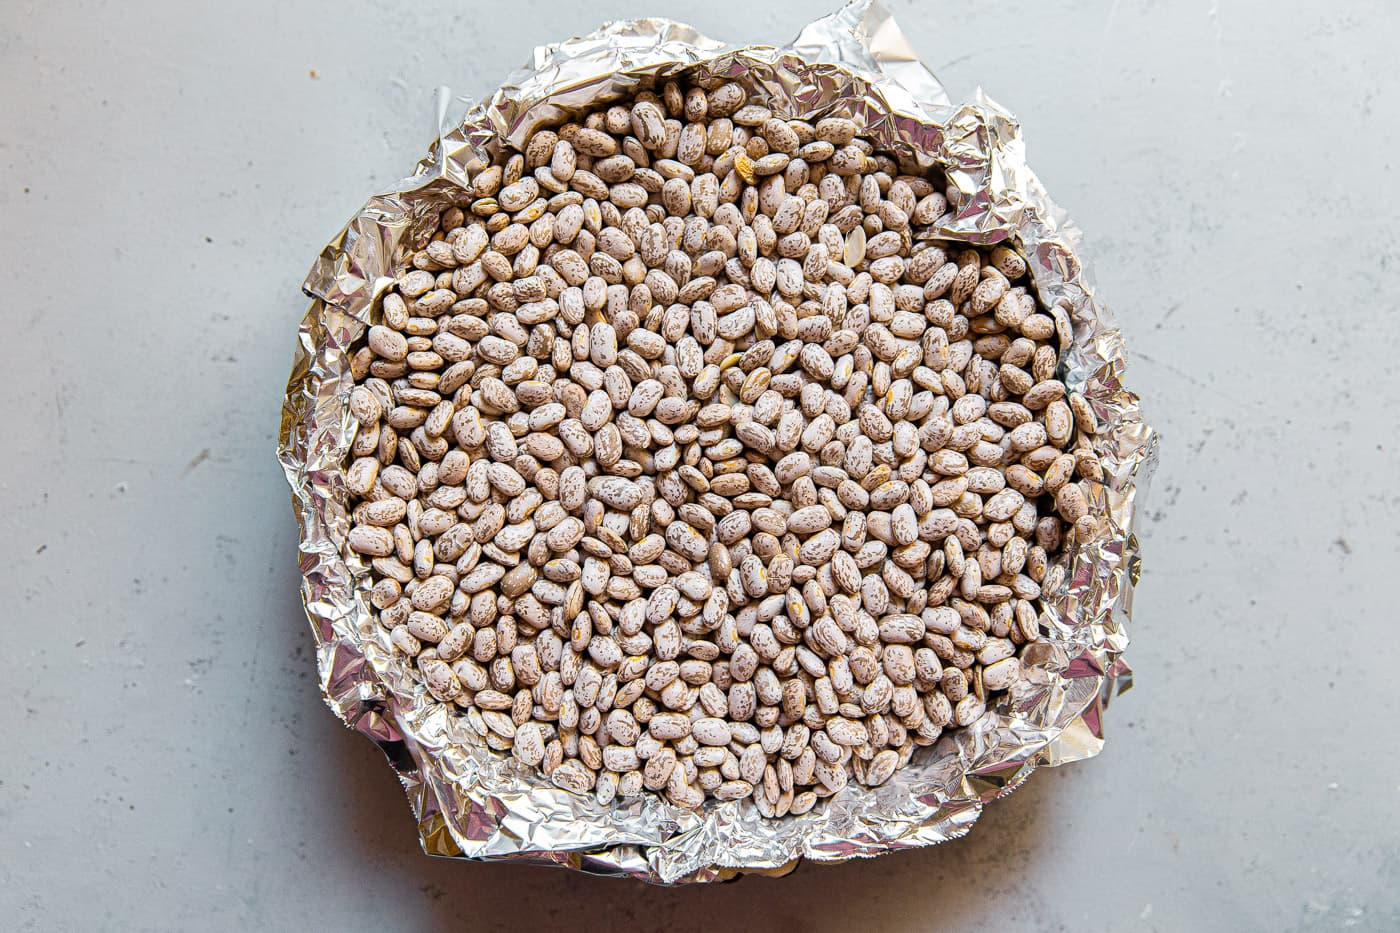
- Line and Weigh Down with Beans: Preheat the oven with a rack in the center position to 375°F (190°C). Remove the pie pan from the freezer, discarding the plastic wrap. Line with lightly buttered aluminum foil (if using non-stick foil, skip greasing – the shiny side should face out), fully covering the edges of the pan You will most likely need to use an additional sheet of foil.Fill all the way to the top with dried beans (*this holds the dough in place and keeps it from shrinking).
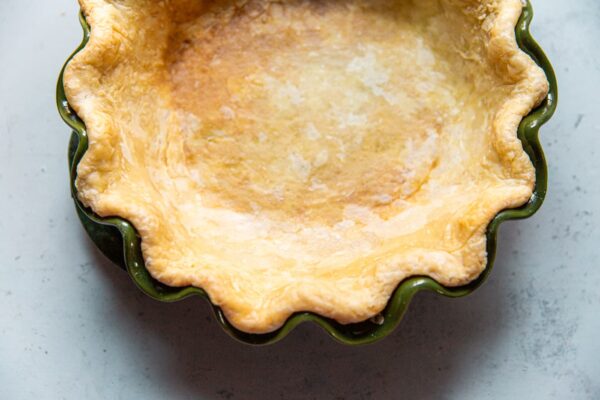
- Extended Pre-Bake (Blind Bake): Place the pan on a rimmed sheet pan and bake until the edges are crisp, lightly golden, and the bottom is dry, about 55 to 70 minutes (yes, it requires a long time!). Note: I recommend checking on the crust after 45 minutes – do this by gently pulling back one edge of the foil to check the crust color and texture. Continue baking, checking the crust every 10 minutes, as needed. The time can vary depending on dough thickness and the material of your pie pan.Carefully lift the foil with the beans and set aside in a bowl to cool (you can re-use the beans over and over again!). Set on a rack and allow the crust to cool. It can be lukewarm, but should not be hot when you add the filling.
Alternate Dough Making Methods:
- Stand Mixer: For those seeking a hands-off version, a stand mixer with the paddle attachment on low speed is a fantastic option. Combine and mix the dry ingredients. Over low speed, slowly add the cold butter and add the cold butter. Mix until the butter has broken into a mixture of larger and smaller size pieces, then slowly add the ice water.
- Food Processor: If you prefer a quick, time-saving method, a food processor makes quick work. Pulse the flour and salt. Add the cold butter to the bowl, tossing with your hands to coat the butter with flour. Cover and pulse until the butter is no larger than pea-sized. Add ice-cold water gradually, pulsing several times until the dough just starts to clump.
- Box Grater Method: This newer technique involves grating the cold butter using a box grater. While it distributes the butter very quickly and reduces clean up, based on my experience, I find that it doesn't lead to quite as flaky a crust. To each their own!
Serving: 8servings, Calories: 171kcal, Carbohydrates: 14g, Protein: 2g, Fat: 12g, Saturated Fat: 7g, Polyunsaturated Fat: 1g, Monounsaturated Fat: 3g, Trans Fat: 0.5g, Cholesterol: 31mg, Sodium: 238mg, Potassium: 24mg, Fiber: 1g, Sugar: 0.1g, Vitamin A: 360IU, Calcium: 7mg, Iron: 1mg