Spicy Tuna Onigiri
Homemade Onigiri – learn how to make homemade nigiri with this simple tuna onigiri recipe!
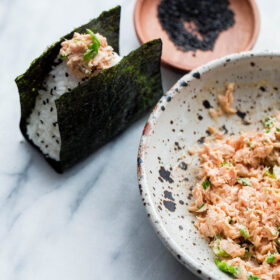
![Spicy Tuna Onigiri - homemade Japanese onigiri (traditional rice balls) filled with an EASY spicy tuna filling made from Bella Portofino olive oil packed tuna, mayonnaise, sriracha, scallions, and rice vinegar! [sponsored]](https://www.abeautifulplate.com/wp-content/uploads/2017/08/spicy-tuna-onigiri-3.jpg)
This post is brought to you by Bella Portofino.
If it wasn’t clear from Tuesday’s post, our trip to Japan in April was quite possibly one of the best travel experiences of our lives!
The people, culture, and cities drew me in more than I ever expected and hardly a week goes by that we don’t casually mention our desire to go back.
I would be lying if I didn’t admit that our culinary experiences in Japan (and all of those lovely meals we enjoyed there!) were the highlights of the trip. The care, precision, and dedication that Japanese chefs show towards ingredients is outstanding, inspiring, and unforgettable.
Sushi was just the tip of the iceberg.
One of the dark horse meals of our entire trip was at Ao Onigiri, a single-counter restaurant in the outskirts of Kyoto that specialized in traditional Japanese onigiri.
As was the case with most of the restaurants we visited during our time in Japan, it was unassuming from the outside and tucked in a residential back alley.
After we determined we were in the right place, we ducked our heads past the blue fabric hanging above the door and walked in to find several people sitting at a six-seat counter. The inside was tiny. Behind the counter, a chef moved with the precision of a dancer, shaping and serving onigiri.
The entire restaurant was a one-man operation. It couldn’t have been more efficient or impressive.
We sat down, chose our onigiri fillings (thankfully, there was an English menu!), wrote our order on a small piece of paper handed it to the chef, and within minutes had delicious Japanese onigiri placed in front of us ready to be devoured.
Let me tell you, I enjoyed quite a few onigiri during our time in Japan and these were remarkably delicious. The rice was cooked perfectly, the fillings were spot on, and the nori was delightfully crisp. Quite simply put, I loved them.
What is Onigiri?
If you’re unfamiliar with Japanese onigiri, they are essentially rice balls (often shaped into triangles) made from sushi rice and wrapped in nori (seaweed) sheets. While this is not always the case, most onigiri are filled with everything from pickled plum (uemboshi) to salmon, tuna, kelp, and everything in between. The choices are fairly endless.
Onigiri are one of the most popular, portable snack foods in Japan. Similar to foods in other cultures (eg. pasties in England!), onigiri have been a staple of Japanese cuisine for centuries and developed as an easy, self-preserved, on-the-go meal. You can find onigiri in every single convenience store (surprisingly good, but nowhere near as good as Ao Onigiri!) in Japan.
Since our trip, they’ve become one of my new favorite comfort foods and something I vowed to recreate (at the best of my ability!) once we got home.
In that spirit, I’ve teamed up with my friends at Bella Portofino to bring you these delicious, comforting homemade spicy tuna onigiri. Old tradition made new and modern. They are simpler than they appear, promise!
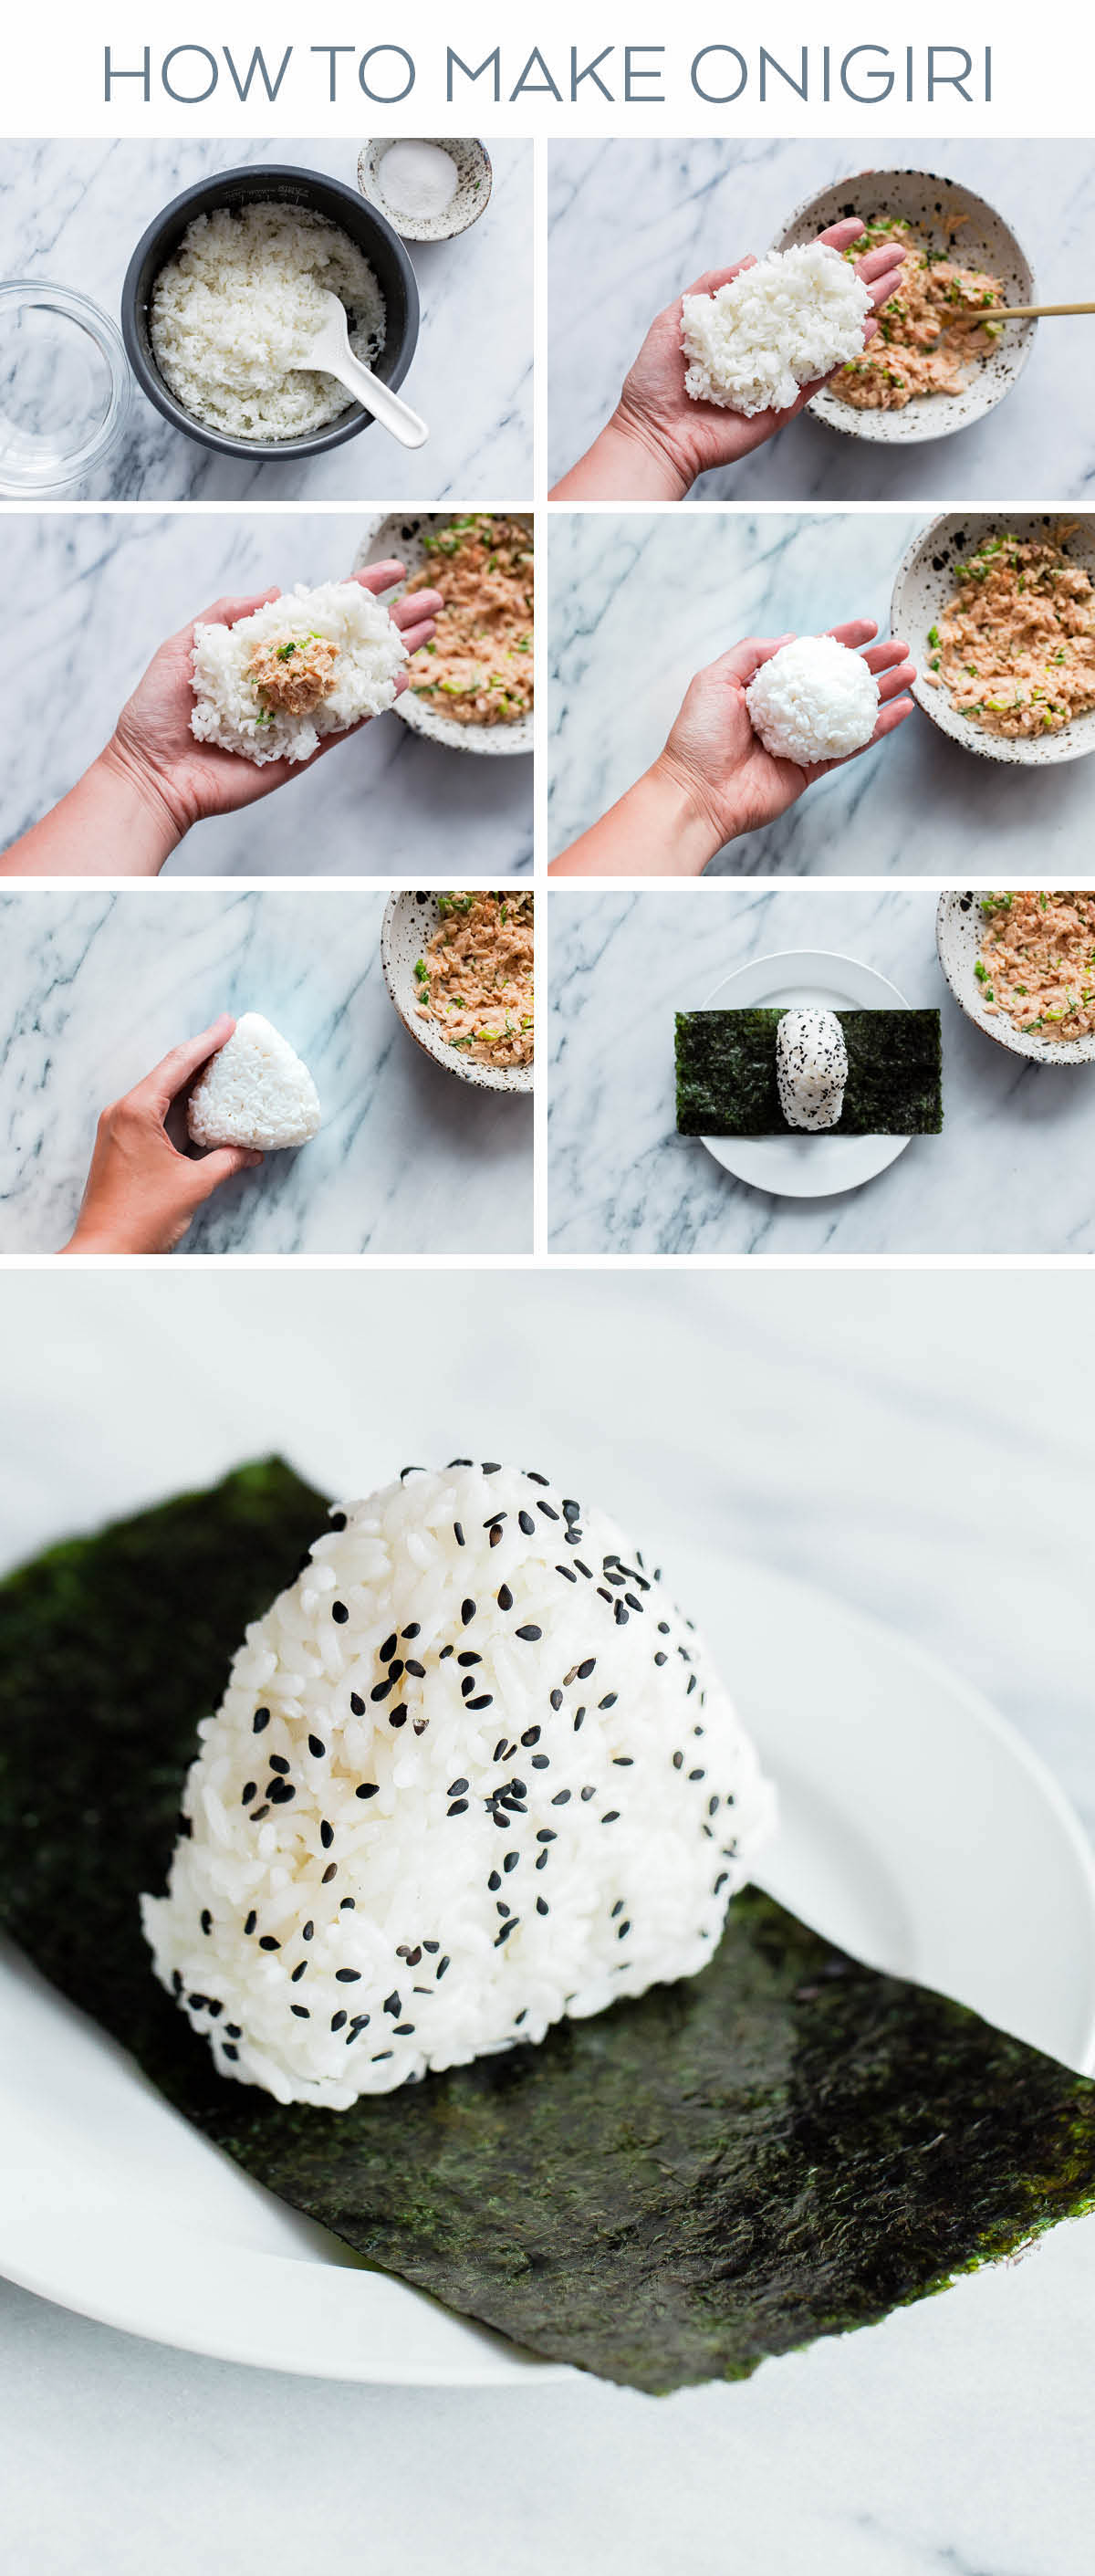
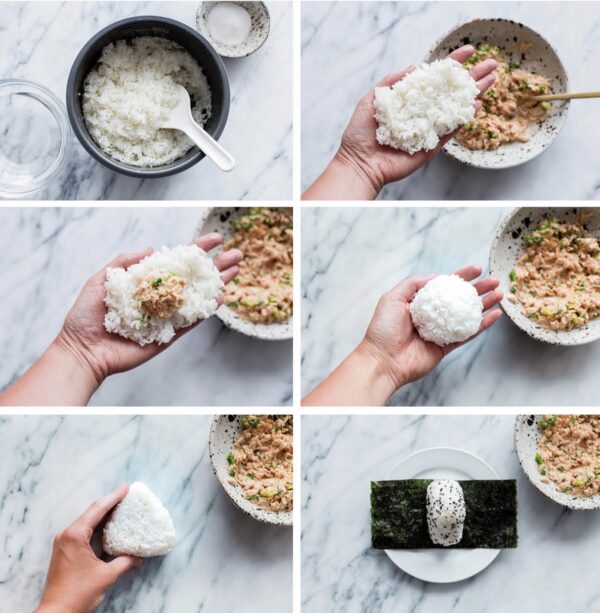
The biggest learning curve is the shaping process (and ensuring your rice is cooked properly – tip: a good rice cooker is best for this). I’ve shared step-by-step photos below!
What Do You Put Inside An Onigiri?
One of the more popular, modern onigiri fillings is a simple combination of extra virgin olive oil packed canned tuna and mayonnaise. It’s simple, but extremely flavorful and hearty! Bonus: it limits the number of specialty ingredients required to make these.
In keeping with this tradition, I put my own spin on it. While most Japanese cuisine is simple in concept, quality of ingredients is of the utmost importance. This applies to everything from the canned tuna to the sushi rice and nori.
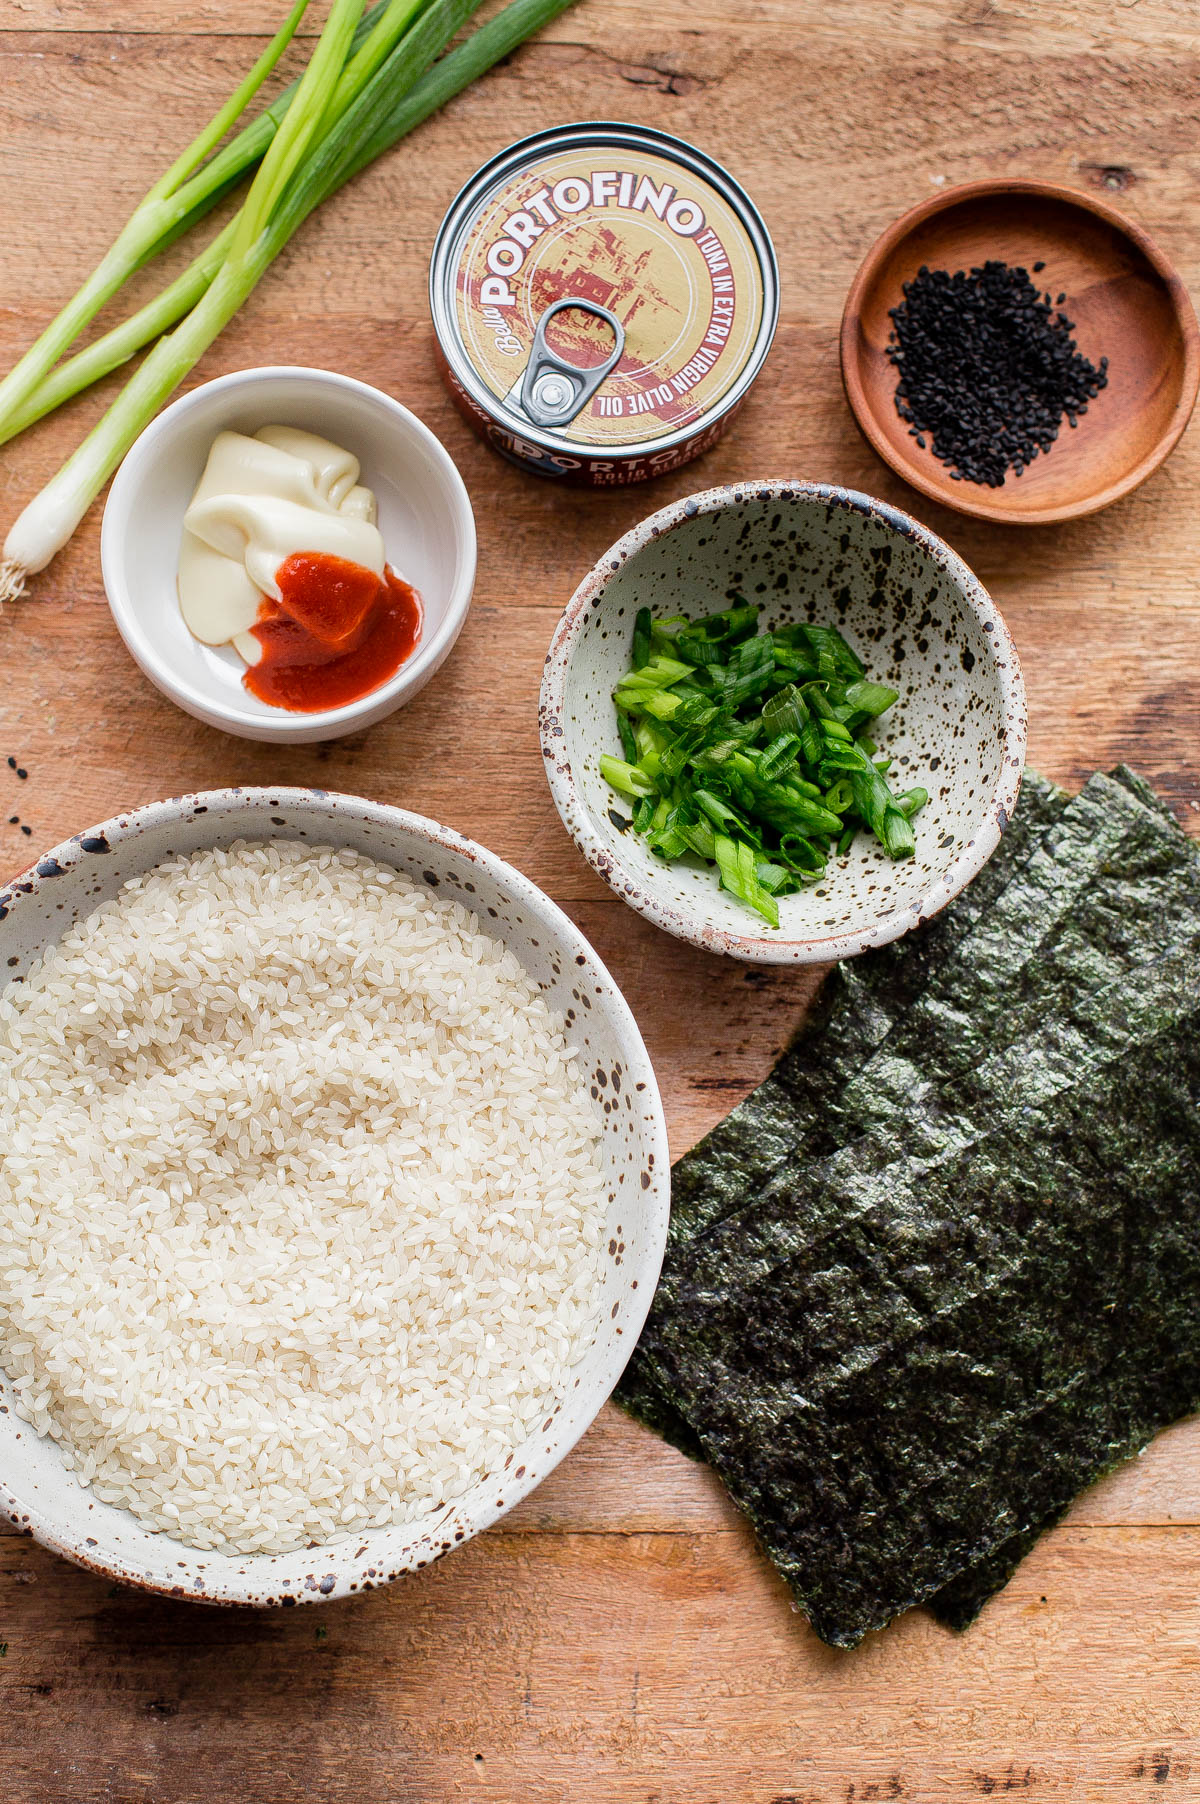
Spicy Tuna Onigiri Filling Ingredients:
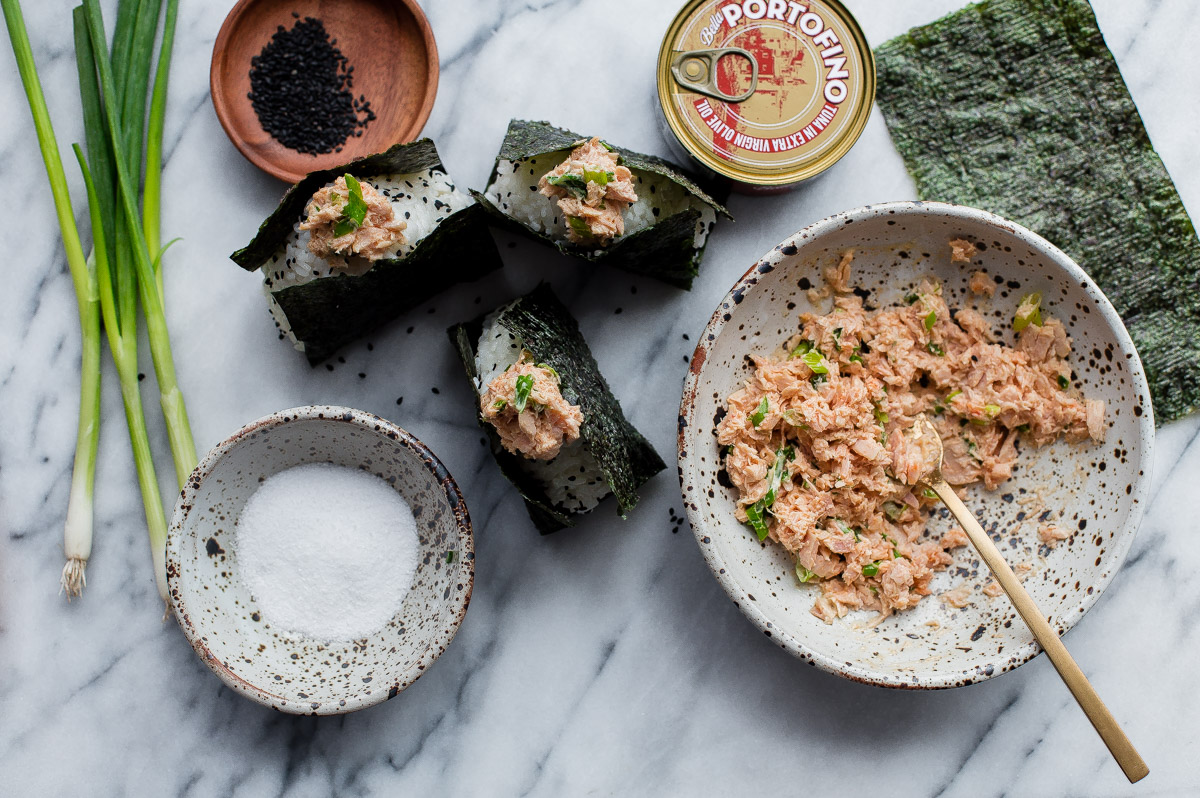
- extra virgin olive oil packed Albacore tuna (it has a great mild, yet rich flavor!)
- traditional mayonnaise
- sriracha hot sauce
- sliced scallions
- rice vinegar
Truthfully, this tuna mixture would taste just as great on a sandwich, but it tastes particularly delicious when combined with fluffy sushi rice and crispy, umami-rich nori.
Unlike sushi, which is prepared with sushi rice seasoned with rice vinegar and sugar, the sushi rice used to make onigiri is steamed and only lightly seasoned with salt during the shaping process – nothing else.
While I can’t quite promise these are just as good as the ones we enjoyed in Japan, they’re pretty darn close!
Spicy Tuna Onigiri
Ingredients
- 1½ cups Japanese short-grain rice (sushi rice) about 2 rice cooker cups
- 15 fluid ounces (440 mL) cold water
- kosher salt
- 1 (4.5-ounce) can Portofino Solid Albacore Tuna in Extra Virgin Olive Oil drained
- 1½ tablespoons mayonnaise
- 1 teaspoon sriracha hot sauce
- ½ teaspoon rice vinegar
- 1 scallion (green parts only) finely sliced
- toasted black sesame seeds for sprinkling (optional)
- 3 sheets toasted nori cut crosswise in half
Instructions
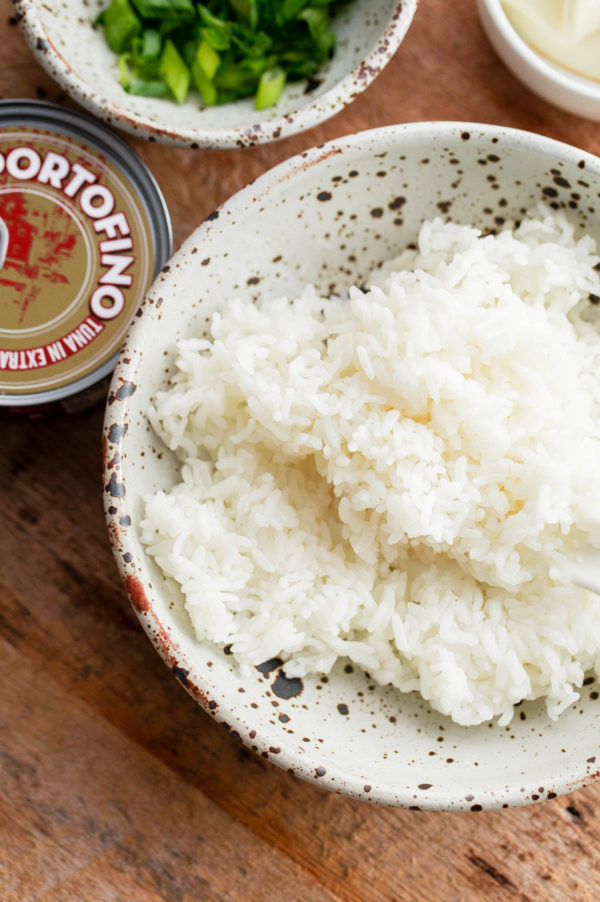
- Prepare the rice: Place the rice in a fine-meshed sieve and rinse well under cold water, rubbing the grains of rice between your fingers, until the water runs clear. This helps remove any excess starch and improves the texture of the rice once cooked. Drain well.
- Combine the rice and water, and cook in a rice cooker according to the manufacturer’s directions. This method will yield the best-textured sushi rice. If you do not own a rice cooker: Combine the rice and water in a medium (non-stick, if possible) saucepan. Bring to a boil, reduce heat to the low, and cook covered for 16 to 18 minutes or until the water has been completely absorbed. Remove from heat, gently fluff the rice with a rice paddle or wooden spoon, place a clean kitchen towel over the pot, top with the lid again, and let stand covered for 10 minutes. While the rice cools slightly, prepare the onigiri filling.
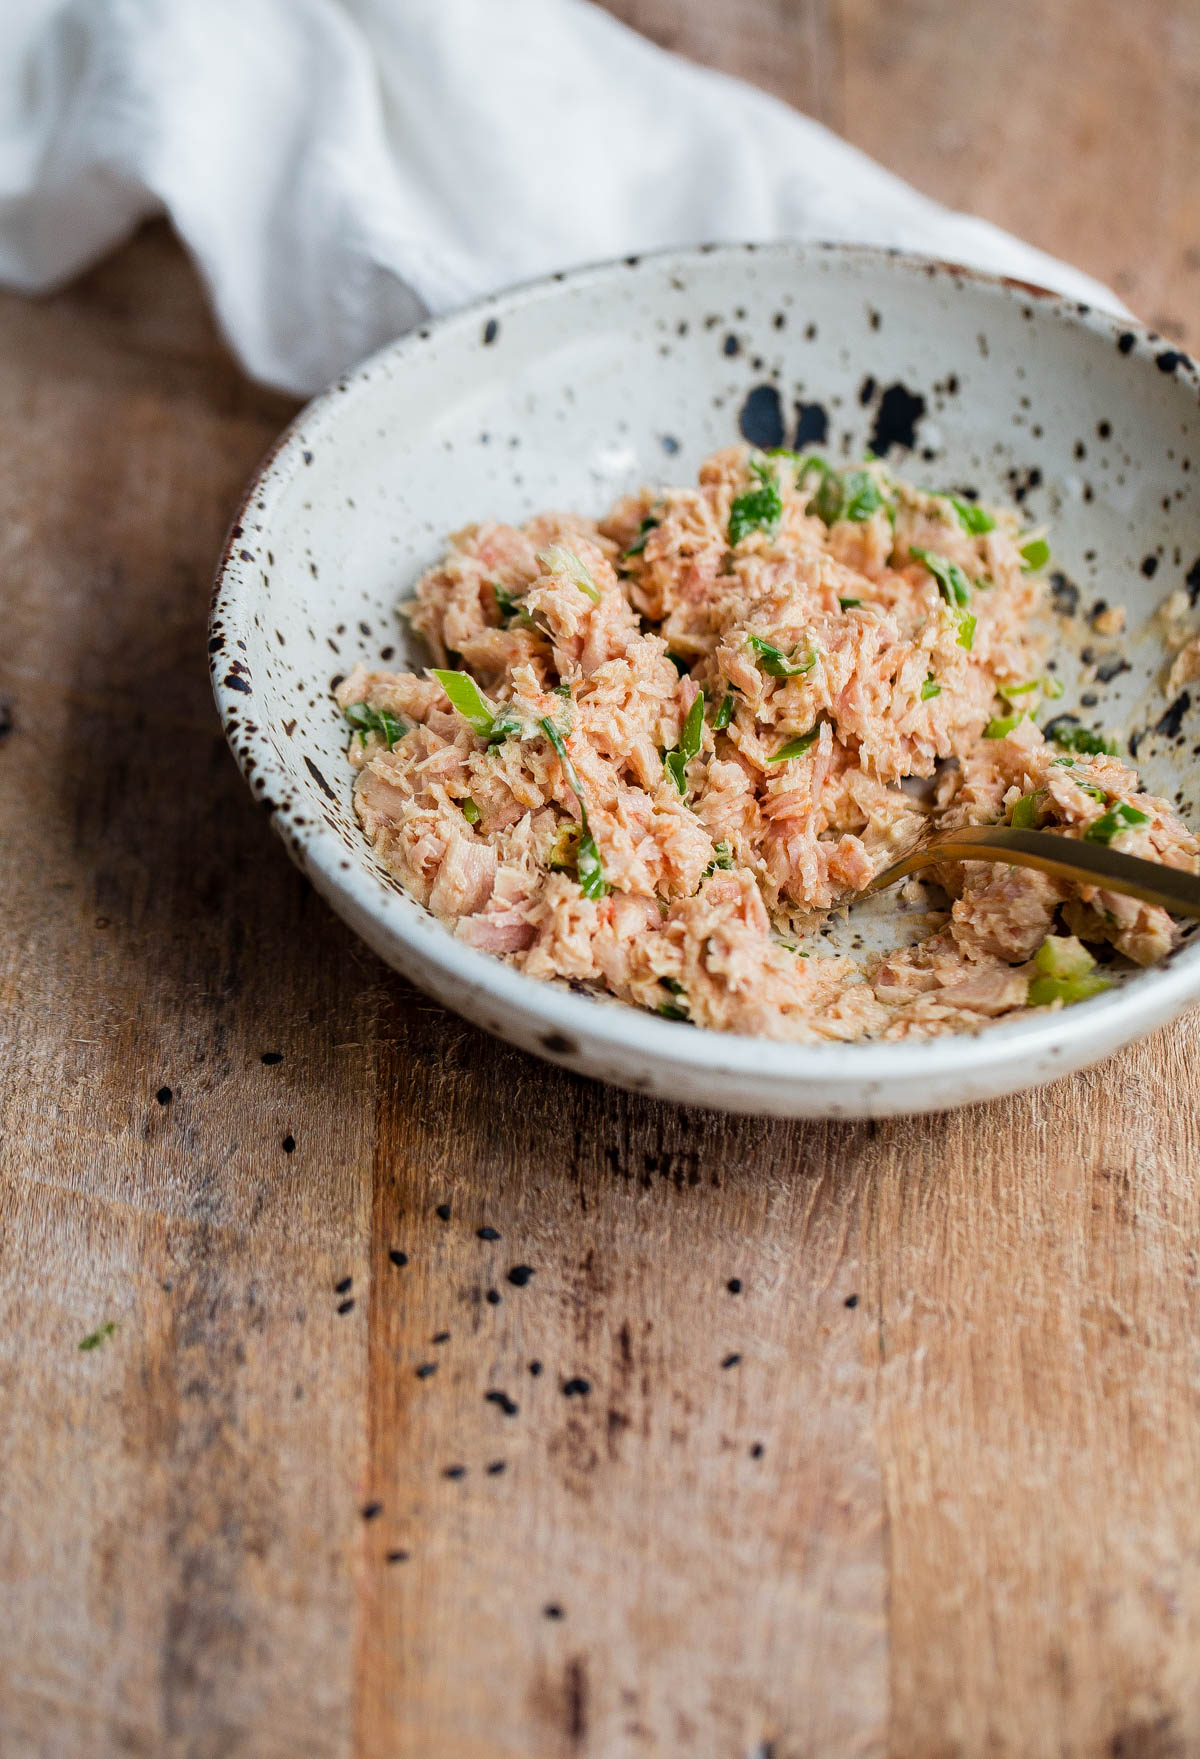
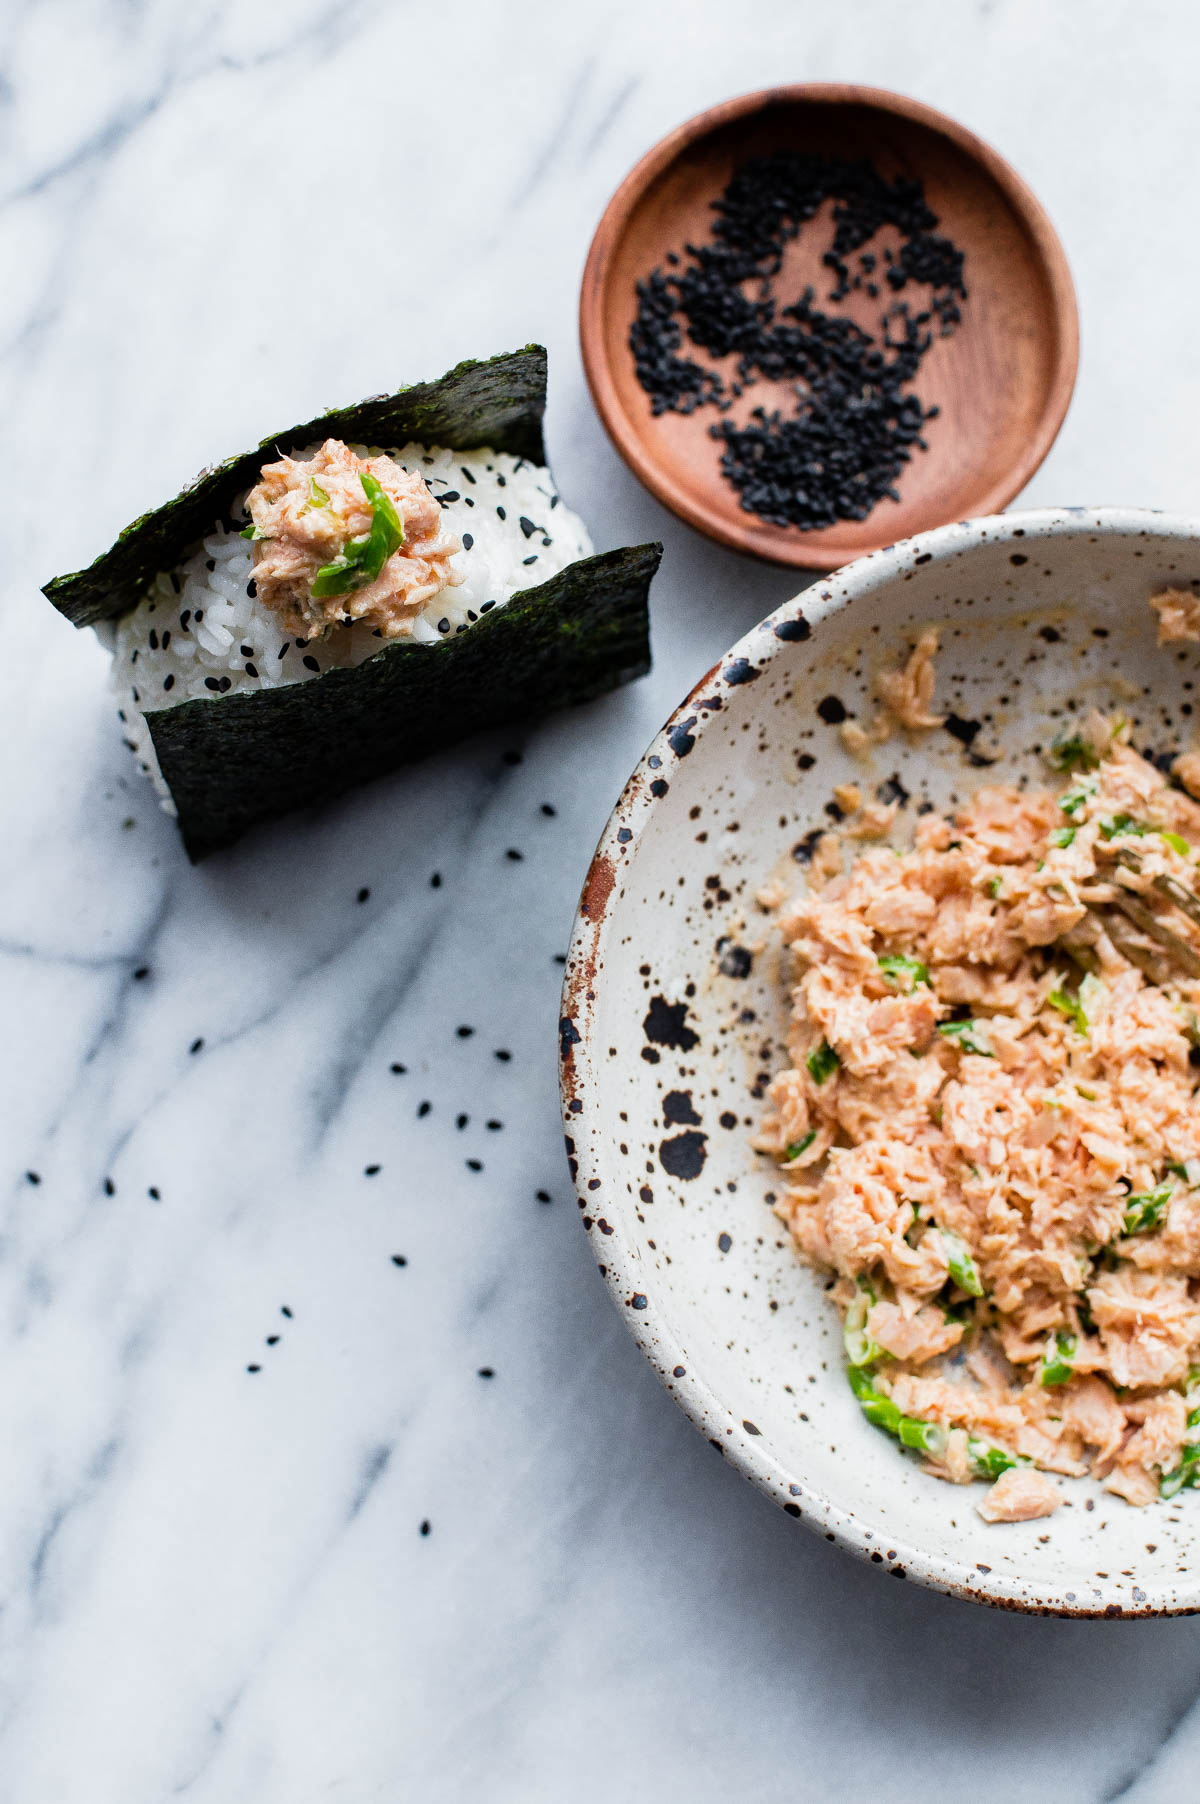
- Make the filling: In a medium bowl, combine the albacore tuna, mayonnaise, hot sauce, and rice vinegar with a fork until evenly combined. Stir in the scallions.
- Assemble: Set aside a medium bowl of room temperature water and a small bowl of kosher salt for pinching. Once the sushi rice is cool enough to handle, start assembling the onigiri by hand.
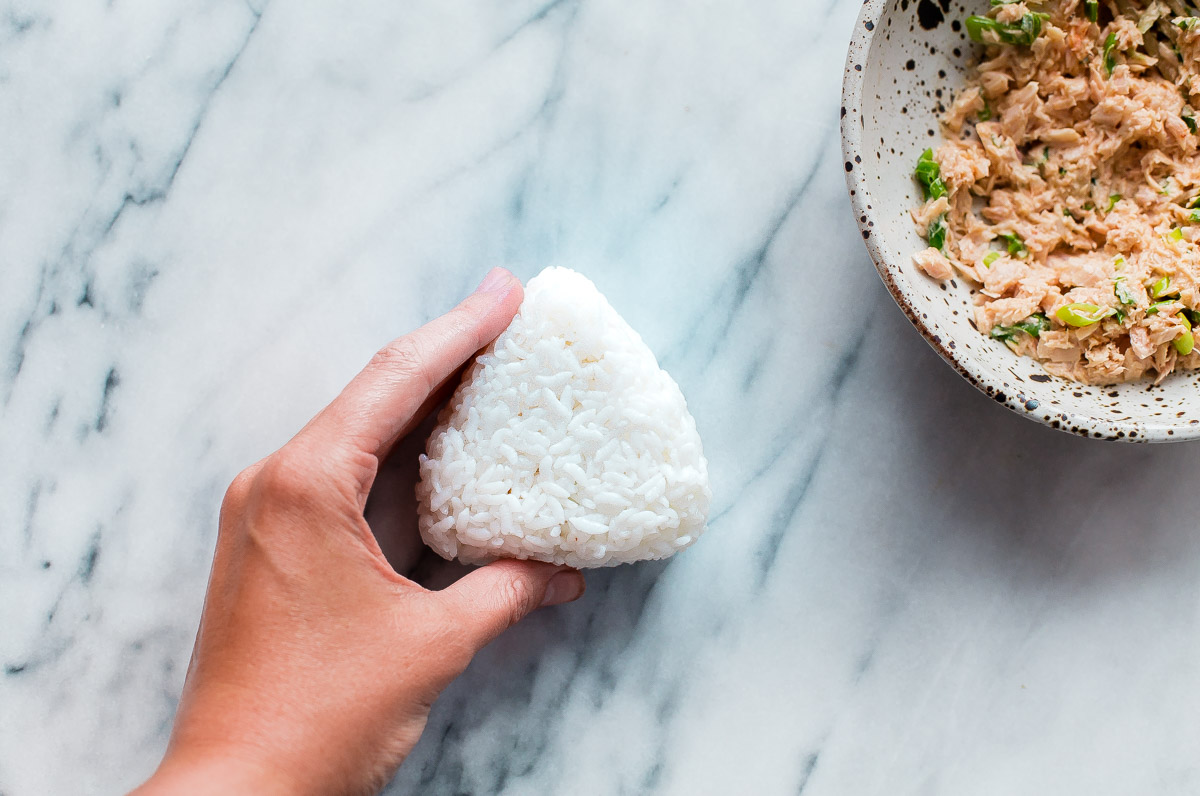
- Lightly moisten your hands by dipping them in the water bowl (this will help prevent the rice from sticking to your hands during shaping). Sprinkle both of your palms lightly with kosher salt and rub them together. Grab roughly a ½ cup of sushi rice and gently press into a thick oblong shape in one palm of your hand. Add a tablespoon of the tuna filling, pinched together with your fingertips, to the center of the rice and close the rice over the filling. [If necessary, use an additional pinch or two of rice to cover the filling.]
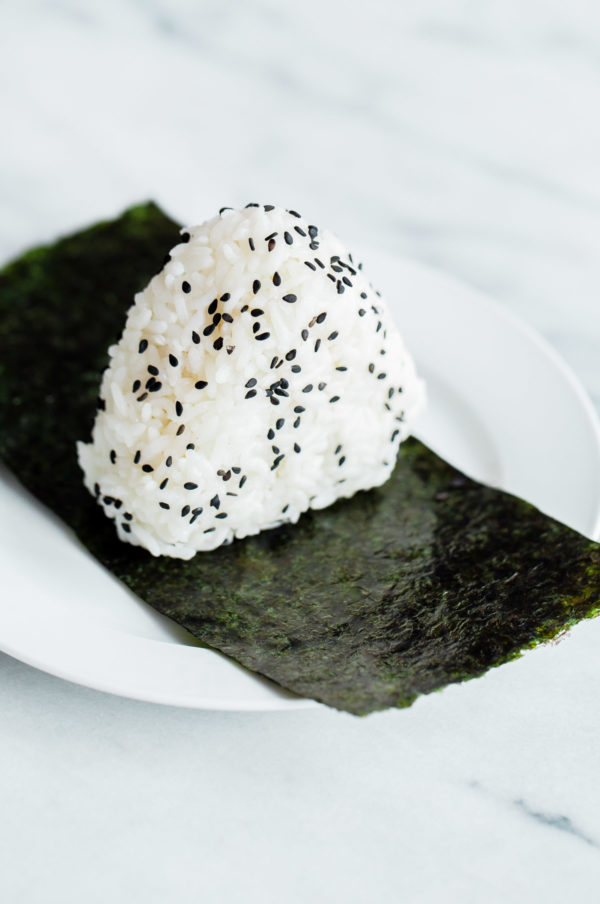
- Gently shape the rice ball into a wide triangular shape using the palms of one hand and the fingers of your other hand, rotating the rice ball as you go. Avoid compressing the rice too hard, it should hold together well but be lightly packed. Sprinkle the outside of the onigiri with black sesame seeds. Wrap each onirigi in a nori sheet and place an additional small spoonful of tuna filling on the top of each onigiri. Serve immediately.
Tips for Success:
- Unlike sushi, which is prepared with sushi rice seasoned with rice vinegar and sugar, onigiri is made with steamed rice that is lightly seasoned with salt during the shaping process – nothing else.
This post was created in partnership with Bella Portofino and I received compensation for my participation. Opinions are my own. Thank you for your support!

34 Comments on “Spicy Tuna Onigiri”
Great recipe with easy to follow instructions. I used jasmine rice since I buy that in bulk, did not wash it so it would be sticky. Still had a hard time shaping the onigiri, but managed to make it work. Tuna filling was so good, I ate the rest of it on top of the bowl of leftover rice with some furikake. Delicious
How many rice balls is a serving? Is the entire recipe one service or does this recipe make more than one? Adding this to my meal prep and I have to track my macros!
Hi, this information is in the recipe card under servings/yield. Servings are always a little arbitrary depending on if you’re serving something with other dishes, etc. and I am not a nutritionist. However, I would say 1 to 1.5 onigiri is a solid serving size for a meal.
What can you use instead of mayo?
Kewpie would be a good choice, but I personally wouldn’t do anything but mayo (maybe mashed avocado?) if you want this to taste right.
Seasoned rice vinegar, plain rice vinegar, or sesame seasoned rice vinegar
I use plain.
I am going to teach myself how to make spicy tuna onigiri and then many others,….to have as an every day dietary item and teach others they could do this also….for their own lifestyle eating !!!!!
Just tried this and it’s delicious! Brought me back to the days I was living in Japan and getting onigiris on my way to work 😊
High compliment, thank you so much Jasmine! They were so incredible there!
I’ve never made onigiri before and used this recipe today. I usually do the tuna salad but wanted to try something different with the can of tuna. I had just the exact ingredients minus the black sesame seeds. I used a 5oz can of albacore tuna from Walmart. I did add more Sriracha to up the spicyness and Kewpie for a touch more creaminess and another tiny splash of rice vinegar to adjust for the 0.5oz extra (your recipe uses a 4.5oz can). As a finishing touch (in addition to the nori), I did sprinkle some furikake on the tip top. Everything came out beautifully and was so easy to make I think it only took me about 10 minutes, making 3 for my sister, 2 for my dad and then 2 for myself. I will be making this again as it was a delicious snack. Thank you for this amazingly easy to do recipe!
So happy to hear this Molly! They really are so much easier to make than one might think. Thank you for taking the time to leave a review, it is very helpful for others and helps support my business a lot!
Reminds me of Okinawa- delicious!
This recipe is amazing. It was so so tasty. I loved it.
My daughter loved it and my wife who doesn’t like seaweed loved it. Win all around.
Thank you.
So thrilled to hear this! Thank you for taking the time to leave a comment and recipe review, it’s so helpful to me and others! 🙂
I usually never leave reviews on recipes, but we loved these so much that I’m taking the time to do it now. Seriously, my husband and I were blown away by how delicious these turned out to be! I couldn’t find the tuna listed, so I used the most ethically sourced albacore I could find locally and it worked out great. Also, I used Kewpie Mayo, which made the filling super creamy, so I highly recommend it! Thank you so much for posting! This is definitely a new staple in our house.
Thank you so much for taking the time to leave a review! It really means a lot to me, and is so helpful for others visiting my website. ? So glad to hear that you enjoyed these and they’re going to become a staple. Great idea with the Kewpie mayo too!!
will definitely try. although knowing me ti will definitely take many times to achiev good shape. absolutely love most asian style foods and this sounds and looks great
Hi do you drain the tuna or do you just mix it with the mayo right away?
Monica
Hi Monica! The tuna is drained, I have that detail laid out in the ingredient list. Hope this clears things up. Thanks for your question!
Hi!
Thank you so much for posting this recipe 🙂
I wanted to know what you thought would be the best way to keep the tuna mix and the rice in the fridge. I wonder if I can prepare those and leave them in my fridge over night for tomorrow’s lunch and if I should leave them assembled already or put the ingredients in seperate containers.
Thank you!
Hi Myriam! It’s best to eat raw tuna pretty quickly after buying/preparing it – so I would only leave it overnight or 24 hours max (only if it is very good quality too), but you could put the tuna mixture in a glass bowl, cover the surface with plastic wrap, then lid, and refrigerate. The rice should be stored in a separate container in the fridge, but maybe allow it to come to room temperature before serving with the tuna, so that it isn’t chewy or unpleasant. Hope this helps!
This looks a bit daunting but I loved visiting Japan so much that I am going to have to try this. Looks delicous!
What a beautiful post!!! Love this recipe – so fresh and I have to try it! -CK
Here you go making me SO ANXIOUS TO GO BACK TO JAPAN. I must make this at home and pretend I am back there. <3
This looks good. While I have been to Korea with the military (even stepped foot in N Korea in the UN buildings) and loved the food there, I dream of getting back to that part of the world and specifically Japan. The food adventures sound like they could be marvelous.
Love love LOVE onigiri!! Soooo hungry, as always, after reading your posts. Love it!!
omg onigiri is my faves, it never occurred to me to make it at home! japan sounds amazing! xo
They look soo pretty! 🙂 Will be trying these the next time I am making sushi!
Sounds like an incredible trip! And this Onigiri looks magical.
Oh yum, these Onigiri look wonderful. Japan’s food is really another level of food quality. You’ll probably find super delicious onigiris at any 7Eleven or gas station in Japan. Can’t wait to make your version 🙂 x Kati
YES! It really is. This guy was a PRO! I wish I could have watched him make them for hours and asked him more (language barriers, bummer!). All of the convenience stores were so awesome there and I definitely got a few onigiri for the bullet train ride. I have to say, the spot in Kyoto blew them out of the water though!
These look delicious – and I’ve been wanting to know how to make these for ages!
Thanks so much Rachel! So glad you found it helpful! The shaping takes a bit of practice, but you’ll get the hang of it quickly and the filling possibilities are truly endless.