Red Wine and Tomato Braised Chicken
Simple red wine and tomato braised chicken drumsticks. Easy and delicious comfort food for the fall or winter months!
The art of braising – heating and cooking meat in liquid over a long period of time – is easily one of my favorite methods of cooking. If done correctly, it yields the most succulent meat imaginable and makes the simplest of ingredients shine.
Braising is best reserved for tough cuts of meat (chuck, brisket, short ribs, shanks, etc.), which coincidentally are also the most flavorful.
To put it quite simply, tough cuts of meat come from the most-used muscles of an animal. Generally, this includes the legs, shoulders, neck, and chest, as well as tails (example: oxtail). This Red Wine and Tomato Braised Chicken is prepared entirely with drumsticks. While chicken drumsticks do not have to be braised, they are even more delicious prepared this way.
Not only do these cuts of meats yield more flavor, but they also tend to be more affordable. Within weeks of starting culinary school, we were introduced to braising. In barely any time at all, we were braising some sort of ingredient almost every day. It became routine.
The most important factor in braised dishes is time. If you rush the process (either by cooking the meat at too high a temperature or not long enough), you’ll miss out and most likely end up with tough meat. However, if you’re patient, your efforts will be rewarded.
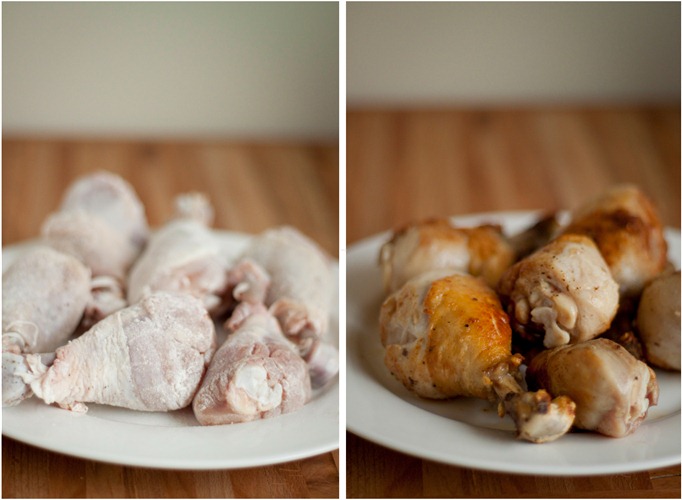
The first and most important step in braising anything is searing the meat in some oil at a high temperature. To soak up any excess moisture, I lightly dredge the meat with flour.
This step also helps thicken the braising liquid as well. In many ways, it is similar in concept to a roux.
If you want to get fancy, French the chicken drumsticks. Cutting the tendons and ligaments near the knuckle allows the meat to plump and pull together during cooking and, in my opinion, results in more tender meat.
This adds an extra step, but if you’re comfortable with the technique, I highly recommend it.
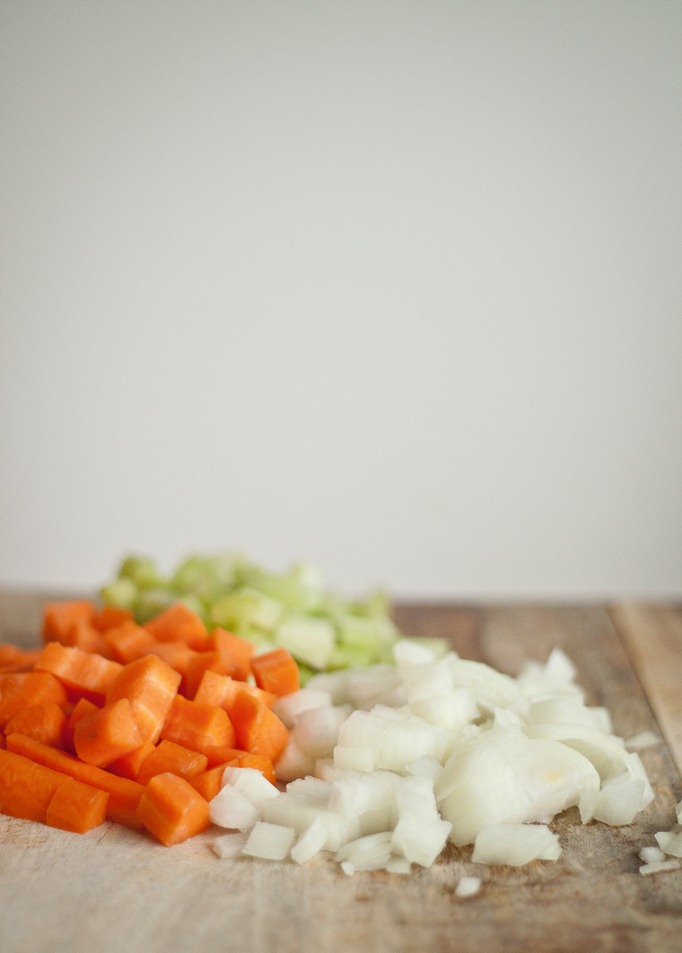
Browning the meat (which produces a Maillard reaction) not only contributes and brings out a ton of flavor in the final dish, but also produces those delicious brown bits on the bottom of the pan, which are then deglazed with mirepoix (a fancy term for onions, carrots, and celery), wine, and stock.
Once all of these steps are completed, you simply add stock, return the meat to the pot, and bring everything to a very low simmer (basically, you want some small bubbles every couple seconds). Cover the pot and cook for about 2 to 3 hours, checking every 30 minutes or so, stirring occasionally if necessary.
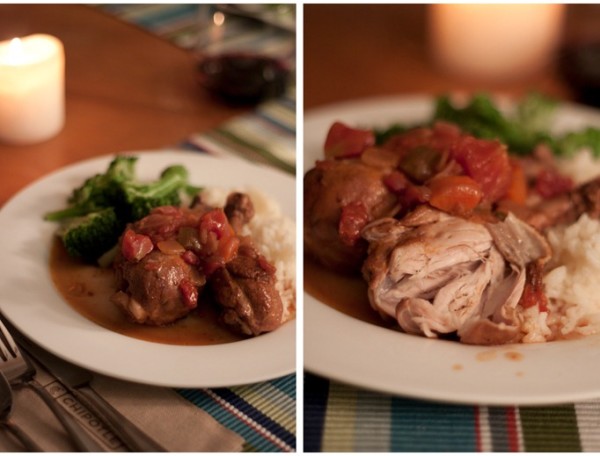
The chicken should be extremely tender and almost falling off the bone.
You can serve this dish with a simple basmati rice pilaf, but I prefer Yukon Gold mashed potatoes for soaking up all of that delicious sauce!
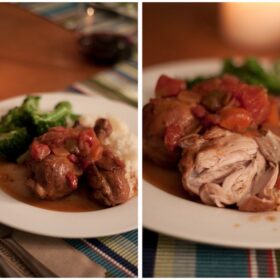
Red Wine and Tomato Braised Chicken
Ingredients
- unbleached all-purpose flour for dredging
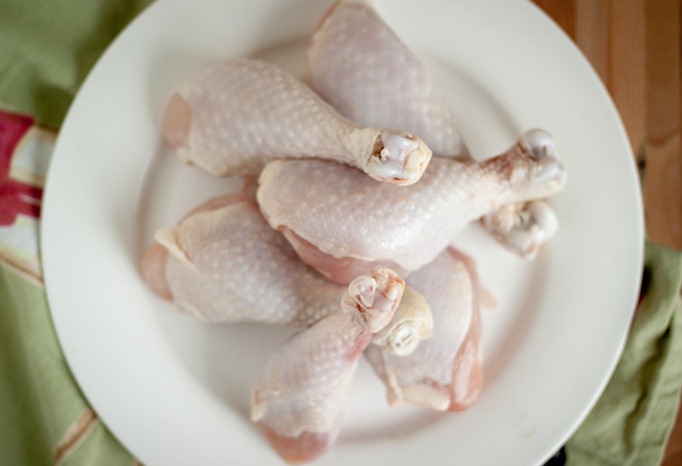
- 2 lbs chicken drumsticks (skin-on) or chicken thighs roughly 2 drumsticks per serving
- kosher salt
- freshly ground black pepper
- vegetable oil
- 1 cup diced yellow onion roughly 1 small yellow onion
- ¾ cup diced carrot peeled
- ¾ cup diced celery stalks
- 1 tablespoon tomato paste
- ⅓ cup (80 mL) dry red wine
- 2 dried bay leaves
- 2 cups (480 mL) low-sodium chicken stock low-sodium
- 1 (14.5-ounce) can diced tomatoes
Instructions
- Remove the chicken drumsticks from the fridge and allow them to sit out at room temperature for about 30 minutes. Using a small knife, carefully French the drumsticks (leaving the skin on - this simply involves trimming the tendon and cleaning the bone).
- Season the drumsticks generously with salt and pepper. Lightly dredge the drumsticks in the all purpose flour.
- Heat a large Dutch Oven (5 to 6 Quarts) or heavy-bottomed pot over medium-high heat. Add a small layer of vegetable oil. Once the oil is shimmering, add the drumsticks to the pan, setting them apart by 1 to 2 inches. You may need to sear the drumsticks in batches to avoid over-crowding the pan.
- Sear the drumsticks until golden brown on all sides (be careful when flipping the pieces as the oil may splatter). Once the drumsticks are finished searing, set them aside on a large rimmed plate. If needed, you may need to add a bit more oil to the pot between batches.
- Once the drumsticks are seared, return the pan to medium high heat - leave roughly 1-2 tablespoons of chicken fat in the pan - and add the chopped onions to the pan, sautéing them for 3 to 5 minutes, stirring frequently. Add the diced carrots and celery and continue to cook over medium heat, allowing the vegetables to gain some color and caramelize. If they gain too much color, add a small splash of water to the pan to deglaze and add moisture.
- Add the tomato paste and cook for for 1 to 2 minutes, stirring constantly, until thickened. Deglaze the pan with the red wine and using the edge of a wooden spoon, scrape any caramelized bits off the bottom of the pan. Continue to cook until the wine has reduced significantly and the mixture is very thick (and the pan is almost dry).
- Add the bay leaves, chicken stock, and diced tomatoes to the pot. Bring to a low simmer and then carefully add the seared drumsticks (and any juices on then plate) to the pot. The stock should submerge the drumsticks a third or halfway up.
- Cover and braise the chicken - the cooking liquid should be at a very low simmer (a couple small bubbles every few seconds) - for 2 to 2½ hours. Check the pot every 30 minutes or so, adjusting the heat as needed and stirring occasionally, or until the meat is very tender and almost falling off the bone.
- Before serving, season to taste with salt and pepper. Serve with Yukon Gold mashed potatoes and vegetables (these green beans almondine would be an excellent choice!) for a wonderful, comforting main course.
- Note: If you have leftover braising liquid, do not throw it out. It is full of flavor and body (gelatin). Use as a pasta sauce, soup, or stock base. It can also be reduced, strained and made into a delicious pan sauce!
Tips for Success:
- If you have leftover braising liquid, do not throw it out. It is full of flavor and body (gelatin). Use as a pasta sauce, soup, or stock base. It can also be reduced, strained and made into a delicious pan sauce!

13 Comments on “Red Wine and Tomato Braised Chicken”
I used chicken thighs in this recipe, but otherwise followed it exactly. I thought it was excellent! I served it with some simple garlic mashed potatoes and steamed broccoli. Normally my husband is the bigger meat and potatoes lover in our family, but at eight months pregnant, this type of meal hits the spot perfectly. My toddler liked it too. He called it “soup” and slurped up lots of the braising liquid! 😉
I love that your toddler loved it as well! That makes me so happy. Thanks for leaving your feedback Laura! I really appreciate it. And congratulations on your next little one! My sister is 8 months pregnant as well, and expecting her second baby at the end of this month. Very exciting!
Absolutely delicious!! Simple, healthy ingredients and not complicated to make. This was definitely a hit at home, thank you!
Thrilled you liked it! Thanks Karen!
Only had red wine and pick of the chick in the freezer and it didn’t defrost till three p.m. with a quick run to the market for mirepoix ingredients and bay leaves (how I could be out of those) was able to get the chicken browned by five almost exactly three hours later had a later night European dinner for the family. Even went with the steamed fresh broccoli and mashed potatoes! Merci Merci Bon Appetite!
Thank you so so much!! So glad to hear that you and your family enjoyed it. That reminds me that I need to make it again soon–perhaps when the temperatures go down by 20 degrees or so, haha 🙂
Elizabeth — Yes, I definitely insist! 🙂 Heck, you will have just made dinner, reward yourself.
This looks wonderful and then, I guess, I will have have to drink the wine with dinner. If you insist 🙂
Nicole — Thanks for asking this question! Since chicken breasts don't have as much fat and are a different type of muscle, they really are not suitable for braising. You would end up with very dry, flavorless chicken, unfortunately.
Plus, the bones from drumsticks (and/or thighs) are adding a ton of flavor and body to the braising liquid. Hope this helps!
Would this technic/recipe work with chicken breasts?
This looks good Laura, I'll have to try it. I can't believe you didn't add garlic?!?! I love the last picture with the picked bone.
I love chicken braised in red wine! Of course I never know any of the technical terms for anything that I do in the kitchen (except mise en place; thanks top chef!) so I just learned a lot! Thanks 🙂
I love chicken, so, this works for me. Nice work and thanks for the recipe 🙂