Flaky Quiche Crust Recipe
An excellent quiche starts a great foundation: a flaky, buttery pre-baked crust.
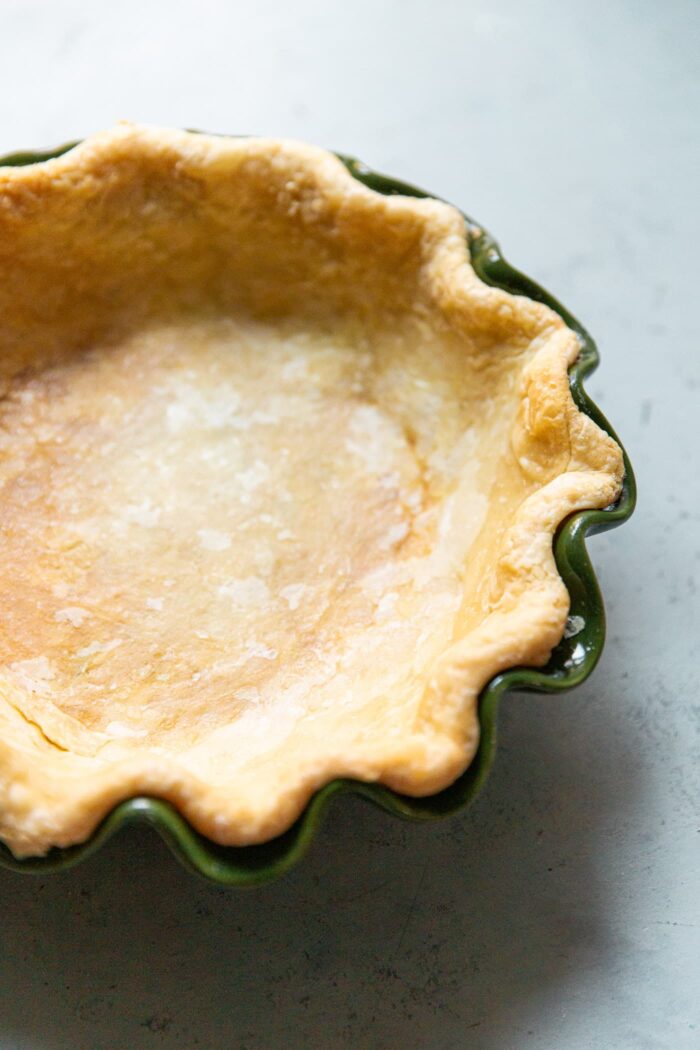
Today I’m sharing my favorite quiche crust recipe, along with various methods for preparing the dough. Feel free to choose the method that suits your preference or the equipment you have at hand.
Use this recipe and method for your favorite quiche recipes, including this Gruyère Leek Quiche.
What Sets This Recipe Apart:
Inspired by Stella Parks, this quiche crust relies on a single extended pre-bake, often known as a blind bake. This genius method eliminates the need to dock the dough or juggle two separate baking periods.
The outcome? An exceptionally flaky, sturdy crust that holds its shape and won’t shrink or puff up.
PRO TIP: While this article is tailored for homemade quiche, feel free to apply this recipe and technique to any savory pie of choice.
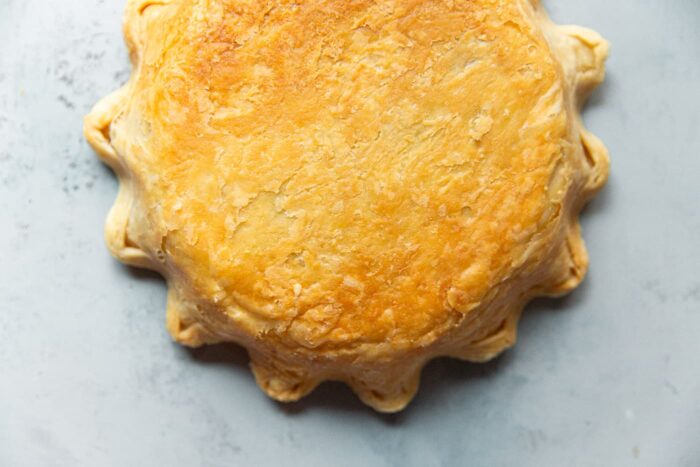
Quiche Crust Ingredients:
The magic of a flaky quiche crust lies in its simplicity. Here are the ingredients you’ll need:
- ALL-PURPOSE FLOUR: its moderate protein content strikes a balance, allowing for structure while preserving tenderness, resulting in a flaky and tender quiche crust.
- SALT: enhances the crust’s flavor. I recommend Diamond Crystal Kosher Salt, my preference for cooking and baking, but have included weight here. We’re going for 2% by weight (relative to flour). If using other salt brands, halve the quantity to account for higher density (read this article on cooking salts for more information).
- UNSALTED BUTTER: this recipe is for an all-butter quiche crust, which produces a superior-tasting pastry.
- ICE WATER: water brings the dough together while keeping it cold. Gradually add ice-cold water to your dough mixture until it’s just moist enough to hold together.
Tips for Success:
- Keep Everything Cold: cold ingredients are of the utmost importance for flakiness. From butter to flour and water, the colder, the better.
- Master Technique: the technique of cutting cold butter into flour matters. Explore my favorite method (as well as three alternate methods) below, each with unique benefits.
- Handle Water with Care: the goal is to bring the dough together, while minimizing gluten development (which can result in a chewy crust). The dough shouldn’t crumble or feel dry, but it should never be wet.
- Rest and Chill: after preparing the dough, wrap it tightly and refrigerate for at least 30 minutes before rolling. This resting period chills the dough and allows the gluten to relax, which makes rolling it out much easier.
How to Make Quiche Crust:
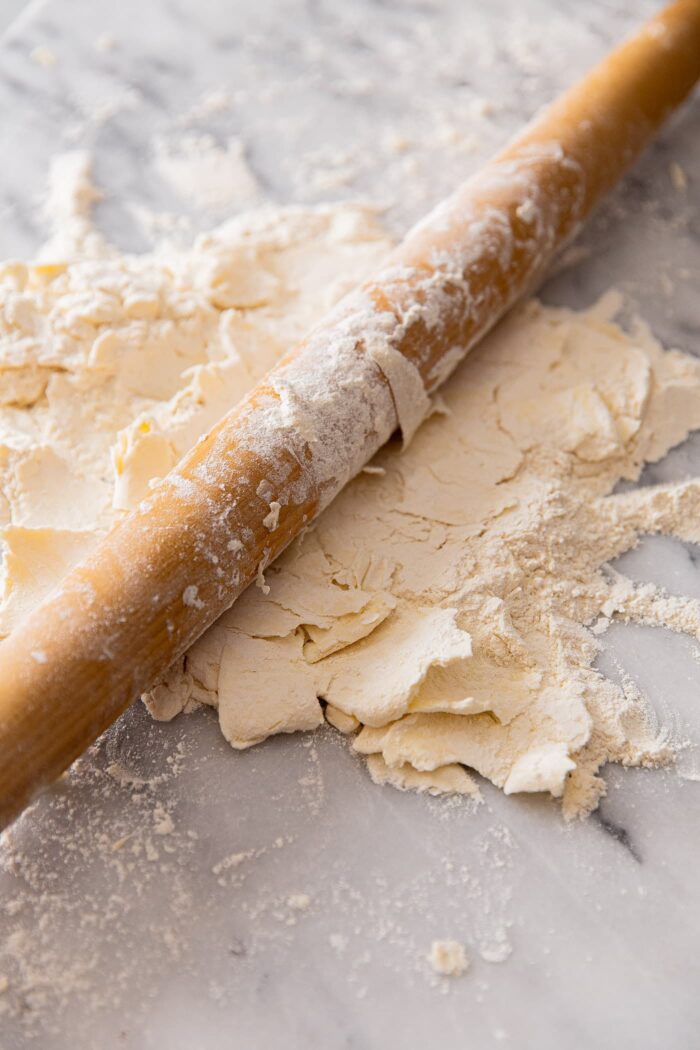
Here’s the exciting part – there are a variety of methods to prepare the quich dough. After testing many methods, I’ve determined that rolling in the butter, yields an extra-flaky crust and offers greater control. Feel free to experiment with these methods to find your personal favorite!
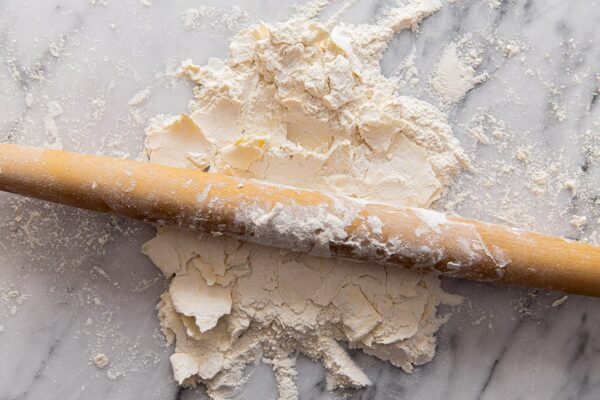
- Rolling in the Butter: This approach utilizes a rolling pin to create layers of butter within the flour mixture, results in a supremely flaky quiche crust. This method requires minimal equipment and offers a tactile experience.
- Stand Mixer: For those looking for a hands-off approach, a stand mixer with a paddle attachment is a great alternative – and provides more control than the food processor method outlined below.
- Food Processor: If you prefer a convenient, time-saving method, a food processor is a good option. Pulse the cold butter and flour mixture until the butter is no larger than pea-sized. Add ice-cold water gradually while pulsing until the dough just begins to form clumps.
- Box Grater Method: This newer technique involves grating the cold butter with a box grater. While it distributes the butter quickly with minimal clean-up, in my experience, it doesn’t produce as flaky a crust.
How to Pre-Bake (Blind Bake) Quiche Crust:
Pre-baking, or blind baking, means to fully bake a crust. This is a critical step for custard fillings. It prevents a soggy bottom and enhances crispness. This method utilizes a frozen crust and an extended (covered) pre-bake, here’s how to do it:
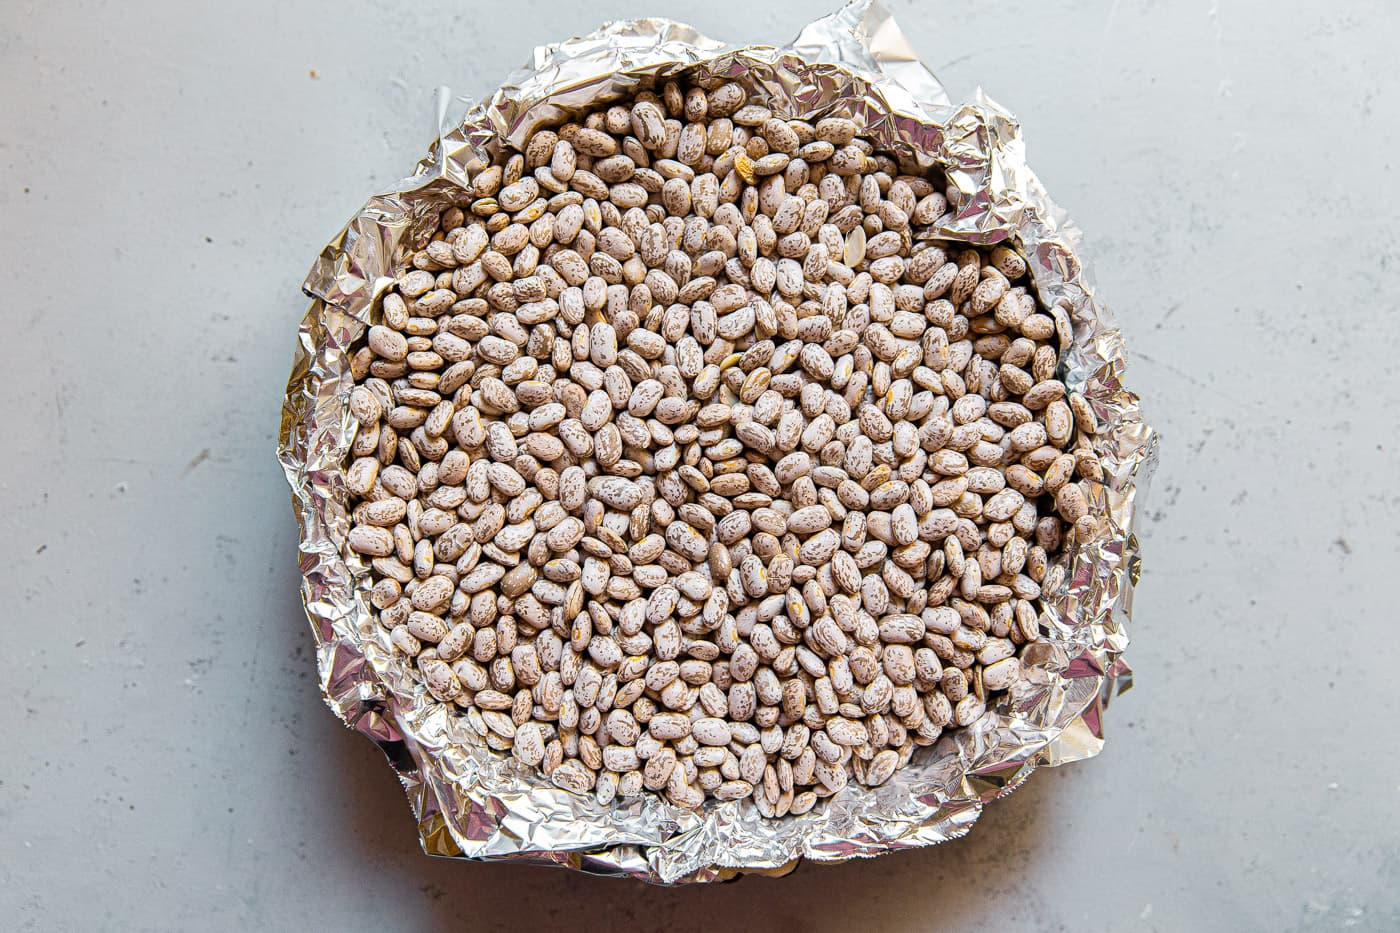
- Line and Weigh Down: Preheat the oven with a rack in the center position to 375°F (190°C). Remove the pie pan from the freezer, discarding the plastic wrap. Line with lightly greased aluminum foil – shiny side facing out (if using non-stick foil, skip greasing). Be sure to fully cover the edges of the dough. You will most likely need to use two sheets of foil. Fill all the way to the top with dried beans. This holds the dough in place and prevents shrinking and puffing.
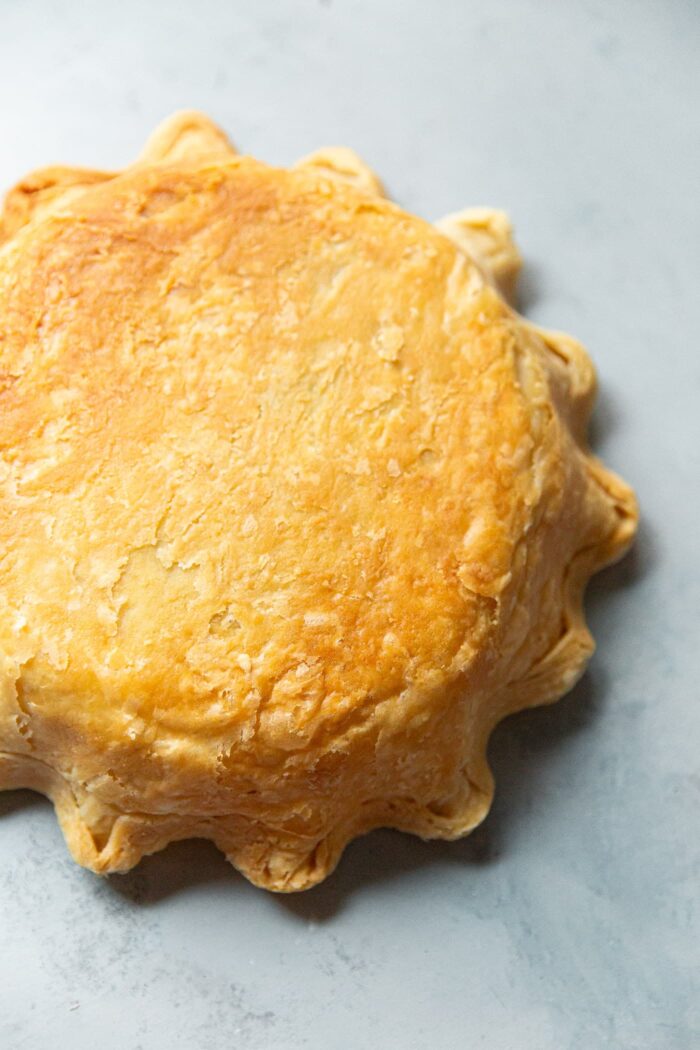
- Extended Bake: Place the pan on a rimmed sheet pan and bake until the edges are crisp, lightly golden, and the bottom is dry and crisp, about 55 to 70 minutes. Note: I recommend checking on the crust after 45 minutes – do this by gently pulling back one edge of the foil to check the crust and bottom . Continue baking, checking the crust every 10 minutes, as needed. The time can vary depending on dough thickness and the material of your pie pan.
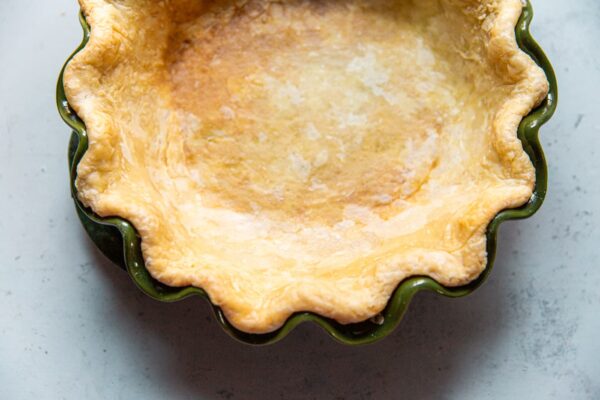
- Remove Weights and Cool: Carefully lift the foil with the beans and set aside in a bowl to cool (you can re-use the beans over and over again!). Set on a rack and allow the crust to cool. It can be lukewarm, but should not be hot when you add the filling.
Quiche Recipes You’ll Love:

Quiche Crust Recipe
Equipment
- Bench Scraper
- 9-Inch Deep Ceramic or Glass Pie Pan (or Deep Quiche Tart Pan)
- Kitchen Shears
- Plastic Wrap and Aluminum Foil
- Dried Beans
Ingredients
- 150 grams (1¼ cups) unbleached all purpose flour plus more for dusting
- 3 grams (1 teaspoon) kosher salt
- 113 grams (4 oz; 1 stick) cold unsalted butter
- 1/4 cup (60 mL) ice water plus more as needed
Instructions
- Equipment Set aside the equipment listed above as you prepare and assemble the dough.Read Before Starting: Here’s the good news – you can prepare the dough using a variety of methods. I’ve found that rolling the butter into the flour produces a supremely flaky crust and provides a bit more control. However, I've outlined alternate methods in the note section. Feel free to experiment based on preference or available equipment.
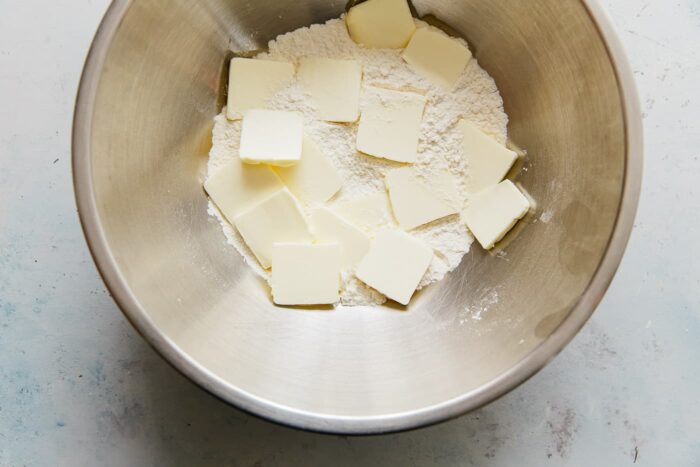
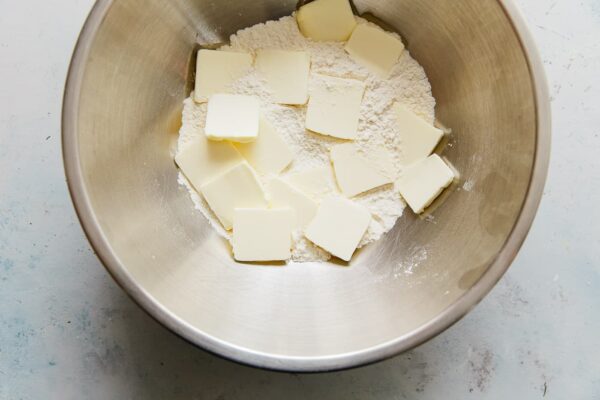
- Roll in the Butter: In a medium bowl, whisk together the flour and salt. Cut the butter into ¼-inch thick slices (slices vs. cubes speeds things up considerably) and add to the bowl. Toss until all the butter pieces are coated with flour. Transfer the mixture to a clean work surface. Using a rolling pin, roll the butter into the flour until it resembles thin sheets – using the bench scraper to move and keep the mixture in a tight pile. Transfer the mixture back into the bowl.
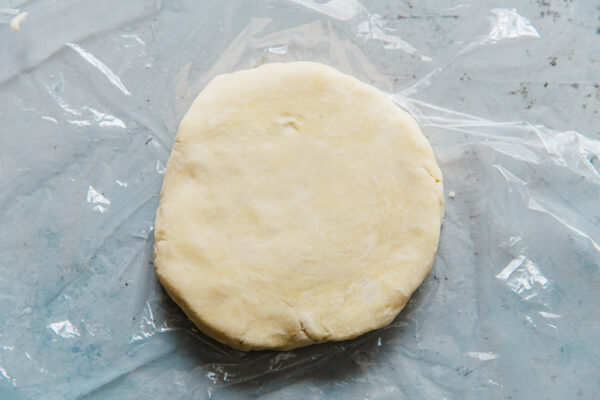
- Add Ice Water: Add 4 tablespoons (60 mL) of ice water to the flour mixture, tossing with both hands until it has been evenly absorbed. If it's super crumbly or any bits are particularly dry or, add more ice water to those areas as needed. Note about Water: The total amount of water will vary depending on flour brand and humidity, I usually need anywhere from 4 to 6 tablespoons. The dough should be slightly shaggy, but easily hold together when pressed together with both palms. A few dry bits are ok. Transfer the dough to a clean countertop. Using the bench knife to help, press the dough into a round flat disc, roughly 1-inch thick. Avoid over-working the dough.
- Rest and Chill: Wrap the dough tightly in plastic wrap and refrigerate for at least 1 hour before rolling and shaping. Alternatively, the dough can be stored in the fridge for up to 3 days before rolling and shaping. If chilling for longer, be sure to set it on the countertop for 10 to 20 minutes before rolling. It should be cold, but not too firm – otherwise it will crack.
- Roll and Shape: Remove the dough from the fridge, unwrap, and place on a lightly floured countertop. Using a floured rolling pin, roll the dough – starting from the center out to the edges – rotating the dough continuously as you work and dusting with more flour if needed. Gently massage the edges of the dough with your fingertips if they start cracking. You want the dough to be roughly 2-inches wider than the diameter of your baking pan and about ⅛-inch thick.
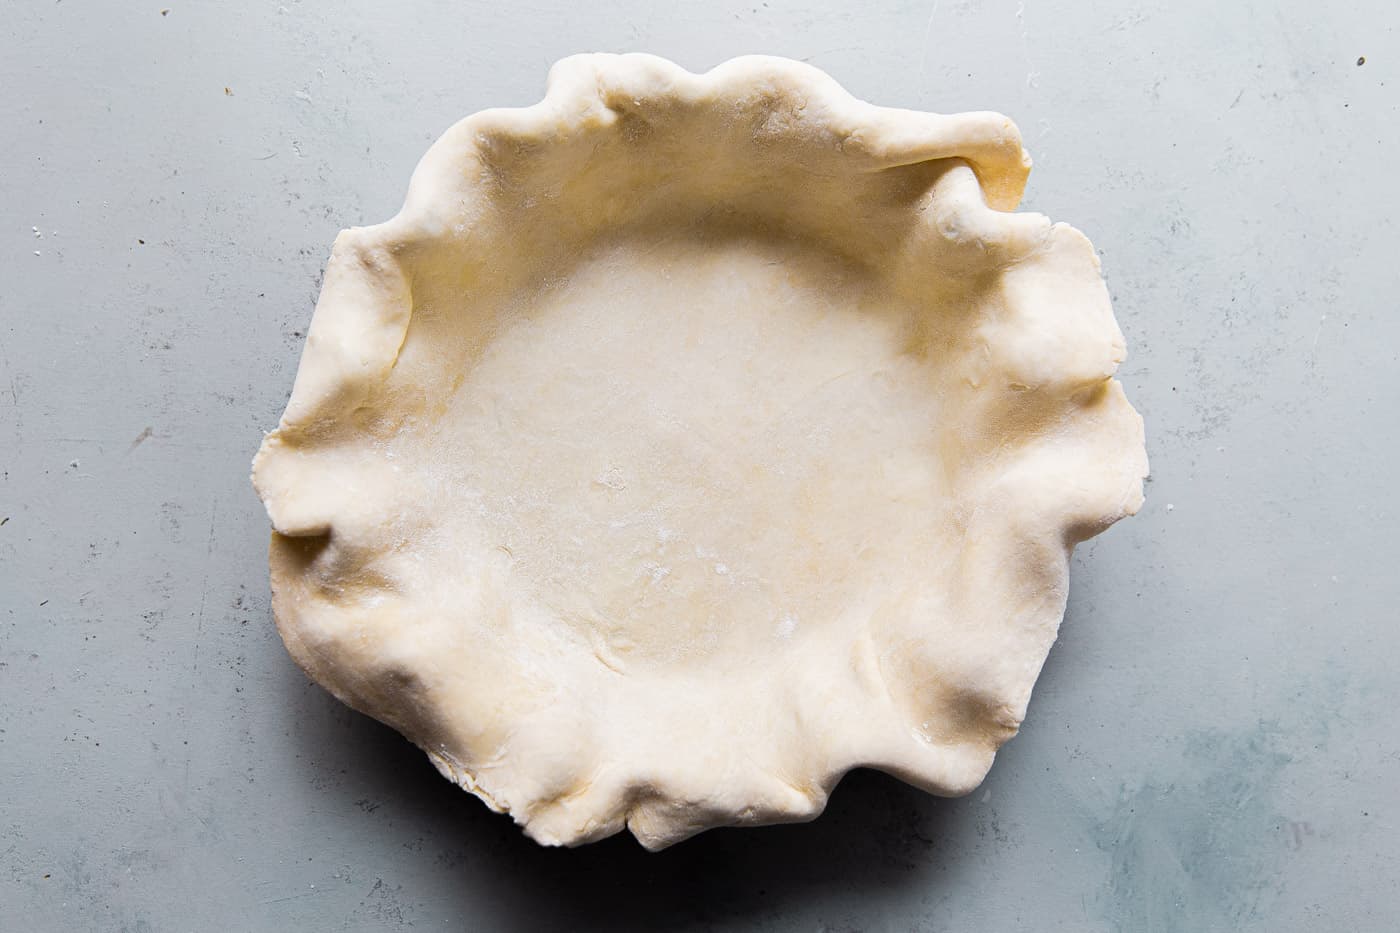
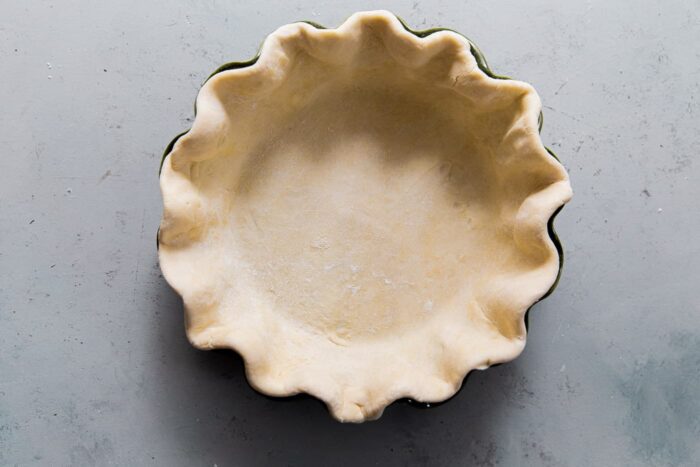
- Shape and Freeze: Carefully lift and transfer the dough to the pan. Gently lift and nudge the dough into the edges of the pan, being careful to avoid stretching or pulling the dough. Using scissors, trim the overhang so that it extends no more than ½-inch to ¾-inch past the edge of the pan. Fold the edges under and crimp as desired. If are using a deep tart pan, press the dough into the edges, then roll the rolling pin over the rim to cut off and trim the excess.Cover the shaped crust tightly with plastic wrap and freeze until solid, a minimum of 1 hour, or up to 3 months if desired. Freezing the shaped crust ensures the butter stays very cold throughout baking; it also allows maximum flexibility when it comes to prepping ahead.
- Line and Weigh Down with Beans: Preheat the oven with a rack in the center position to 375°F (190°C). Remove the pie pan from the freezer, discarding the plastic wrap. Line with lightly buttered aluminum foil (if using non-stick foil, skip greasing – the shiny side should face out), fully covering the edges of the pan You will most likely need to use an additional sheet of foil.Fill all the way to the top with dried beans (*this holds the dough in place and keeps it from shrinking).
- Extended Pre-Bake (Blind Bake): Place the pan on a rimmed sheet pan and bake until the edges are crisp, lightly golden, and the bottom is dry, about 55 to 70 minutes (yes, it requires a long time!). Note: I recommend checking on the crust after 45 minutes – do this by gently pulling back one edge of the foil to check the crust color and texture. Continue baking, checking the crust every 10 minutes, as needed. The time can vary depending on dough thickness and the material of your pie pan.Carefully lift the foil with the beans and set aside in a bowl to cool (you can re-use the beans over and over again!). Set on a rack and allow the crust to cool. It can be lukewarm, but should not be hot when you add the filling.
Alternate Dough Making Methods:
- Stand Mixer: For those seeking a hands-off version, a stand mixer with the paddle attachment on low speed is a fantastic option. Combine and mix the dry ingredients. Over low speed, slowly add the cold butter and add the cold butter. Mix until the butter has broken into a mixture of larger and smaller size pieces, then slowly add the ice water.
- Food Processor: If you prefer a quick, time-saving method, a food processor makes quick work. Pulse the flour and salt. Add the cold butter to the bowl, tossing with your hands to coat the butter with flour. Cover and pulse until the butter is no larger than pea-sized. Add ice-cold water gradually, pulsing several times until the dough just starts to clump.
- Box Grater Method: This newer technique involves grating the cold butter using a box grater. While it distributes the butter very quickly and reduces clean up, based on my experience, I find that it doesn’t lead to quite as flaky a crust. To each their own!


16 Comments on “Flaky Quiche Crust Recipe”
I have always thought that I cannot put a glass dish in a hot oven, or it could crack. If I do have a cold dish, I put it in a cold oven and let the dish heat up with the oven. But uour directions say to bake it after it’s been frozen. I’m concerned about putting my frozen glass dish in the hot oven. How should I proceed? Thanks!
I prefer using a ceramic pie pan in this situation (seen in the photos), but if the glass is tempered, I personally have not had a situation where the glass has cracked or exploded. That said, it is of course possible. I generally think thermal shock tends to be more common when going from super hot to cold, but if you’re nervous, I would use another material pie pan for this recipe.
Great recipe, the crust was flaky and tasty. This dough can be used also to cover the pie? Have the bottom prebaked and then add the filling and cover it with another dough, and bake it.
I wouldn’t do this for a quiche! But you could use the crust to make other recipes, yes! 🙂
Can I refrigerated the crust overnight and then add quiche filling and bake in the morning?
Are you asking how to store the pre-baked crust? Assuming you are, in which case I would allow to cool completely and cover tightly with plastic wrap. It would probably be fine at room temperature but you could put in the fridge too.
I used 1tsp of fine salt. Is this why the crust is super duper salty? Did this recipe specify coarse kosher? Kosher comes in different size crystqls
Yes, I use Diamond Crystal which is much less dense than regular salt. I do normally list the brand, but for a pastry, this is why the gram measurements are listed first. 1 teaspoon of fine salt is probably closer to 6-7 grams.
I’ve read this over and over. I can’t find How long to bake on the center rack without a sheet pan?
Hello! The bake time is in the recipe – I do not advise doing this without a sheet pan underneath for several reasons.
Can I skip the line and bean part somehow?
Hi Kara, sorry to say that this crust really needs to be pre-baked, because the filling is very custardy. It will not turn out right if you skip this altogether. and the crust needs to be weighed down in order to avoid puffing up and cracking.
Can I us a 9 inch springform pan?
I did not test this recipe with a springform, I do not recommend as the sides are substantially taller than a tart pan.
Best quiche dough out there
Keep on sharing…
Gorgeous crust! I used the rolling method and it came out so flaky and beautiful. Easy to follow recipe. I will be making it again and again! Thank you 🙂