How to Spatchcock A Chicken
How to spatchcock (or butterfly) a whole chicken. This is the easiest, fastest, and most consistent way to roast a chicken! No trussing required.
Spatchcocking is my favorite way to roast a chicken. Officially (if we’re getting technical), spatchcocking means to split open poultry or game birds for grilling. But we’re not grilling today, we’re roasting.
If you’re already familiar with the spatchcocking method, try this spatchcock chicken recipe or Middle Eastern roast chicken recipe.
We prepare spatchcocked chicken at least once a week. We’ll enjoy roasted chicken for dinner and save leftovers for other reiterations throughout the week – including this incredible guacamole greens salad. It is also a great choice for a small gathering on Thanksgiving Day as well.
Once you roast a chicken this way, I can almost guarantee that you’ll never go back to a traditional, trussed roast chicken.
What is Spatchcocked Chicken:
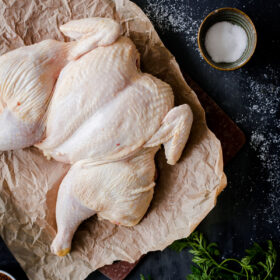
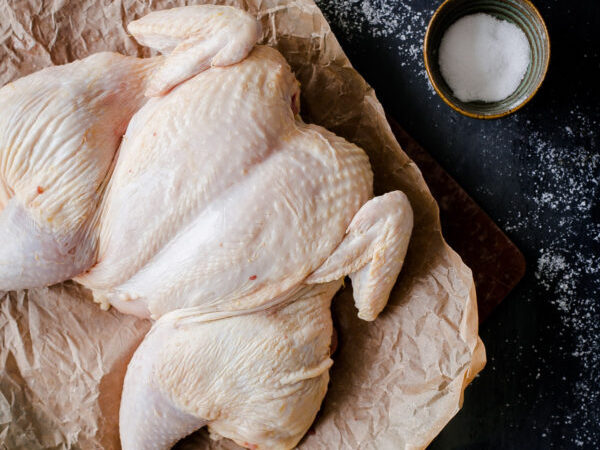
In layman terms, spatchcocking means to remove the spine of a chicken and press down on the breast bone, so that the chicken lays completely flat during the cooking process. It sounds complicated, but it is actually incredibly easy and straight-forward.
You just need a pair of good-quality, affordable kitchen shears. If you’re wondering why you would prepare a chicken this way, here are the benefits.
Cooking Benefits of Spatchcocking:
- No trussing or kitchen twine required – does anyone enjoy trussing poultry? The answer is no.
- Since the chicken lays completely flat, all of the chicken skin is exposed to the heat of the oven. this yields super crispy, caramelized skin over the entirety of the bird.
- The trickiest part of roasting a chicken is timing. White meat (the breasts) cooks and dries out faster than dark meat (legs and thighs). With a traditional trussed chicken, it can be hard not to overcook the breasts as the legs finish cooking. Since spatchcocked birds lay completely flat, this method produces even cooking in both the breasts and legs. The unevenness of your oven heat is actually the reason why this works so well —> read this guide for more information. No need to flip or rotate the pan.
- Spatchcocking significantly reduces roasting time. To the point where you can realistically roast a chicken on a busy weeknight. This 5-lb chicken took just over an hour to roast. A traditional trussed chicken of this size would take upwards of 1 hour and 45 minutes.
- Since spatchcocked poultry cooks faster (more surface area, more heat exposure), this allows you to roast at higher temperatures, which also helps yield perfectly golden, crispy skin.
- You can use the removed backbone to make homemade gravy, or jus as you are roasting the chicken. Or save it for stock!
- Spatchcocked poultry is easier to carve. The shape of chicken makes it much easier to remove the legs properly and remove the breasts from the bone.
- Easier to season consistently, as the poultry lays completely flat. You don’t have to worry about not reaching every crevice of the cavity or getting behind every nook and cranny. It’s all out in the open.
How to Spatchcock a Chicken:
-
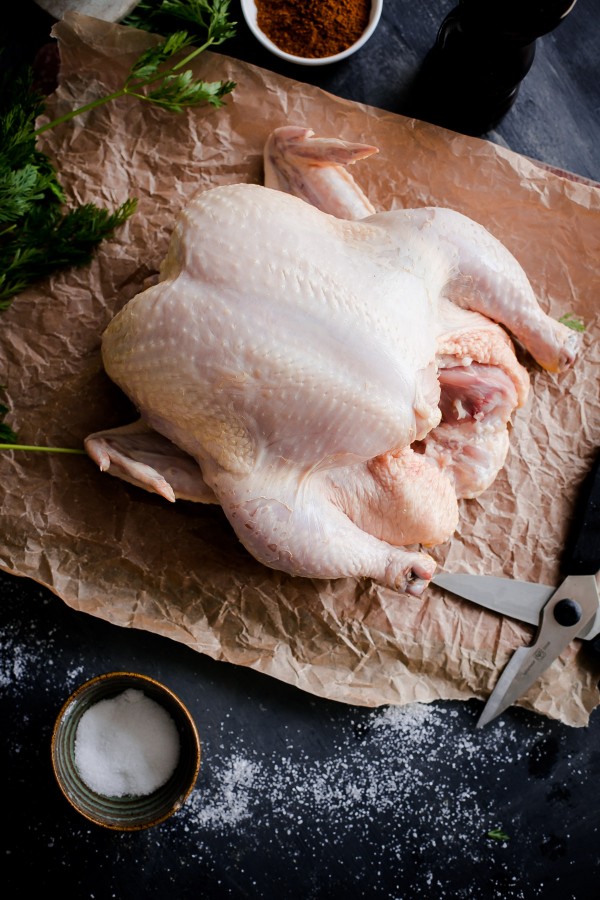
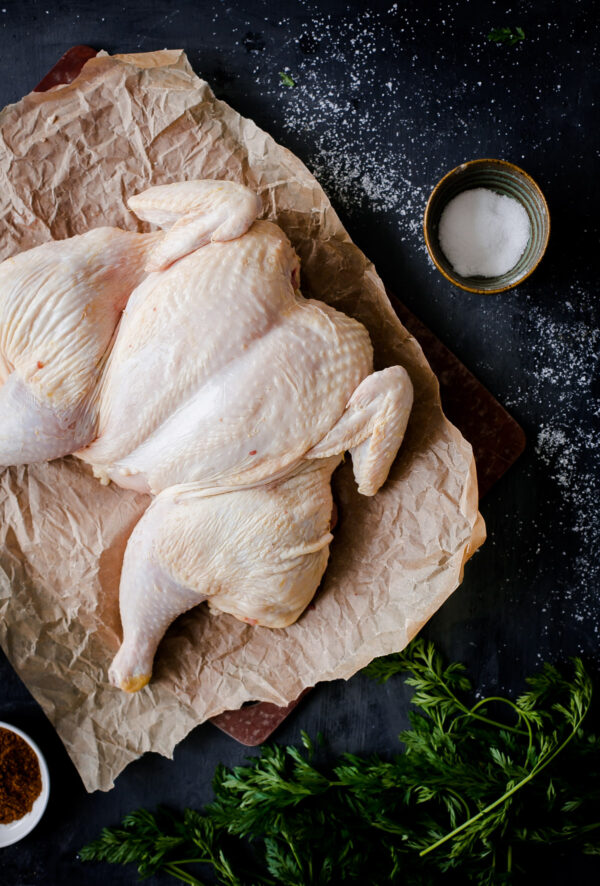
Remove the chicken from its packaging and place on a large cutting board. Pat the chicken dry with paper towels, and place breast-side down on the board with the neck facing towards you.
-
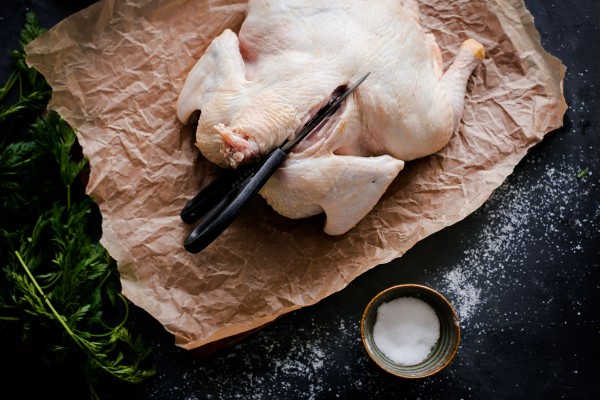
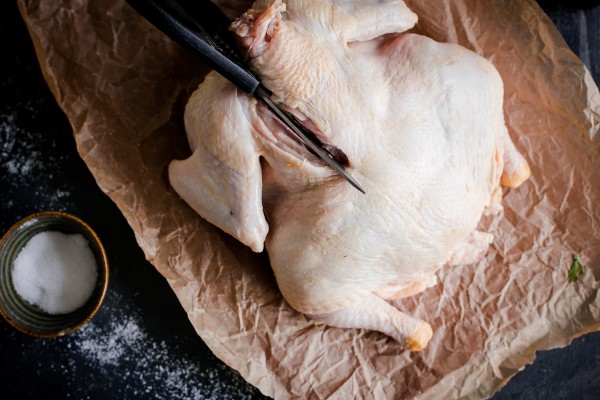
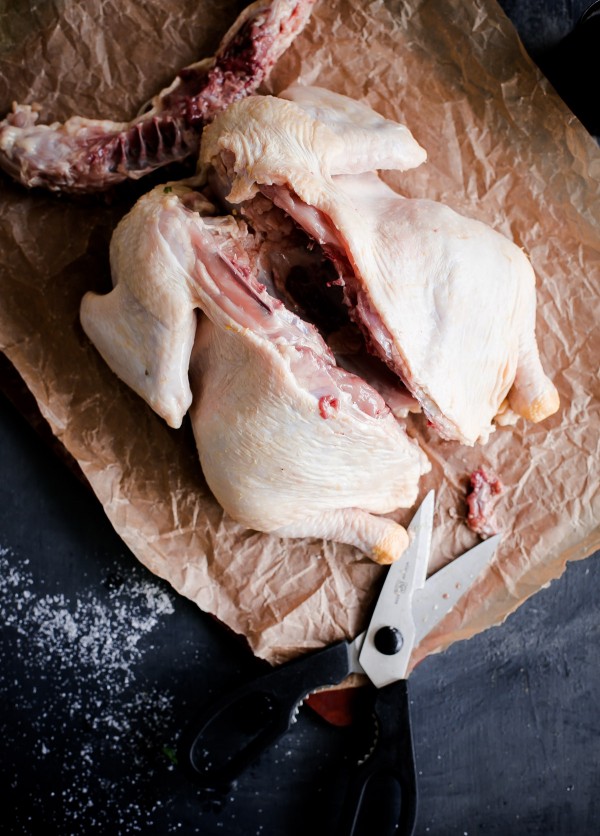
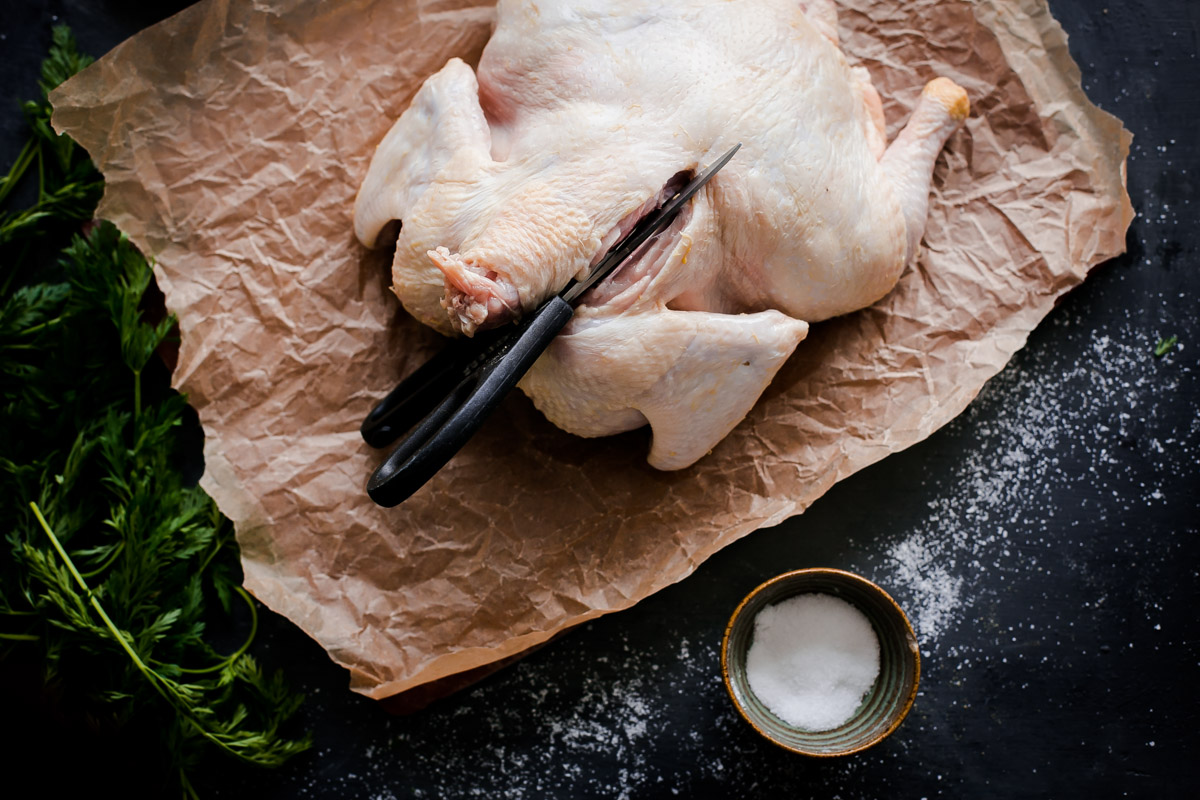
Using good-quality kitchen shears or poultry shears and holding the neck in one hand, cut along one side of the chicken spine, separating it from the ribs. Cut closely to the spine so that you do not remove any excess meat. Continue to cut about ¾ along the spine on one side, repeat on the other side of the spine. Hold the spine for leverage and continue cutting on both sides to remove it completely. If you are having difficulty, rotate the bird so that the tail faces you and cut from the opposite side.
We’re ready to roast. It’s that easy! You use this exact same method for turkey (or any poultry).
How Long To Cook Spatchcock Chicken
Although you can use rough pound guidelines for cook time, temperature is the true way to judge whether a chicken is ready.
I highly recommend investing in a good quality instant thermometer (I highly recommend Thermoworks brand). It makes a world of difference. You’ll never overcook or undercook a chicken again once you have one of these at your disposal.
If you’re looking for recipe inspiration, be sure to try this simple spatchcock chicken recipe or this Middle Eastern roast chicken next.
How to Spatchcock A Chicken
Ingredients
- 4-5 lb whole chicken, without giblets
- extra virgin olive oil
- kosher salt
- freshly ground black pepper
Instructions
- Remove the chicken from its packaging and place on a large cutting board. Pat the chicken dry with paper towels, and place breast-side down on the board with the neck facing towards you.
- Using good-quality kitchen shears or poultry shears and holding the neck in one hand, cut along one side of the chicken spine, separating it from the ribs. Cut closely to the spine so that you do not remove any excess meat.
- Continue to cut about ¾ along the spine on one side, repeat on the other side of the spine. Hold the spine for leverage and continue cutting on both sides to remove it completely. If you are having difficulty, rotate the bird so that the tail faces you and cut from the opposite side. Reserve the spine for homemade chicken stock or a quick pan jus.
- Flip the chicken so that the breasts face upward and the chicken legs face outward on both sides. Using the palm of your hands, press along the breast bone with some force to flatten the chicken completely. The legs and breasts should be lay completely flat.
- Use in this spatchcock chicken recipe or this Middle Eastern roast chicken dish.
Tips for Success:
- If time allows, it is best to allow the chicken to rest at room temperature for at least 45 minutes before roasting – this will help yield crispier, more golden chicken skin. Avoid placing a chicken, cold from the fridge, straight into the oven, as the skin will have a tendency to steam, instead of crisp.

16 Comments on “How to Spatchcock A Chicken”
Really helpful – thank you
Do you cover with foil
No I do not! I wouldn’t recommend unless the chicken is darkening way too quickly – because the foil (even tented) will create steam and make it harder for the skin to crisp up.
maybe i missed it somewhere,do you put this chicken in a cold oven and then turn it on 425 or what?
No, the oven should absolutely be preheated before you stick the chicken in there. I’ll edit the post to make it clearer – the post is more an instructional guide to spatchcocking than recipe focused. Hope this helps!
Just did this!!! So good and so easy! The breasts were juicy. I did about an hour and that was perfect! I will be making the middle eastern one next!
So thrilled to hear that! Thanks for the feedback Marie!
Laura! I spatchcocked my chicken last night… so delicious!! Thanks for the tip – I’ll never roast an un-spatchcocked chicken again 🙂
So awesome! Isn’t it great? So much easier than trussing it, and it speeds everything up and makes for super crispy skin all over 🙂
Never would have tried this…thanks for breaking it down and making it so easy to understand! Did one tonight on the grill and it was the juiciest chicken we’ve ever had!!! I don’t think I’ll ever roast a whole chicken again without using this method!!!
So thrilled to hear that Vanessa! Now I have to try it on the grill. Thanks for sharing and letting me know!
My man did a spatchcock turkey this past Thanksgiving with his family and he wouldn’t stop talking about it for months after! We haven’t done it together yet but after seeing your post I’m totally inspired to take the leap and test it out!!
Oh this has been on my to-do list for so long. I was briefly considering spatchcocking my turkey for Thanksgiving this year, but then I chickened out and we went to the usual cooking method. GAH. Maybe I’ll start practicing now, so I’ll be ready for next year. Great instructions!
Yes! I haven’t done it with a turkey before, simply because I haven’t be in charge of a large Thanksgiving feast, but I think it would be amazing. I have a feeling it requires a bit more force and effort to remove the backbone, but it would speed up cooking so much. Thanks so much Liz!!
Second that! Looking forward to see this chick in a recipe over the weekend!
It doesn’t look that hard to do. Thanks for the step-by-step photos! Looking forward to seeing the recipe on Monday!