How to Line Any Size Cake Pan with Parchment Paper
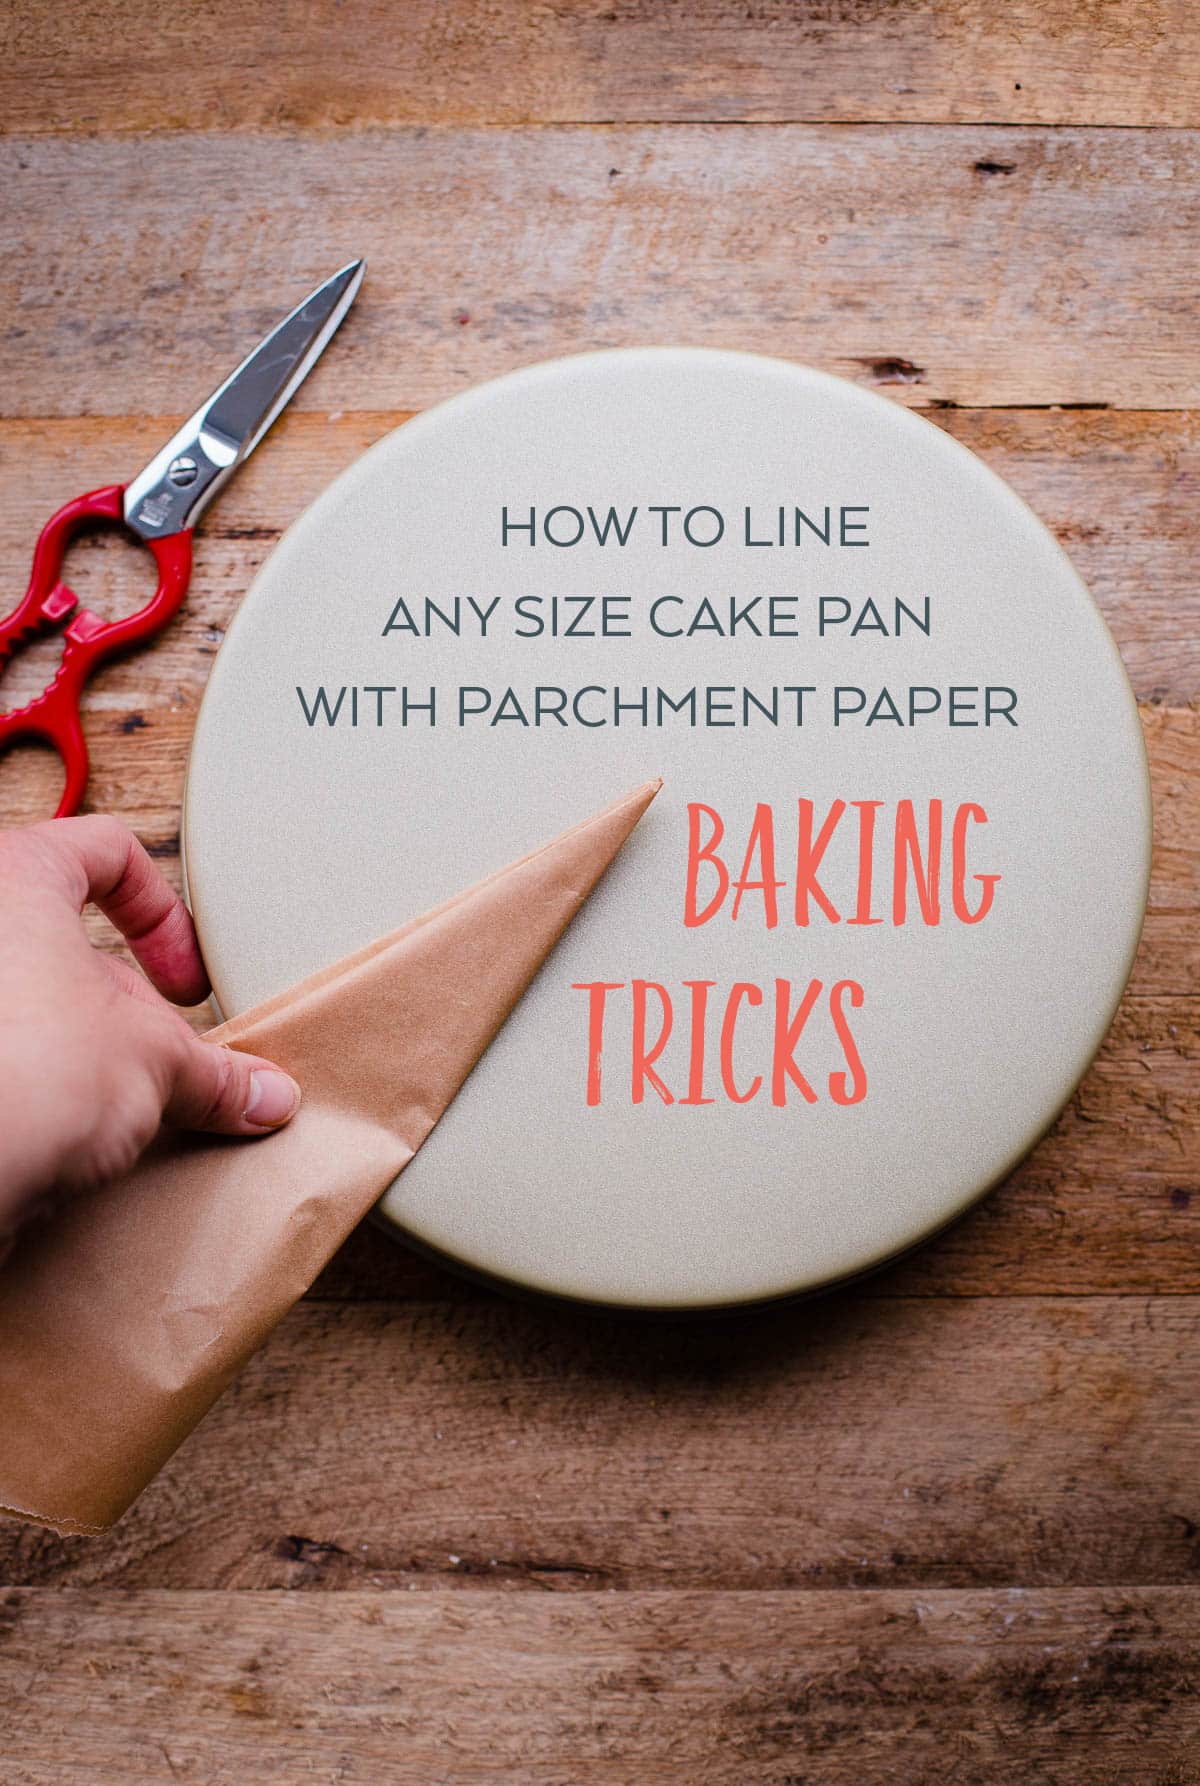
How to line a cake pan with parchment paper easily and effortlessly. This time-saving trick will make cake baking even easier!
This week will hold a new first for me. I received my very first commissioned cake order for this Thursday. One of Connor’s colleagues, whom I’ve never met before, contacted me a few weeks ago and asked if I would make their birthday cake for them. Eee!
Given the timing and fact that some of you might be baking a cake (no pressure) this week for Valentine’s Day, I wanted to pop in today and share one of my favorite baking tricks: how to line a cake pan with parchment paper. Any size cake pan for that matter! Some of you might be familiar with this technique, but I have a feeling there will be a few of you that will benefit from today’s post. I learned this trick in culinary school (we also used this method to make ‘cartouches’ – which are essentially parchment paper rounds that you put on the surface of sauces or stews to prevent evaporation on the stove – it really works!) and have never turned back since.
First, let’s get down to the basics. If you encounter the words, ‘grease, line with parchment paper, and grease and flour’ in any cake recipe, don’t be tempted to skip this step. Many cake batters are extremely fragile and have a tendency to stick to even the most non-stick cake pan. In addition, that extra step of layering your pan with parchment, greasing and flouring it will allow your cake layers to rise properly and gain additional height.
This is particularly important for any cake recipe that doesn’t contain chemical leaveners (aka. baking soda or baking powder) and relies on folded egg whites for height and volume (eg. genoise or sponge cakes). The last (and I really mean, the last) thing you want to do is take the time to bake a cake and have half of it stick to the pan when you go to invert it. It is very depressing, trust me. The parchment paper provides that extra level of insurance to prevent this from happening. I like to use natural parchment (it also doubles as a wonderful affordable food photography background), but this is my own personal preference.
There are a few ways to line a cake pan with parchment paper. You can buy those fancy pre-cut parchment rounds (which are expensive and only come in specific sizes), cut out parchment rounds by tracing (which is time-intensive and inevitably results in multiple rounds of trimming, because it always ends up being far too big for the pan), or you can use this incredibly easy folding technique below:
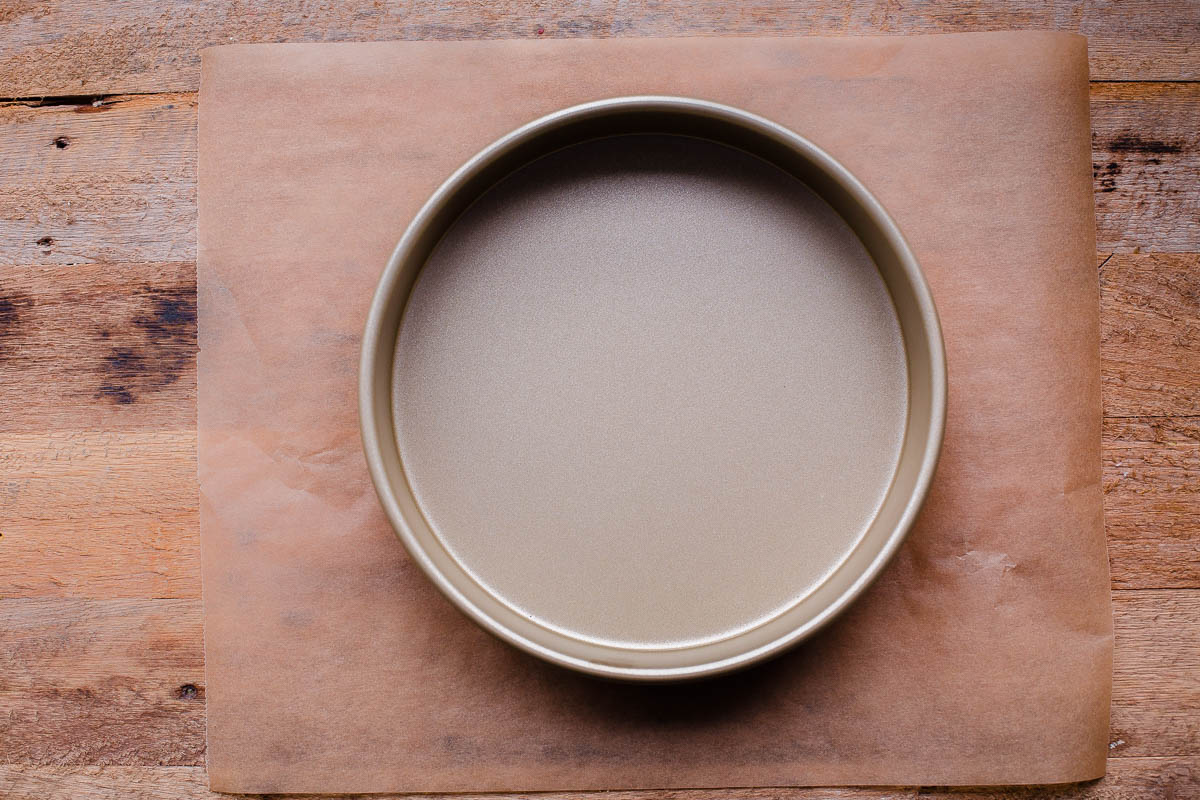
First, you’re going to cut out/tear a piece of parchment that is only slightly larger than the your required cake pan. I had pre-cut half sheet pan parchment papers on hand, but I normally would try to waste as little as possible.
As long as both sides of the parchment piece are slightly longer than the cake pan diameter, you are good to go.
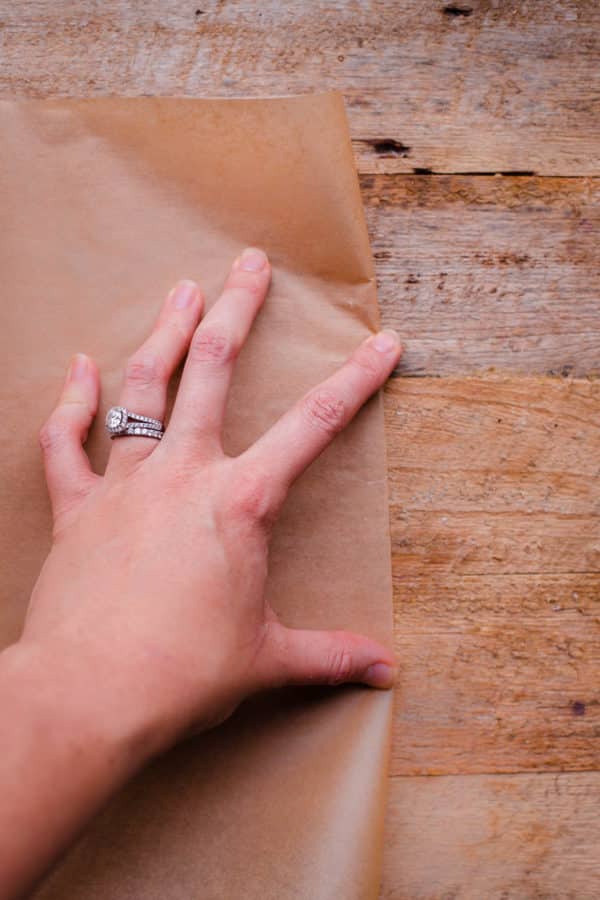
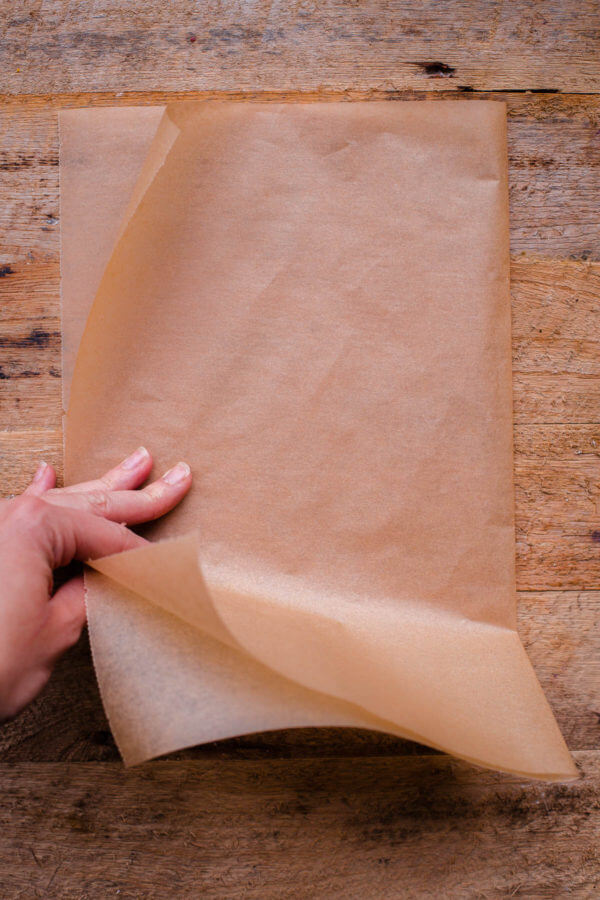
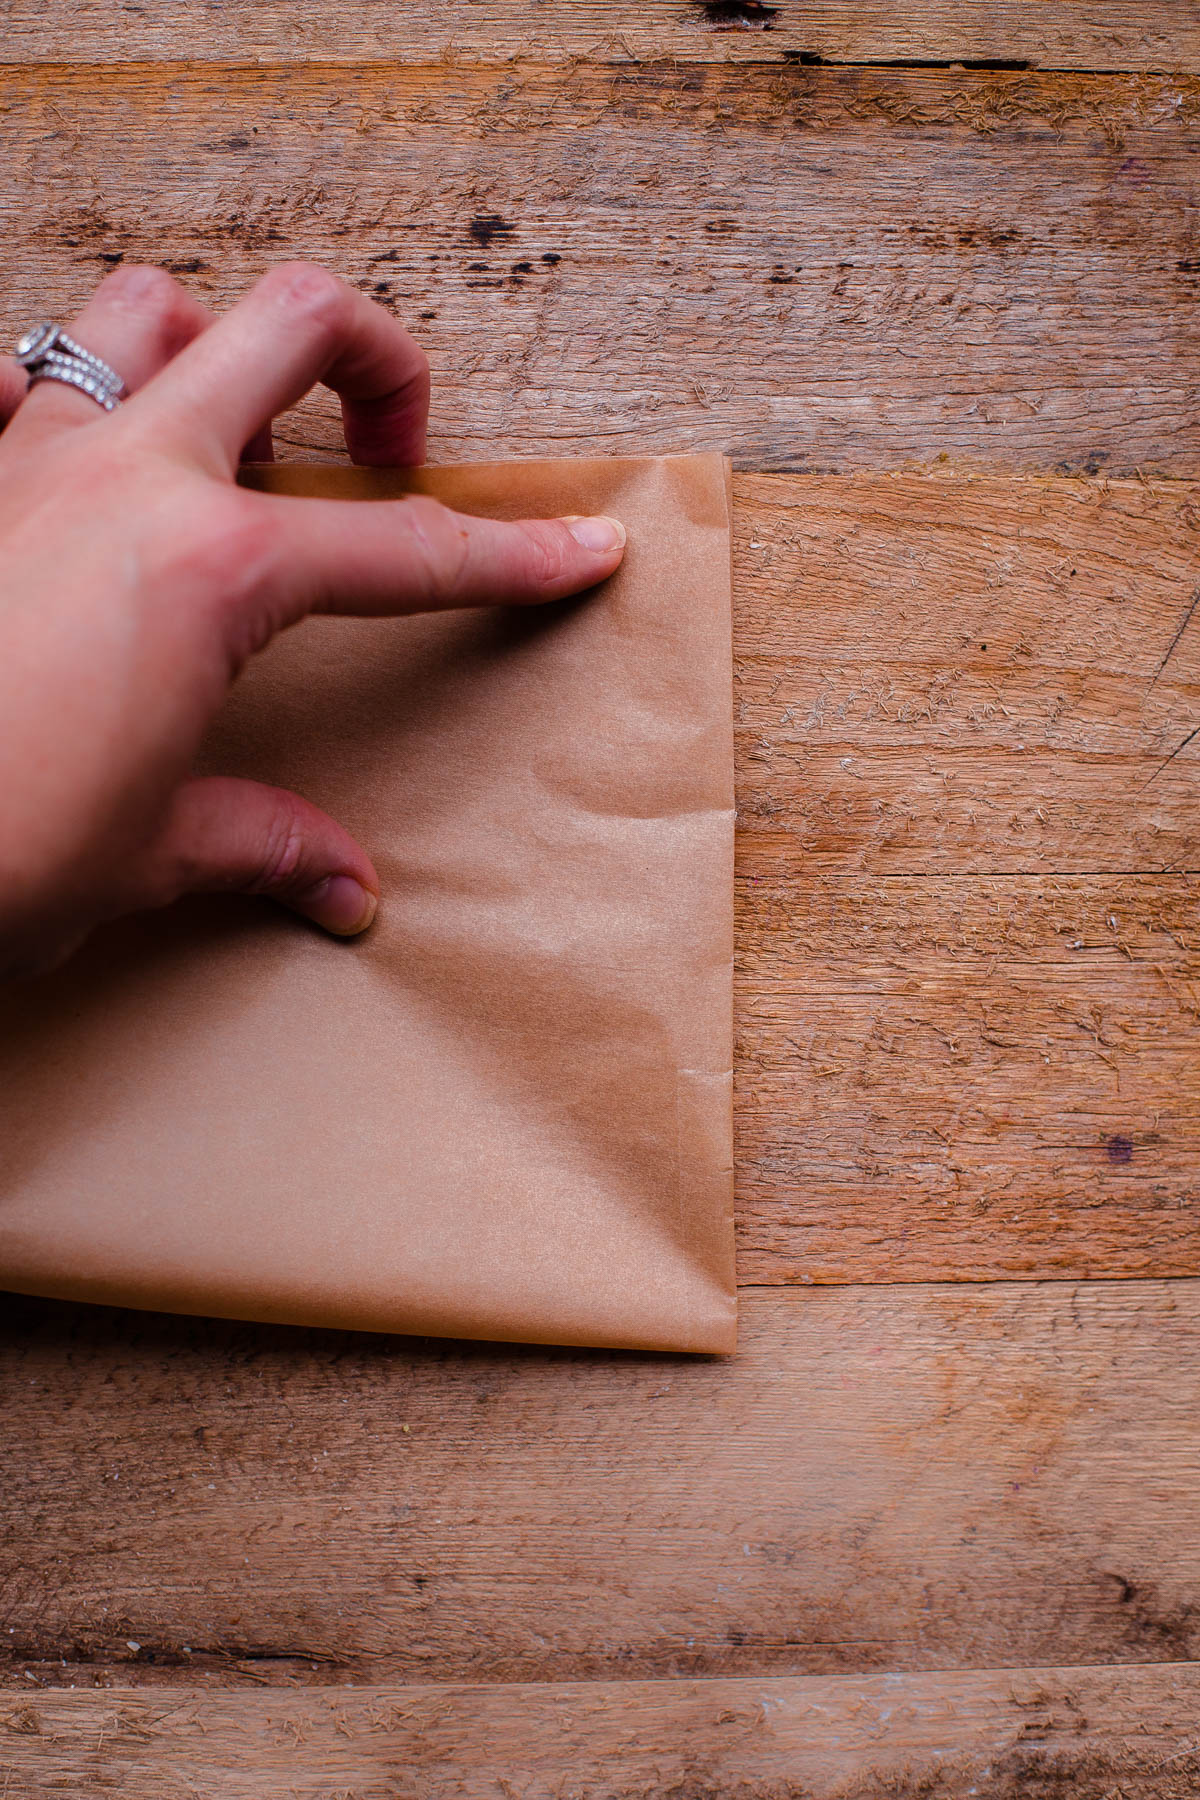
Fold the piece of parchment paper in half and then fold it in half again. You will end up with a rough folded square of parchment.
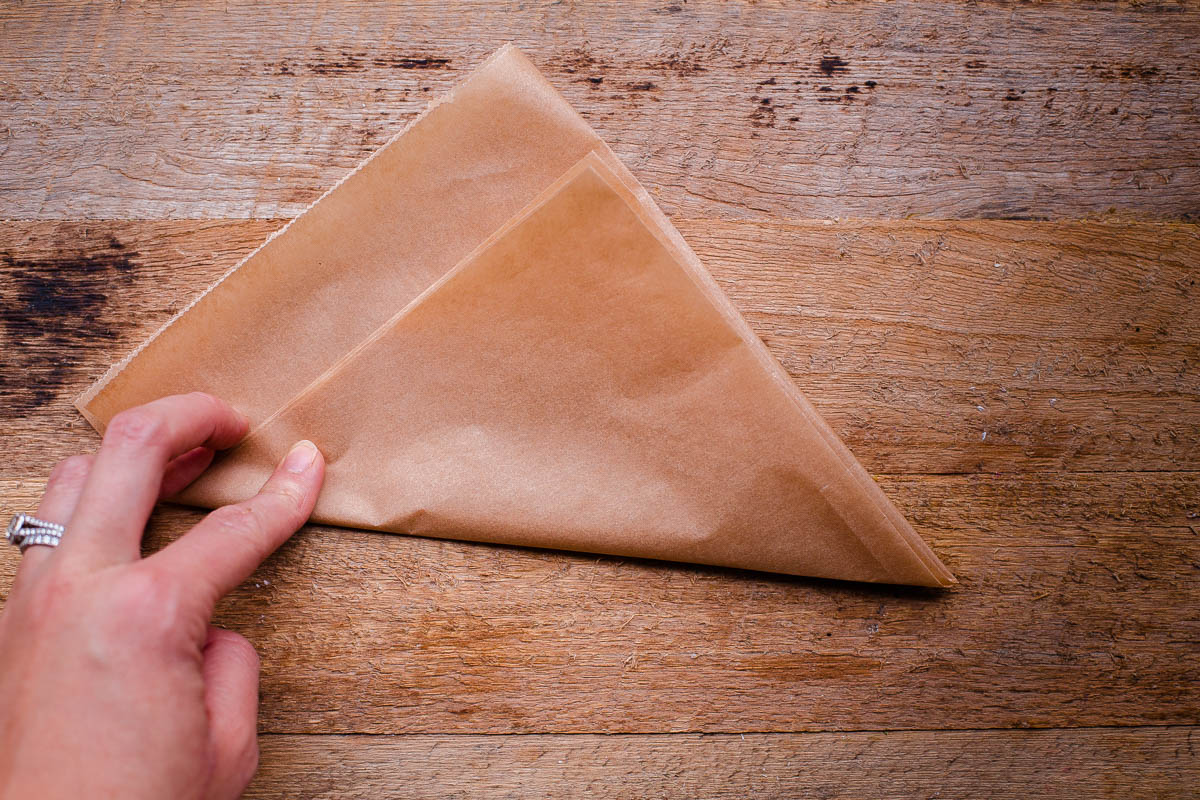
Fold the square into a triangle (bringing the folded edge to folded edge).
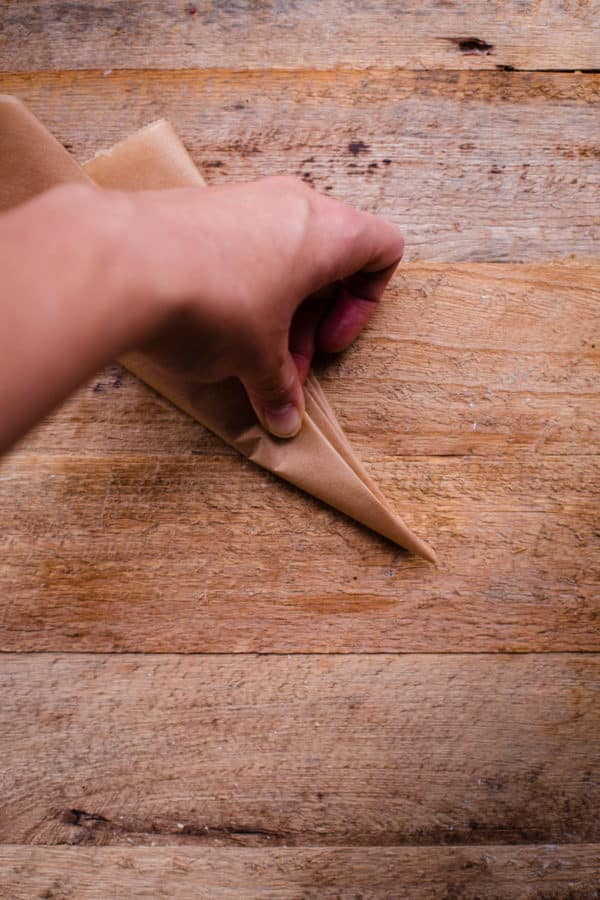
Keep folding the triangle in half to create a smaller triangle (as you would when making a paper airplane). I do about two additional folds. The smaller the triangle, the easier it will be create a ‘perfect’ round for lining. But if it’s too thick, it will be harder to cut with scissors.
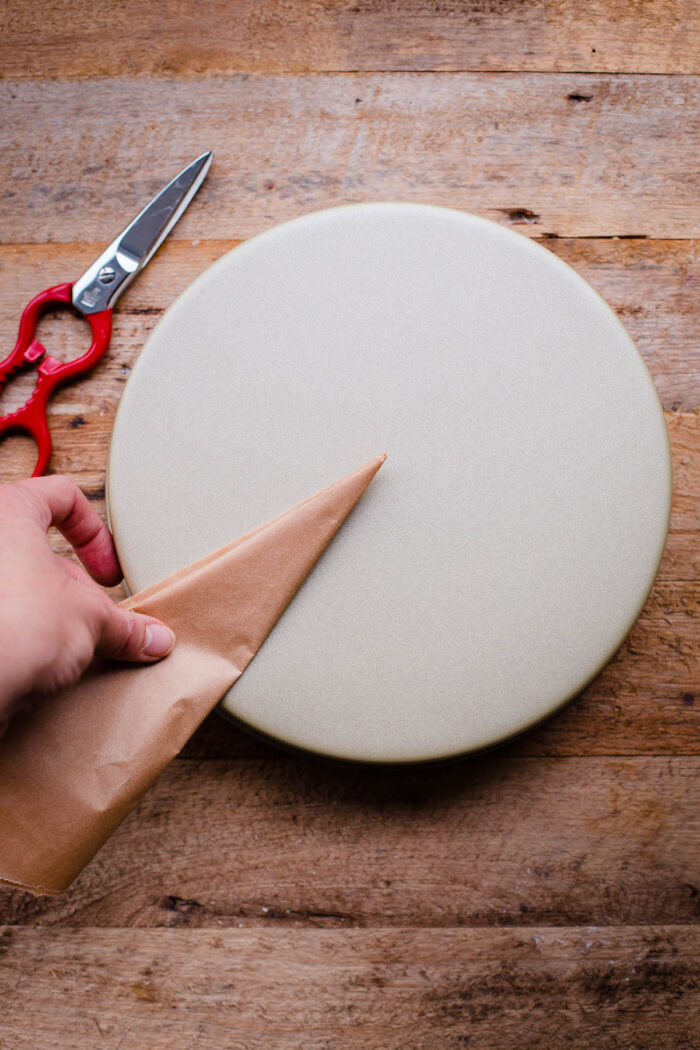
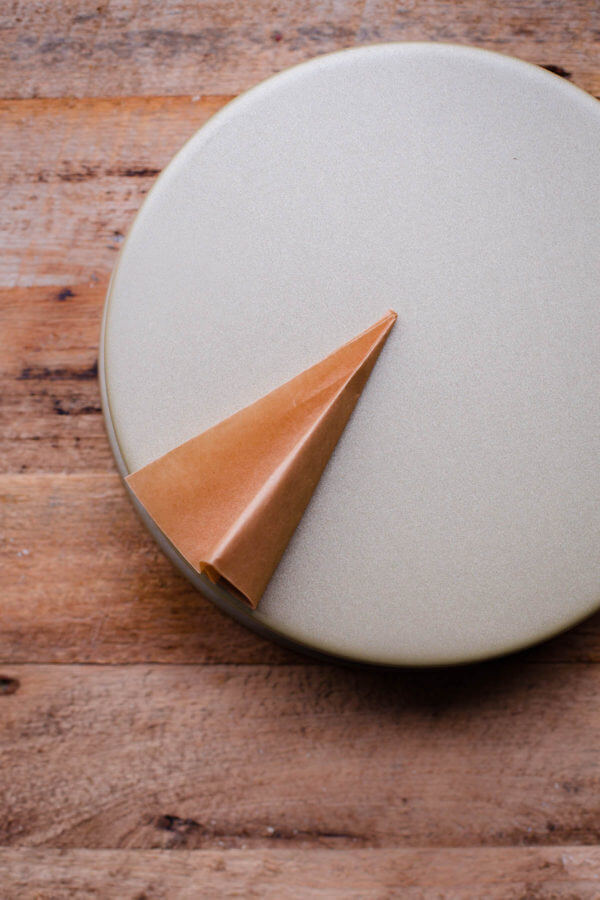
Place the (ungreased) cake pan upside down on your countertop and line the tip of the triangle to the ‘estimated’ center of the pan. This doesn’t have to be perfect, but try to eyeball it as closely as possible.
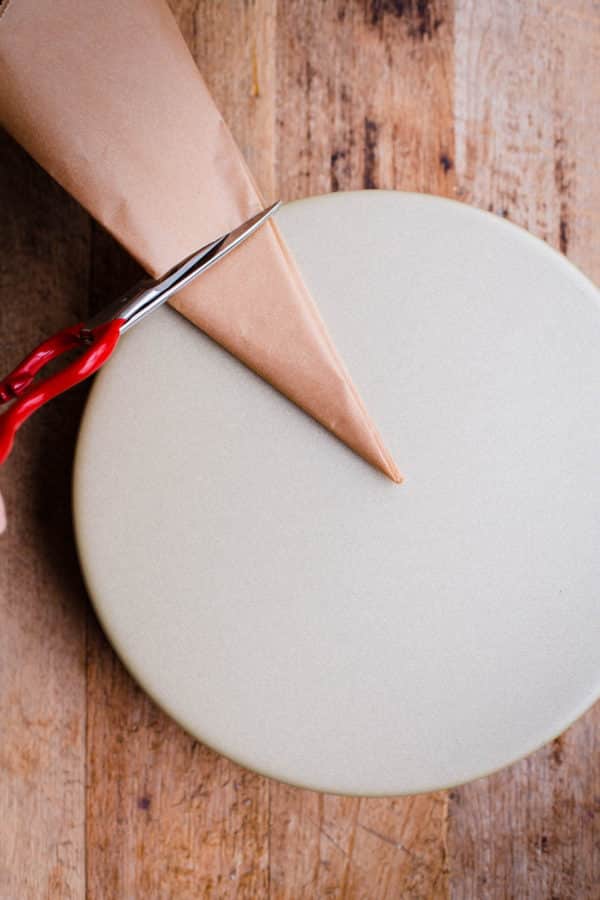
Holding the parchment triangle centered in place, cut the parchment following the curve on the sides of the cake pan with scissors.
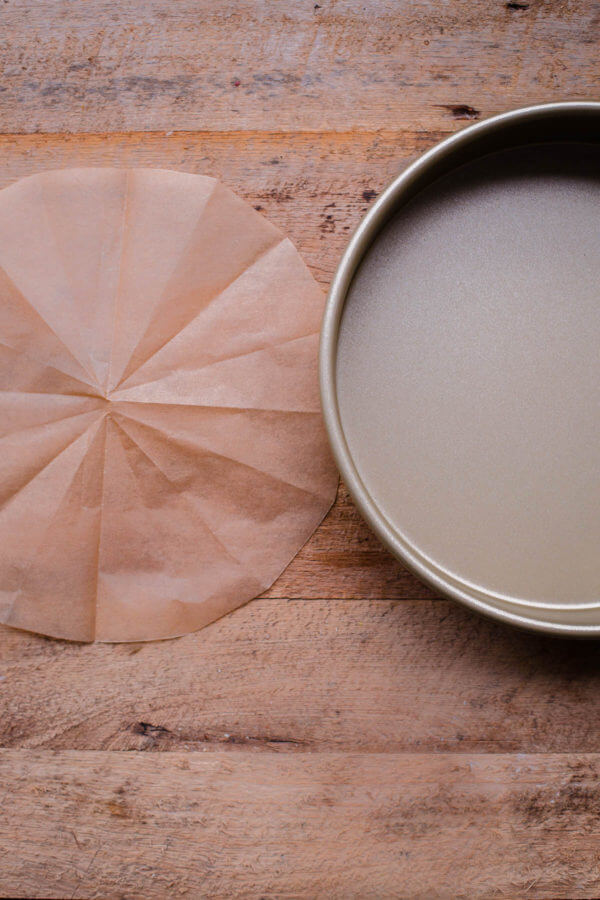
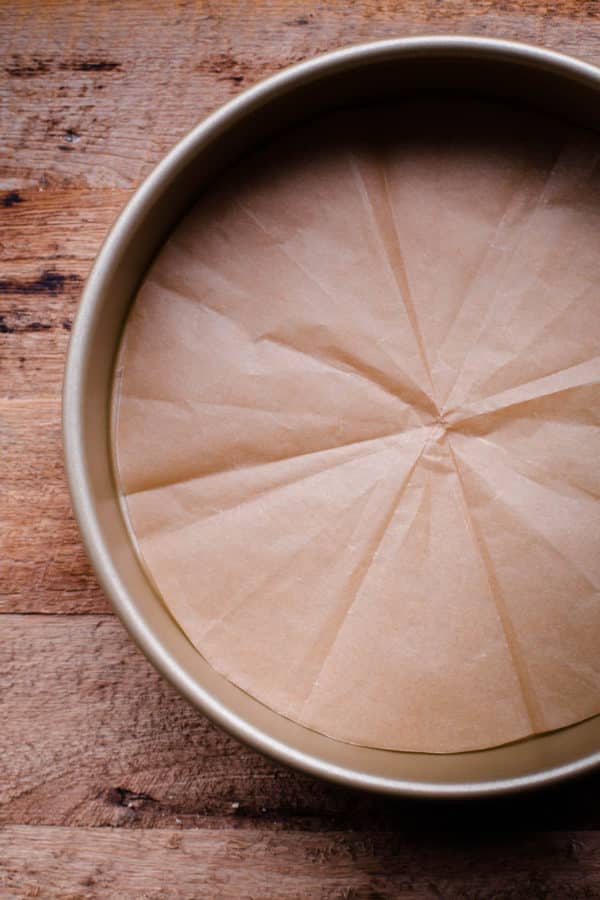
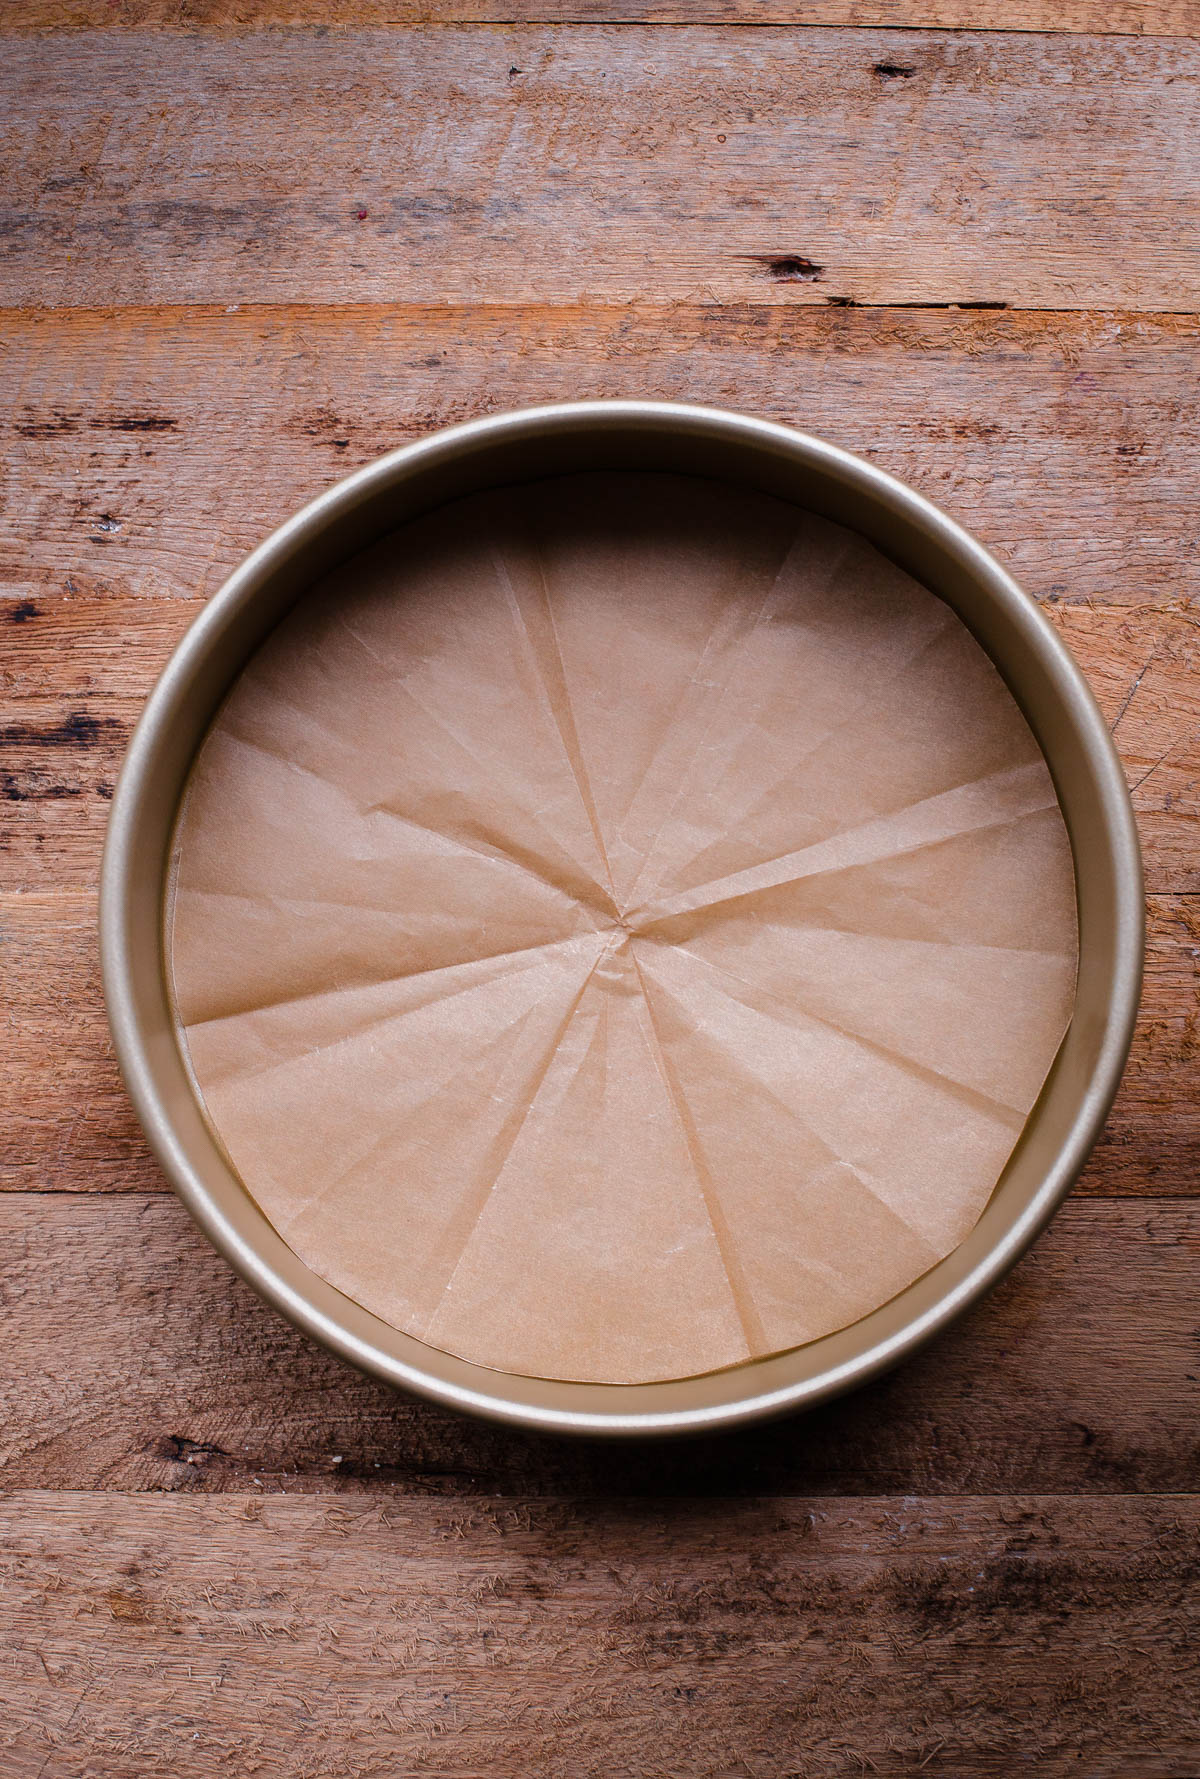
Unfold the parchment and set in the inside of the cake pan to ensure it fits properly. Trim if necessary (although once you get the hang of it, you’ll rarely need to do this!). Grease and line the pan as instructed for the recipe.
Voila! No need for pencils, tracing, or any of that fussy stuff.
Whenever you next encounter the sentence ‘line with parchment paper’ in the instructions of a cake recipe, take a short visit back to this blog post and give this method a try!
P.S. If you enjoy little posts about tips and tricks for baking or cooking, please let me know and I’m happy to share more of them!

56 Comments on “How to Line Any Size Cake Pan with Parchment Paper”
What a great idea! Do you have a video that shows you doing this as well?
Please share more!❤️
Enjoyed reading your tips and received many good tips that I will use in the future.
What a great idea! I do those struggles you mentioned, but I’ll be trying your tip next time, thanks! And yes, please do continue posting helpful tips and tricks! They are much appreciated. ☺
Yes I would love tips and tricks for baking cakes thank you
Hi! I been confused and looking around for a answer on parchment paper for a while but I’m stumped. Hopefully you can help answer!
Parchment paper is to help the batter/cake from sticking when it is finished baking. So how can parchment paper also help for cake to cling and rise?
Thank you!
Only the bottom of a cake pan is typically lined with parchment, not the sides. The surface of a pan does not need to have texture (think of how common a non-stick baking pan is!) for a cake to rise – cakes rise due to leavening and heat.
Well this is borderline genius! Or maybe just plain genius. Thank you!
Aww thank you! ? One of my favorite tricks.
OMG thank you for this post!!
All the years I’ve been baking and I’ve never seen this before!!
Will be using this all the time now.
Thank you again!!
Cathy
Yay! So glad it’s been helpful. It’s one of my favorite tricks that I’ve learned from my professional cooking/baking days.
You just made my baking life so much easier & faster!
Yay! So thrilled to hear that! That’s the goal 🙂
Hii Laura,
Would you know how to keep cakes from sticking to the Bundt pans?
Whether it’s the smooth loose bottoms or the many beautiful design pans, the heads and coned portions of my cakes are forever stuck. Regardless if I oil spray and flour. Any ideas or tips?
Please and thank you!
Greeny, this may be worth a try. I love this & have never had an issue using this. Dont be stingy when brushing it on your pan & make sure to get in the crannies.
https://pin.it/GBvu46i
Very helpful post. Thank you. I like anything that makes a job easier.
I make my liners the tracing way and cut 6 or 7 at a time. I stack up that many sheets of paper, staple them on two sides, trace the pan and cut on the inside of the line. I have no problems. But, what I do that really helps, and would no matter which way you use, is to cut more than I need and keep lots on hand. I just store the extras in one of my cake pans.
I am helping my daughter to make a castle cake for my grandson’s birthday. You have to use soup cans to make the turrets. Any idea how to make the parchment paper fit? Please e-mail me.
Are you baking cake in the cans? If so, I would use the exact same method but obviously your rounds will end up much smaller. Hope this helps!
I always cut them to big. Thank you for this tip and keep them coming.
This is great. I work in a coffee shop and have always used the ‘trace and cut’ method. This will save no end of time as I make quite a few cakes. Thank you! More tips like this, please!
Can not wait to try this! Thank you.
I make several Christmas cakes and preparing the tin was always the least favorite part. Thanks for sharing; this is wonderful. Same could apply to the layer of brown paper I place in bottom of tin.
Yay! So happy to hear that this is helpful!
You are right there are some of us who didn’t know this trick. Thank for sharing it.
Could you please do a demo of how to line a square or rectangular cake pan so it fits properly in the corners?
Pingback: Weekend Favorites: An amazing weekend ahread | Ambitious Kitchen
I Love this tip!! Please share more! I’ve been baking for 15+ years and I have never come across this!
Yay! So glad it was helpful!
ohhhhh so that’s how I should have been doing it all this time…! Genius. I just trace the cake tin on baking paper then cut a haphazard circle. will try this next time!
This post is excellent. I bet that even the person who commissioned the cake would use this trick if he or she ever became less lazy and decided to start baking again.
Hahah! I don’t think anyone actually WANTS to make their own birthday cake, and I’m incredibly flattered that you are wanting me to make one for you!
Love the tips & tricks! Please post more! I especially love that you included the WHY along with the HOW. Knowing why something is important is not only incredibly helpful for the future but makes me a braver baker and willing to try recipes outside of my comfort zone…like layer cakes!
Thanks so much for the feedback Kate! So glad this was helpful, and I totally agree with you. I’m just as interested (actually more so!) in the whys than the hows. 🙂
This is a wonderful technique to know for future cake baking. Thank you!
Thanks Mary! I appreciate your feedback!!!
You would laugh if you saw how I used to do this. Thanks for explaining why I should not get lazy and skip this step!
Now I really want to know how you used to do it! 🙂
Amazing tip!! Pinned for later because I’m sure I will need to refer back soon 🙂
Thanks Sues! Appreciate you sharing it, and glad it was helpful!
Great trick. Keep them coming. Love it.
So glad you enjoyed this post! Thanks for the feedback Teresa!
This is brilliant.
So glad you found it helpful! 🙂
Oh man, this is exactly what I needed! I’m far too lazy to trace a circle for lining a cake, but I know I should do it (and curse myself when I’m trying to pull the cake out cleanly!). I love these tips, keep them coming!
I’m too lazy to trace too (and it never works out well, because they end up being the wrong size). Thanks Abby!!
This was a great one! Keep on giving us more tips. Those are the little trichs that you learn at a cooking school.
Thanks Ricardo! Yep, I loved learning these little tricks in school. One of my favorite parts of the experience.
When my mother would bake a cake and needed to line the pan she would place the cake pan on a piece of waxed paper and use a knife to trace around the outside edge of the pan on the wax paper. She then cut out the traced shape and it seemed to fit well in the pan. That is the method I have always used. I don’t know if cooking parchment paper was available then, we just used waxed paper.
I’ve done that before, but often found that it would be slightly too bit (because inevitably your tracing outside the diameter of the pan. I used wax paper sometimes too, but prefer parchment paper if I have it on hand! Thanks for sharing!
I agree with Adrienne that this is a genius way of cutting the parchment paper. These types of “how tos” are extremely helpful and I would love to hear more tips. Thank you so much for being so thoughtful.
Thank you so much Linda! I so appreciate your kind words and for taking the time to leave feedback/your thoughts. I never know how useful some of these more basic posts are to others, so its great to hear that you enjoyed it.
This is genius!! I’d love to see more tips and tricks for baking or cooking 🙂
Yay! Awesome! Will work on a few others 😉 Thanks Adrienne!
This is a really neat idea. I will surely try it next time.
Thanks a lot!! Good ticket, I will do it!!