How to Make Homemade Ricotta Cheese
Learn how to make homemade ricotta cheese with this simple tutorial.
Remember that time I took a cheese making class during culinary school and I promised I would share the process with you guys? Well, that’s exactly what I’m doing today.
Over the years, I’ve forgotten just how easy it is to make homemade ricotta. The texture and flavor is fantastic too.
Is it as easy as buying store-bought ricotta? Absolutely not. But in the grand scheme of things, it is one of the easiest cheeses to make at home.
How is Traditional Ricotta Made?
Just one spoonful of this silky smooth homemade ricotta will convince you to make it more often. Technically, traditional Italian ricotta cheese isn’t made from whole milk, which is what recipes calls for.
Traditional Italian ricotta is made by reheating whey (‘ricotta’ in Italian which means twice-cooked) and originated as a clever by-product of the cheese-making process. However, nearly all American ricottas are made from milk, so this version will most likely taste familiar.
What Makes Homemade Ricotta Better:
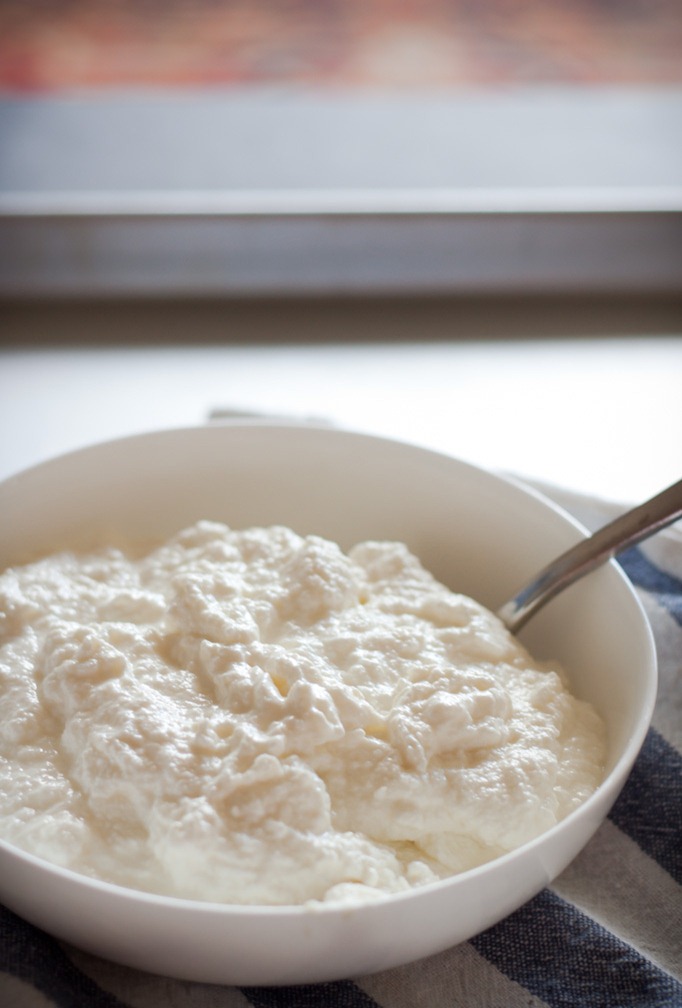
Homemade ricotta is simple to make and tastes fantastic. The active cooking time is 15 to 20 minutes total. It is also significantly smoother in texture and does not have the graininess that you’ll often find in store-bought ricottas, which can contain stabilizers or gums.
As an added bonus, homemade ricotta cheese is quite affordable. You can use ricotta in many ways, including desserts (ricotta beignets), pastas, polenta, or simply spread on crostini.
Be sure to save the cooking whey and use it for cooking grains or polenta, such as in this Polenta Al Forno dish!
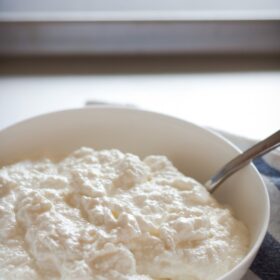
Homemade Ricotta Cheese
Equipment
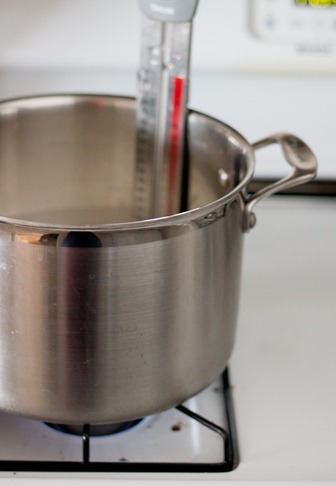
- candy thermometer
- cheesecloth
- large fine-meshed sieve
Ingredients
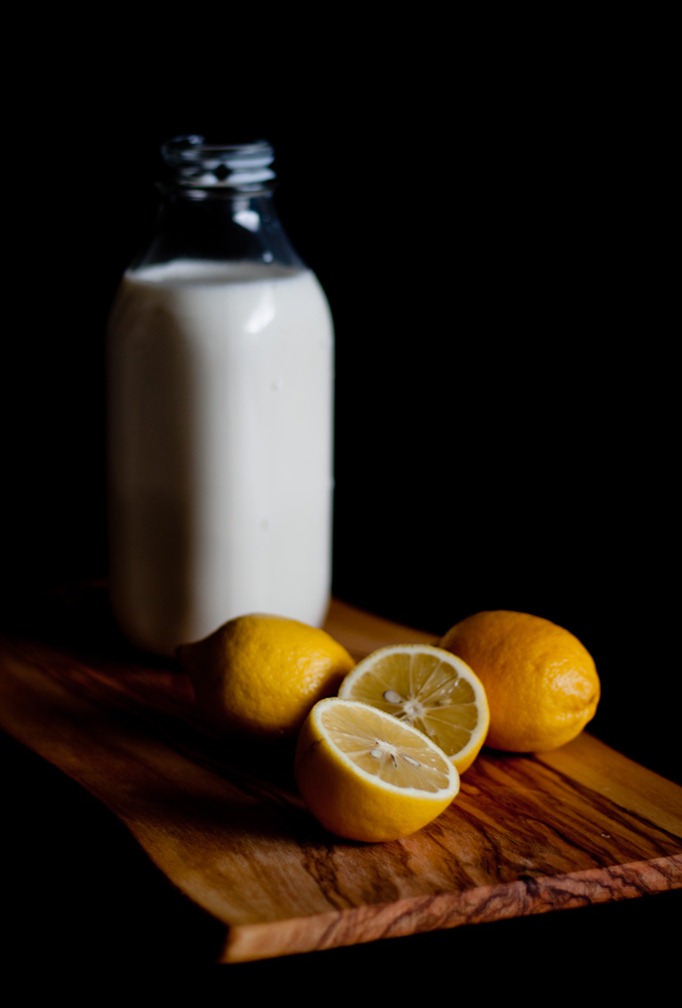
- 8 cups (2 quarts; 1.9 L) whole milk do not use ultra-pasteurized for this recipe
- ½ cup (120 mL) heavy cream
- ½ teaspoon kosher salt
- ¼ cup (60 mL) fresh lemon juice roughly 2-3 juicy lemons
Instructions
- Combine the milk, heavy cream, and salt in a large non-reactive (stainless steel) pot and place over medium-high heat.
- Using a candy thermometer, preferably one that can be clipped to the side of the pot, bring the mixture to 190°F (88°C), stirring occasionally with a spoon to prevent the milk was scorching on the bottom of the pot.
- Once the milk mixture has reached temperature, remove from the heat and pour in the lemon juice. Stir once or twice to incorporate and allow mixture to sit - without disturbing - for an additional 10 minutes.
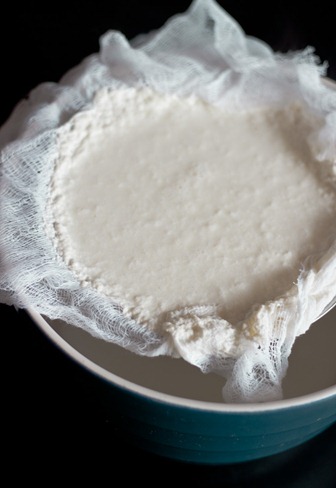
- Meanwhile, line a large fine-meshed sieve with a double layer of cheesecloth and set over a large, deep bowl. Carefully and slowly pour the ricotta mixture into the cheesecloth-lined sieve. Allow to drain at room temperature for 90 minutes.
- Transfer ricotta to a container and use immediately or refrigerate for up to 2 to 3 days.
Tips for Success:
- Do not throw out the whey (drained liquid), use it for this polenta al forno recipe.

18 Comments on “How to Make Homemade Ricotta Cheese”
You’re welcome. I am in the culinary program and loving it. Sorry for the late response. Happy Holidays!
And I just made this ricotta. I have never been a fan of store bought ricotta cheese but this is by far better than any ricotta I have had in the US.
So glad you enjoyed it! I love getting feedback on recipes, thank you!
Your blog is awesome! I love reading about your experience at LADC. I’m currently in Week 8 of Phase I so you can imagine how I feel. Taking much of your advice, thank you! =)
So glad you discovered it and that it has been helpful! Are you in the pastry or culinary program? Good luck with everything! 🙂
Am doing our traditional Italian easter with homemade manicotti and cannoli for dessert. I’m so tired of either buying packaged ricotta ( hate texture, etc ) or paying outrageous price for fresh so will try making my own this year! Hey, everything else is from scratch, why not my ricotta. My question, should I try for a firmer texture for my manicotti filling as I add eggs to my filling?
That sounds great! If you’re used to buying packaged or fresh ricotta, I would think that this version would still work (without being too liquid-y). I would start by having it drain for at least an hour to an hour and a half and then if you think it needs to be more firm, just continue to drain for an additional 30-45 minutes. Let me know if this helps! 🙂
Jackie — Great, let me know if you try this! 🙂
Chris — This is definitely creamy…I would suggest draining it a bit less if you prefer a softer, less thick texture.
Janet– What a great idea!!! And it totally makes sense that it probably has a sourdough taste to it. Definitely want to try that. Thanks for the great comment.
Diane — No problem, there is a button on the bottom of each post where it as a "print article" option. I suggest maybe doing that, or just bookmarking the actual URL. If not, I could also send you an email if you want me too!
I love this post. I have tried making my own ricotta with buttermilk, but I would like to try your recipe. I used the leftover whey for the crusty bread recipe in place of the water and the bread had a sourdough flavor. It's a great use for the leftover whey. thanks for the post. I'll check back for your recipe using whey.
What a great idea!!! And it totally makes sense that it probably has a sourdough taste to it. Definitely want to try that. Thanks for the great comment.
I always want to make my own ricotta and then never do. I tried it once and it didn't come out that good… I think I over-drained it, resulting in a less-than-creamy ricotta. Nevertheless, you've inspired me to try it again!
This is definitely creamy…I would suggest draining it a bit less if you prefer a softer, less thick texture.
I've always wanted to make my own ricotta! Yours looks fabulous!
Homemade ricotta is one of recipes on my list that I keep telling myself I'll try to make but I've never done (up there with making homemade bread – the old fashioned way). I'll favorite this and hopefully you'll hear back from me in a couple months with good news!
xo Jackie
http://www.FoodWineFashion.com
Great, let me know if you try this! 🙂
interesting… we only used milk (no cream) in our recipe at school, but your version is probably creamier (and therefore tastes better!).
How do I like your page or keep in contact on facebook? I want to save this, but don't have time now to write it down. I'm new to this blog and facebook stuff. Sounds so yummy and I can't to wait to try this! Thanks for sharing!
No problem, there is a button on the bottom of each post where it as a "print article" option. I suggest maybe doing that, or just bookmarking the actual URL. If not, I could also send you an email if you want me too!