Homemade Red Pasta
I’ve shared several types of homemade pasta recipes, including chickpea flour pasta, but this is my first colored pasta recipe.
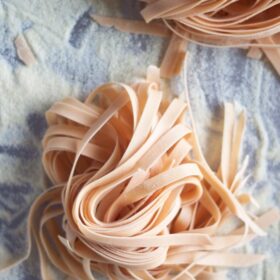
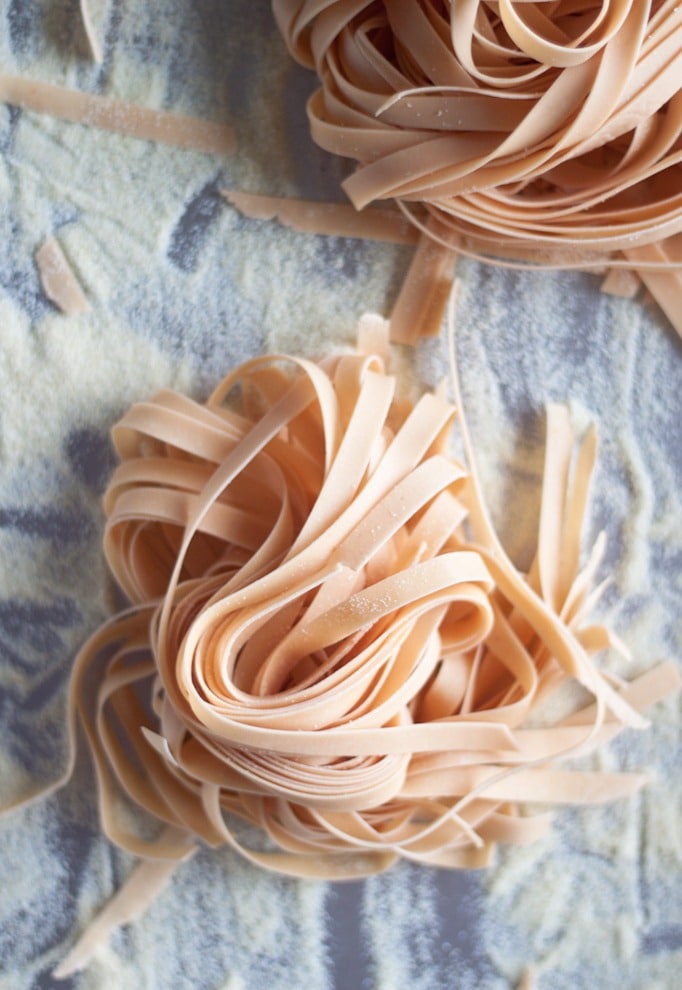
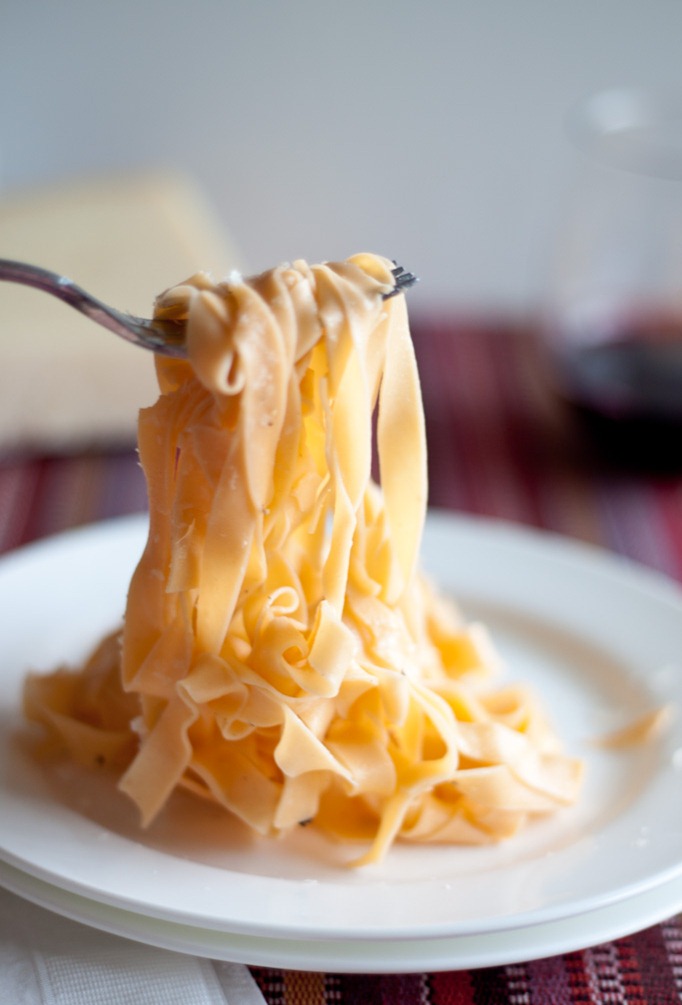
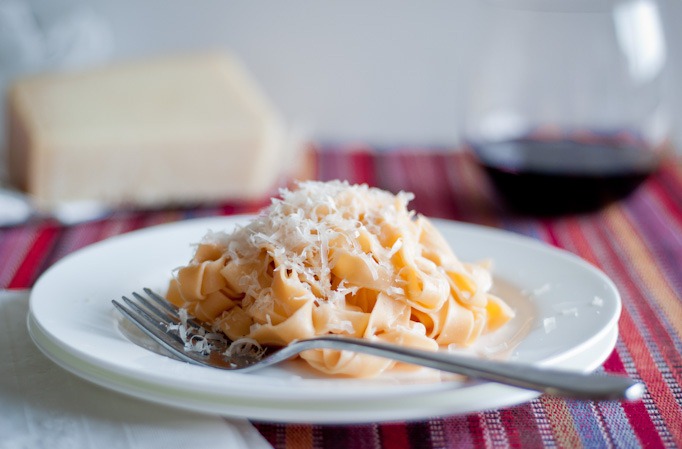
This is not a bright red pasta, but closer to a light pink or salmon color.
There are lots of ways to flavor and color homemade pasta. You can make many variations, including black pepper, spinach, squid-ink, saffron, or fresh herb pasta, just to name a few. I’ve even seen sweet or savory versions of chocolate pasta!
This red pasta, or technically tomato pasta dough, is probably one of the simplest and least labor intensive variations you can make.
It requires tomato paste only. If you’re really looking to boost the color, you will need to add drop or two of red food coloring or alternatively use dried beet powder, which will yield a brighter, more purple-red color. I prefer the natural, more subtle route but to each their own!
How to Make Homemade Red Pasta:
This homemade red pasta is made with all-purpose flour and semolina.
Semolina is a coarse durum wheat product (unlike finely ground durum flour) which is used to make traditional extruded and dried pasta. It offers a bit more chew and texture than a pasta made with 100% all-purpose flour.
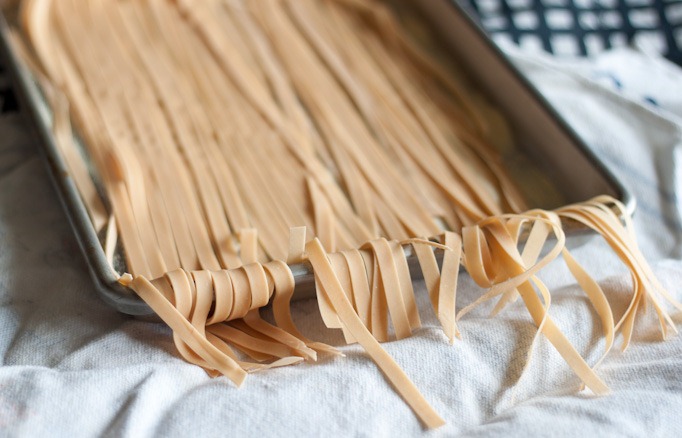
This version contains just a small amount of semolina to up the texture a bit. You can cut it into whatever shape you desire – this particular dough was cut into fettuccine. You can also use this dough to prepare homemade pappardelle pasta.
Don’t expect the tomato flavor to be very strong or pronounced in this red pasta, it is very, very subtle. My best advice is to choose a simple preparation for homemade pasta, one that really allows the pasta to shine. Enjoy!
Homemade Red Pasta
Ingredients
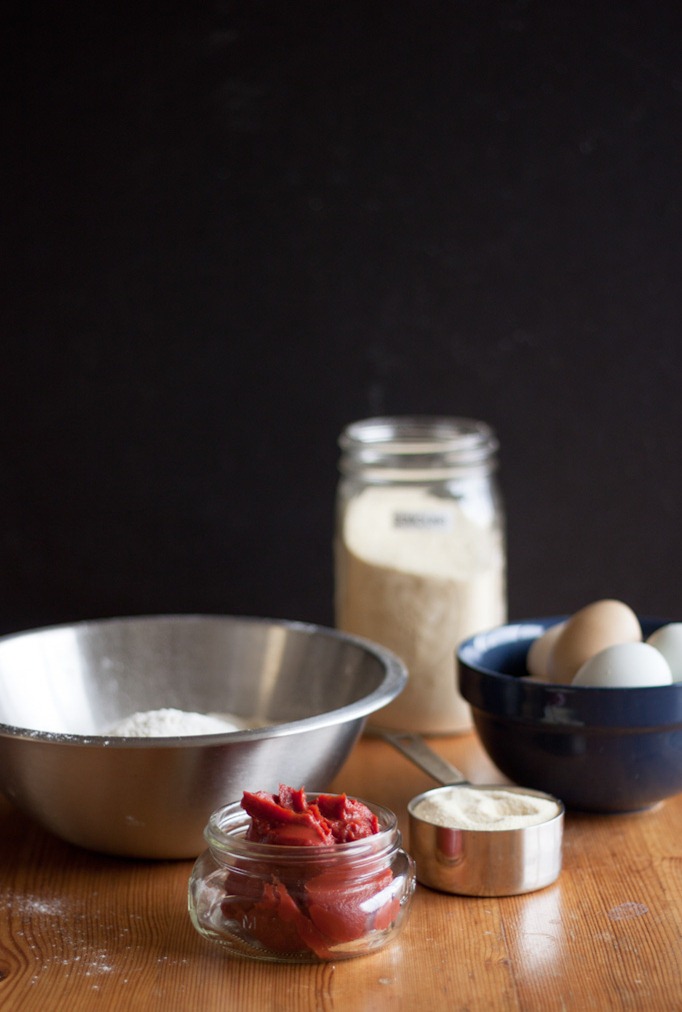
- 2⅓ cups (280g) unbleached all-purpose flour plus more for dusting
- ½ cup semolina flour plus more for dusting
- 4 large eggs
- 2 tablespoons tomato paste
- 1-2 drops red food coloring optional (if you prefer a darker, more red pasta)
Instructions
Prepare Pasta Dough:
- Combine the unbleached all-purpose flour and semolina in a stand mixer bowl fitted with a dough hook attachment. Mix over low speed (2) until the flours are well incorporated.
- In separate bowl or measuring cup, combine the eggs and tomato paste and red food coloring (if using). Whisk together until mostly smooth (it is ok if a few clumps of tomato paste are here and there). Over low speed, slowly pour in the egg and tomato mixture into the dry flour mixture. Continue to mix over low speed until dough begins to come together, occasionally scraping down the sides with a spatula to help ensure all of the ingredients are incorporated evenly.
- Once dough is mostly incorporated (a shaggy mass), turn off the stand mixer and transfer the pasta dough (and any dry bits) onto a clean countertop. Do not worry if there is a small amount of dry ingredients not incorporated yet.
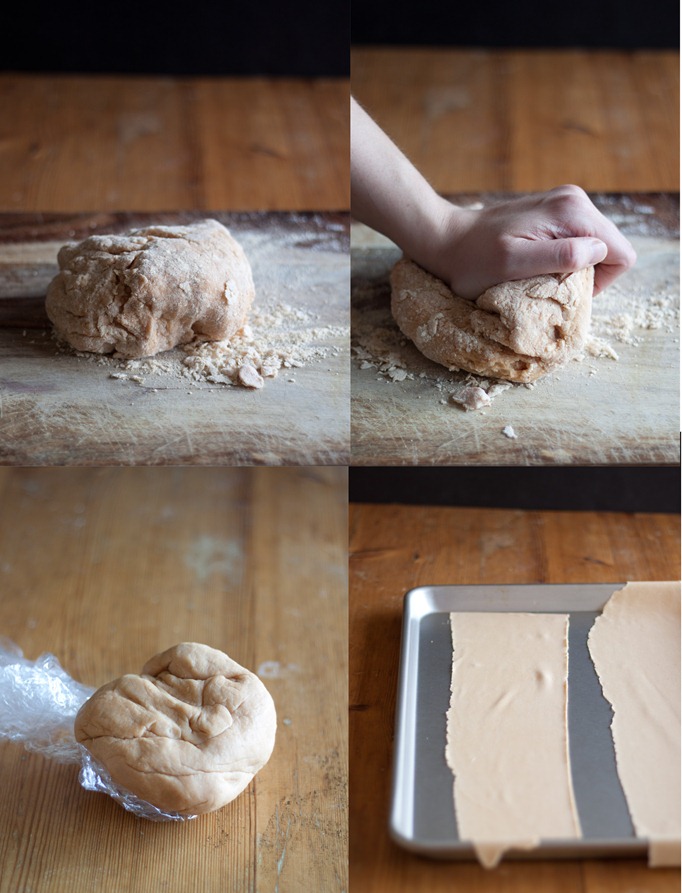
- Start kneading the dough, using the palms and heels of your hand. The dough should not be sticky to the touch. If it is sticky, add a light dusting of all purpose flour and continue. Once the dough comes together, discard any dried bits that haven't been incorporated. Depending on humidity and the size of your eggs (even large ones can vary in weight), this will vary from batch to batch. Note: If for some reason your pasta dough is very dry, add a teaspoon of water at a time and incorporate. Alternatively, if it seems too tacky, dust your hands and countertop with more all-purpose flour.
- Continue to knead the dough for an additional 10 to 15 minutes, until the dough is very elastic and supple. Wrap the dough in plastic wrap tightly and allow to rest at room temperature for 45 minutes to 1 hour. This will allow the gluten in the dough to relax and any excess flour to be absorbed.
Prepare, Roll, and Shape Pasta:
- Once the pasta dough has rested, divide the dough into six equal-sized pieces. Working with one dough ball at a time (cover the remaining dough with plastic wrap to prevent it from drying out), flatten the dough with your palms into a thin disc and roll in a pasta machine at the largest width setting. Fold the dough into an envelope (bringing the short edge to the center and repeating with the other side - open seams facing perpendicular to the pasta machine roller). Repeat this process several times until the dough is very smooth.
- Proceed to roll the pasta dough into desired thickness using the pasta machine. Note: For thinner, delicate (eg. cream) pasta sauces, roll the pasta dough very thin. If you plan on serving your pasta with a heartier sauce, roll into a slightly thicker pasta. Repeat with remaining pasta dough pieces until all the pasta is rolled out.
- Allow the rolled pasta dough sheets to dry slightly at room temperature (I hang them on whatever I can find in my kitchen; a laundry drying rack is perfect) until no longer tacky and the pasta dough is slightly leathery to the touch. This will ensure that shaped pasta will not stick together when cut.
- Shape and cut pasta using a pasta machine attachment - this particular pasta was cut into fettucine. Place the cut pasta onto a baking sheet dusted with semolina flour and curl into nests. Store uncovered at room temperature - it will dry slightly - until ready to cook or cook immediately.
- Cook pasta in a large pot of salted water until just al dente. Prepare as desired.

11 Comments on “Homemade Red Pasta”
This pasta is such a pretty color! I love it!!
Wow Laura this looks beautiful! I have never attempted to make homemade pasta, but if I even do I could only hope if turns out like this!!
Oh! That's such a pretty, pretty color…rosy pink. I'm sure its delicious too.
Kankana — Thank you!! That really means a lot–especially from a great photographer, such as yourself! If you are going to use it pretty often, the pasta attachment is definitely worth the splurge. I've used the manual ones, and while they work really well, having your hands free really makes the process go a lot smoother and faster.
I love pasta any time of the year and I wish to buy a pasta attachment some day so that i too can relish some fresh pasta at home. LOVE the photos.
Thank you!! That really means a lot–especially from a great photographer, such as yourself! If you are going to use it pretty often, the pasta attachment is definitely worth the splurge. I’ve used the manual ones, and while they work really well, having your hands free really makes the process go a lot smoother and faster.
Great photos Laura, I will have to try this when I finally get my pasta attachment at our apartment. I bet this would taste nice with a shrimp, garlic and parsley sauce.
Ooh, good idea! The pasta attachment is pretty awesome, I have to say.
Meghan — Thanks so much! 🙂 It's fun to mix things up and add some color. I'm hoping to try spinach and hopefully squid ink (if I can find any) at some point in the near future. Thanks for visiting!
Pippa — Ooh, good idea! The pasta attachment is pretty awesome, I have to say.
It's so pretty!! Homemade pasta is the greatest. I like yo style.
Thanks so much! 🙂 It’s fun to mix things up and add some color. I’m hoping to try spinach and hopefully squid ink (if I can find any) at some point in the near future. Thanks for visiting!