DIY Gallery Wall
You know how I mentioned that we moved around all of our apartment furniture a few weeks ago? Well…we took it even further by deciding to rearrange all of our artwork as well. Totally normal.
As luck would have it, our apartment doesn’t really have a lot of possibilities when it comes to furniture arrangement (oops), but I am happy to say that we tackled a fun little project that I’ve been dying to try for years!
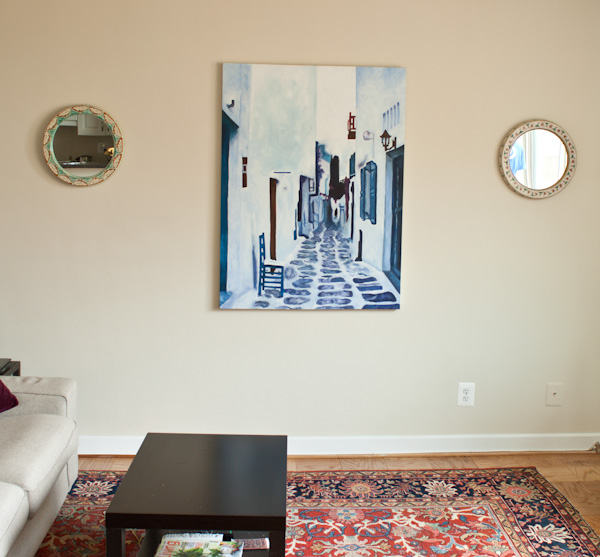
One of the trickiest elements of our rental apartment is a massive wall that stretches along the side of our “living room.” For a while, we filled as much of it as we could by having the arrangement below (please don’t mind the incredibly crooked painting).
I didn’t mind it at first but over time, it sort of made me feel like we were living on a cruise ship. But I wasn’t exactly sure how to solve the problem…
Until I started to look at everything that we did have and thinking about how we could put it all together to form some sort of focal wall I had been dying to try to make my own version of a gallery wall and that idea stuck.
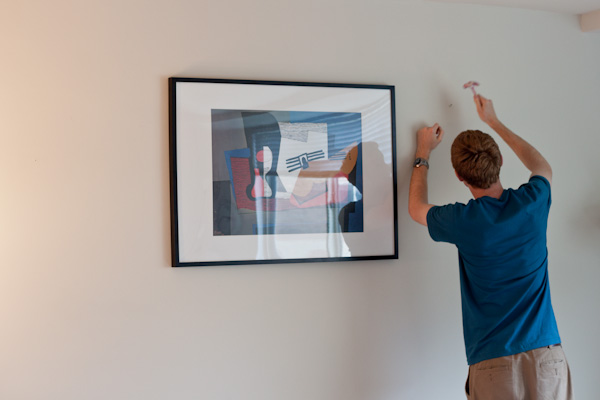
After doing a bit of research, Connor and I decided to tackle it on Saturday afternoon. First step? Basically take all of your artwork and lay it all out on the floor (resist the urge, however strong it may be, to just start nailing and hanging things up on the wall).
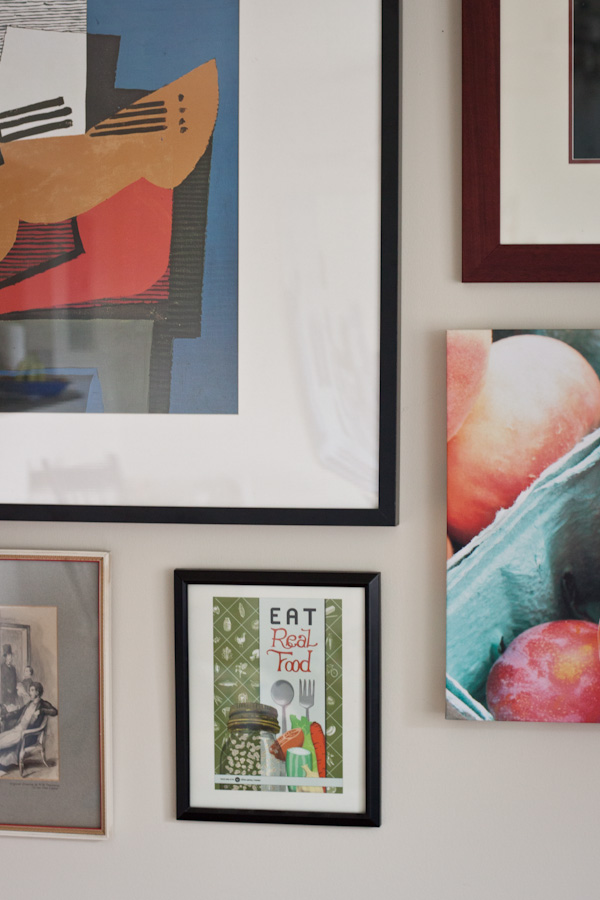
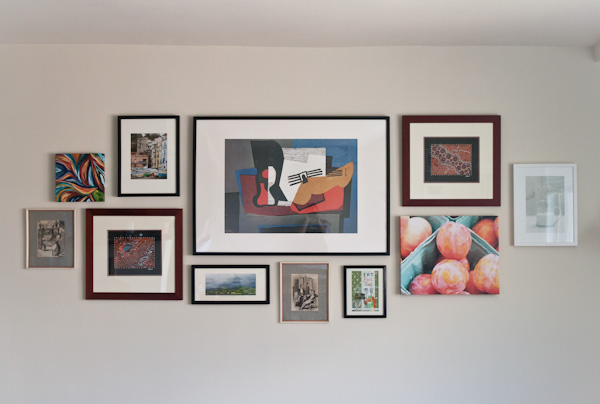
I decided to make the big frame my center piece and sort of work everything else around that–having one central line (whether in the middle of everything or, in our case, at the top), which definitely made things easier. After that, it really is just a matter of moving things around until you get the shape and layout that looks best.
Of course, this might change as you go, but it helps to make a decision on a few key pieces. Honestly, I still can’t believe Connor and I pulled this off.
I’m sure many of you can attest to this, but furniture assembly (specifically IKEA) and artwork hanging are recipes for disaster in almost any relationship. Seriously. Not good.
We also don’t own a laser or any other type of leveler, which is another recipe for disaster in this situation. Somehow despite a pure concrete wall ( = warped nails) and some guessing, we made it out alive and really loved the end result.
It really gives the apartment more of a “lived-in” feel and takes care of the huge-empty-blank-wall situation that was going on. Yep, I pretty much stare at it lovingly each morning I walk into the room.
A definite DIY success story!


4 Comments on “DIY Gallery Wall”
love it!
looks good laura! poor Connor by the way:)
It looks beautiful! We’ll have to do some planning like this for the baby’s nursery. I hope it turns out as nicely as yours!
Thank you Jennifer! Congrats!!