Day 4: Macedoine & Strawberry Tarts
Today’s class was the most intense to date! This is going to be a long post, so I hope you guys don’t fall asleep by the end of it…
We definitely had the most labor intensive menu to date, which included not only homemade mayonnaise, macedoine (explanation below), citrus salad, but also strawberry tarts.
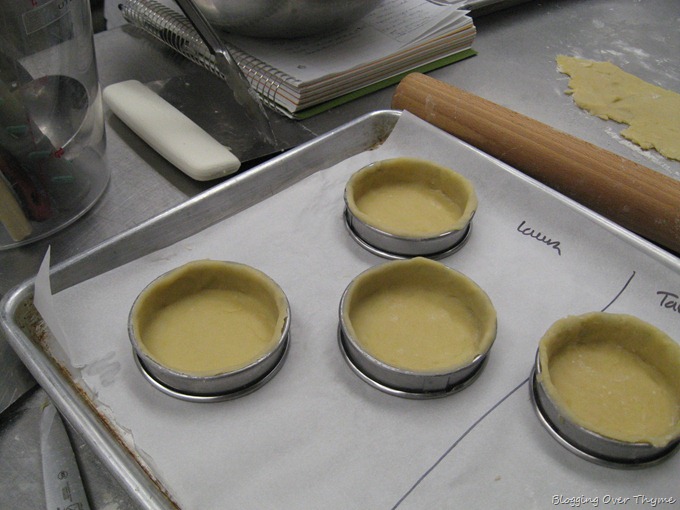
Lecture began with an introduction to PATE SUCREE (“sweet dough”), another classic pastry dough used for tarts. Unlike Pate Brisee, which we learned how to make last week, Pate Sucree is more like a shortbread or cookie in texture. It is made with flour, butter, lemon zest, sugar, vanilla, and whole egg.
Once again, we learned how to mix this together by hand (so we can learn the technique, proper texture, and know how to do it without the use of mixers, at least for the beginning). It is much more buttery and prone to cracking, which we helped prevent by working quickly and allowing the dough to cool sufficiently in the refrigerator, before eventually rolling out and forming into small 3-inch tart molds. It was then docked (pierced with forks) and blind baked using beans at 350 degrees.
While the dough is more prone to cracking, on the plus side, it is easier to mold and can be patched quite easily if necessary.
Once we made the dough, we returned to lecture, where Chef Brian and assistant, Ashley, demoed the rest of the morning’s menu, which included the following:
LA SALADE DE CITRUS (Citrus Salad)
LA VINAIGRETTE A L’ORANGE (Orange Vinaigrette)
LA MACEDOINE DE LEGUMES (Vegetable Salad with Mayonnaise)
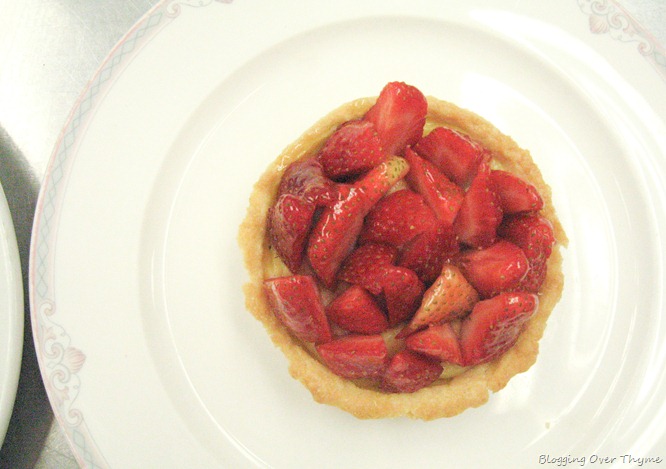
LA TARTELETTE AUX FRAISES (Strawberry Tart)
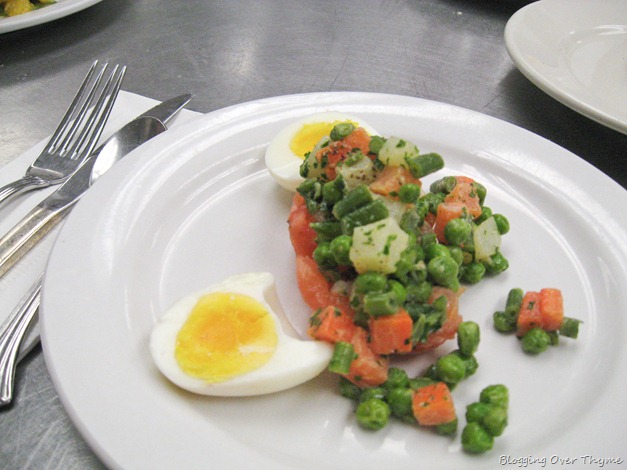
I’ll start with the macedoine, which despite sounding simple, was time-consuming! Our macedoine comprised of carrots, turnip, potato, peas, and French green beans cut into a small dice (1/4” cubes) tossed with parsley and homemade mayonnaise.
In addition, it was to be served in a hollowed out tomato along with sliced hard-boiled eggs.
Because each vegetable has different cooking times, we were drilled today to cook each vegetable separately and ahead of time, whenever making a salad, to ensure that they were of even texture in the salad.
We also had about a 5 minute discussion about a ‘properly cooked’ Haricot Vert (green bean). Our chef passed along three batches of green beans in lecture—one batch under-cooked, one cooked to my chef’s liking, and the other cooked according to the school director’s preference. Apparently any type of crunch, even slight, is considered not cooked properly! Who knew green beans could be so intense?!
We also learned that certain vegetables should be cooked in boiling water, while others should be added to cold water and brought to a boil in order to cook them consistently throughout. For example: Green vegetables, such as aspargus, peas, and green beans, should be added to boiling water! Whereas root vegetables, such as turnips, potatoes, and carrots should be brought to a boil. Otherwise the outside will cook and start to disintegrate, lose shape, and the inside will be raw or undercooked. Oh yes, and each water should be salted like ocean water to ensure it stays crispy and keeps its color.
Each vegetable once cooked was then added to an ice bath–to stop the cooking process and then placed on a towel lined baking sheet to dry sufficiently before preparing the salad. To add even more steps to the process, we were required to change the cooking water and start the boiling process over again with each veggie. Now its starting to sound time-consuming, am I right?!
We also learned our school’s method for cooking the perfect hard-boiled egg. While some people say to add the eggs to cold water and bring to a boil, we learned to add eggs (close to room temperature to avoid cracking) to vigorously boiling water for exactly 12 minutes, before removing and placing in an ice bath, before eventually peeling. Our assistant told us this method will work perfectly whether you are working just one egg or as many as sixty! They said this results in a much more consistently cooked hard-boiled egg. Try it sometime, it works perfectly!
The homemade mayonnaise was another technique we learned today. It is pretty amazing that you can make mayonnaise out of an egg yolk, Dijon mustard, canola oil, and lemon juice and how much body the mixture gets just from emulsification! I have to admit, I am not a mayonnaise person, so I wasn’t very excited to eat this, but it is amazing how different a homemade version tastes to the store-bought kind. I actually ate it all, believe it or not.
Maybe I’ll make a video of the process and share on the blog! Anyone interested?
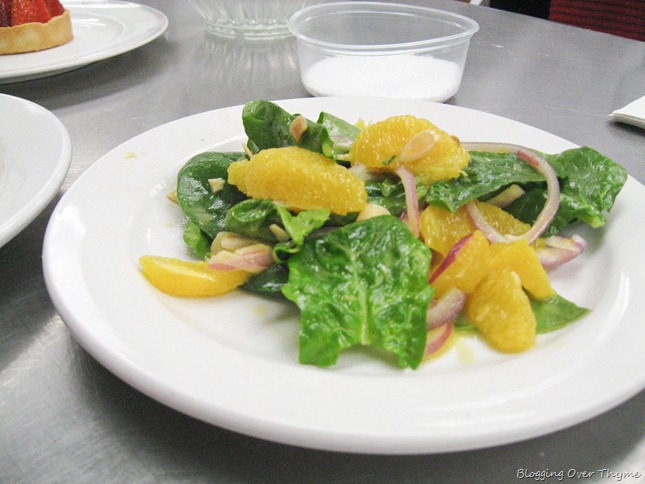
Our other menu item was a citrus salad with an orange vinaigrette. The main purpose for making this dish was to practice a technique called PELER A VIF—which means literally to “cut to the life”. It basically involves cutting off the bottom ends of the orange and carefully removing the peel and pith with a boning knife.
We then used the knife to go between the orange membranes to remove the supreme—the orange segments. After doing this, we used the remaining orange structure to squeeze out juice and use it to make a quick vinaigrette with a little bit of Dijon mustard, minced garlic, and Sherry vinegar.
This was all tossed with spinach leaves (which we had to de-leaf one at a time by hand and wash), along with the orange, very thinly sliced onion, and toasted almonds. It was really good!
To add more to our plate (literally), we also had to finish preparing our pate sucree molds to make strawberry tarts, which I was very excited about when I first saw them on the menu this morning. To fill the tarts, we learned how to make homemade CRÈME PATISSERIE (Pastry Cream)—which is made up of the following ingredients:
- egg yolks
- whole milk
- sugar
- cornstarch
- vanilla
I’ve never made pastry cream before, so this was all new to me. Making homemade pastry cream involves whisking (stiff whisk, so as not to contribute air) together egg yolks, sugar, and cornstarch and slowly tempering with warm whole milk. This whole mixture is then put on the stovetop, where it is cooked over medium-low heat until it starts to bubble, which indicates that the corn starch is sufficiently cooked out. It should be very thick and shiny!
We then were told to push it through a sieve to get rid of any potential lumps (or if for example, you had not tempered properly or cooked it too high, which would cook the eggs). The vanilla was then added once cool—adding vanilla over heat apparently will lead to bitterness—and then piped into the tarts.
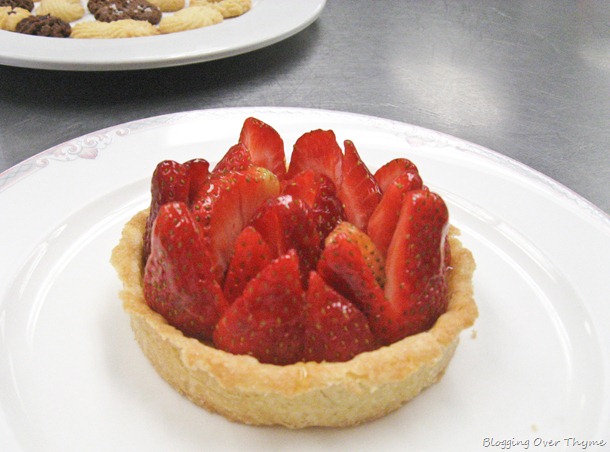
Although I have definitely had pastry cream tarts in the past that have been all pastry cream and little fruit, we learned today that we should only fill the tart shell less than half way with pastry cream, so the tart is all about the fruit, not the shell or cream. I totally agree! To emphasize this, our fruit was to be placed standing point-up, similar to a basket of fruit, so the strawberries stole the show.
We then brushed on an apricot glaze for shine and presentation!
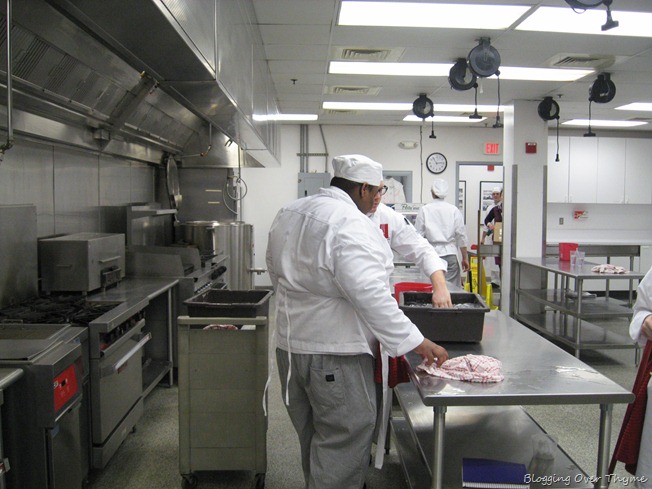
All of this had to be plated and served at lunch time, which today was set for 11 am. Unfortunately, time flew away from all of us today and we were given an extension to 11:10—slowly transforming into 11:30—by which I had barely added all the strawberries to our tarts. The biggest struggle is keeping track of all the cooking, working with a new partner, continuing to clear our work tables as we go, and eventually making enough space on it to serve and present SIX plates of each dish.
Today, we each had another randomly assigned work table partner. However, the only thing we shared responsibility for was combining our diced vegetables and cooking them together! Other than that, both of us had to make time to devote to every menu item in order to practice each new technique.
I definitely felt a bit frazzled by the time lunch was served! I also wished that we could have had more time to focus on plating and presentation, as my tarts were thrown together as well as I could in as little time as possible. I did have a confidence boost though from my instructor, who randomly grabbed one of my tarts, ran off without explanation, and eventually told me that he had shown it to the director of the school, Francois, who was very impressed!
Thankfully, our chef explained later in the day that today is considered one of hardest in Phase I, especially given the fact that we have only been in culinary school for four days.. Hallelujah! I try to avoid thinking about the fact that it will only get more and more intense as the program progresses…
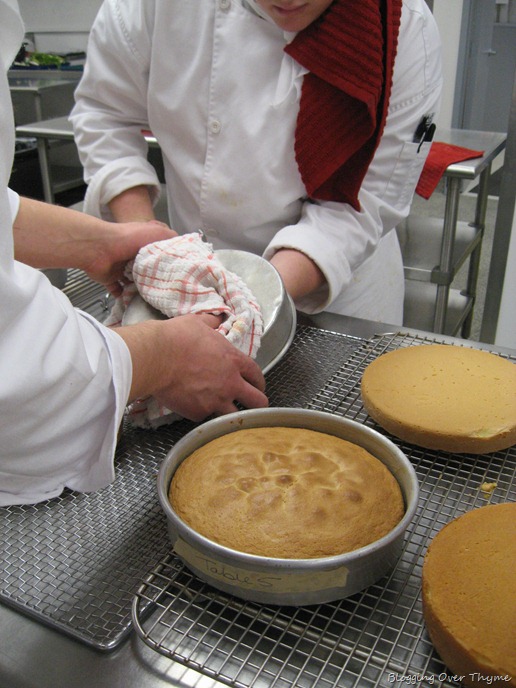
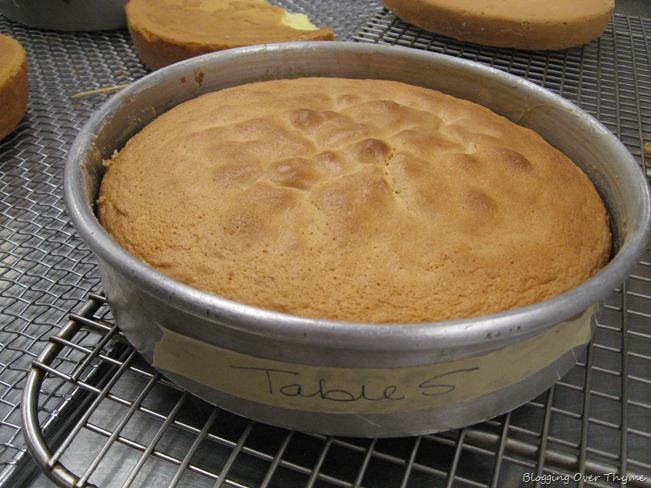
After eating lunch for approximately 15 minutes, we quickly had to turn around and start trimming chicken bones for more stock! This time, instead of basically an hour, we were told to get the same amount done in about 30 minutes. If that isn’t enough for one day, the afternoon was filled with another demo! We learned how to make GENOISE—which is a very light, spongy cake made with flour, sugar, eggs, butter, and vanilla.
It is then whipped, to the point where your arm wants to fall off, over a double broiler until it forms ribbons. While there are apparently different methods for making genoise—creamed or sponge method—we made a whole egg sponge method genoise today.
I guess I will learn all the differences soon enough!
It is a very light, somewhat bland, eggy-tasting cake, that is mostly used for layer cakes with buttercream. It also freezes very well, which is another great thing about this cake.
At this point it was already 2:30, which is officially the end of our Phase I day, but we still had to make time to clean up the kitchen. We ended up finishing up around 3:30, when I went outside to discover snow! I have no access to windows all day, so it was a big surprise.
If I was somehow able to hold your attention this long, you deserve your own medal genoise! Geez…and I thought my previous posts have been long…
I plan on typing up some actual recipes this coming weekend, just in case you are curious to know the actual procedure and ingredient amounts. Stay tuned!
Thanks again to each and every one of you for all your positive comments on my culinary school posts! I’ve really enjoyed writing them thus far.

6 Comments on “Day 4: Macedoine & Strawberry Tarts”
Vanessa — Thank you!! So glad you are enjoying them. I imagine how weird, but fun, it must be to read about another person's experience after working in the industry for a while. I'm sure I won't make some of these dishes again in the future, but it is fun learning how and the techniques behind them. They really are very thorough in their teaching classic French dishes. Looking forward to sharing more!
Jesse — Thanks! I thought, myself, about taking the path of nutrition, as opposed to culinary arts, but decided in the end that I think this is the better path for me. However, I definitely may be interested in combining my interest in health and nutrition WITH food one day. Knife skills has been one of the most useful things I have learned so far!! You would love it.
Tasha — I don't know!! I just grab my camera out of my chef's pants whenever possible and snap quickly. Haha–I think no one is capable of looking food in a chicken bone trash pic.
When did you have time to take so many pictures!?! I barely had time to take out my camera the past few classes. The site looks great and so does your tart.
PS: I look terrible in my chicken bone trash picture.
I love the culinary school blog posts. I almost decided to go back to school for a Culinary Arts degree but I chose Holistic Nutrition instead. I hope to take some cooking classes (knife skills is top of the list) after I gradate from Holistic Nutrition.
Strawberry tart- yum yum yummy! Can you come over and bake that for us?
Now you know what it is like to cook macedoine vegetables all day!!! Your strawberry tart looks very nice!
I love reading your culinary school posts. It's literally "bringing me back", I love it !! It's fun to revisit things, some of which I haven't made since culinary school 🙂